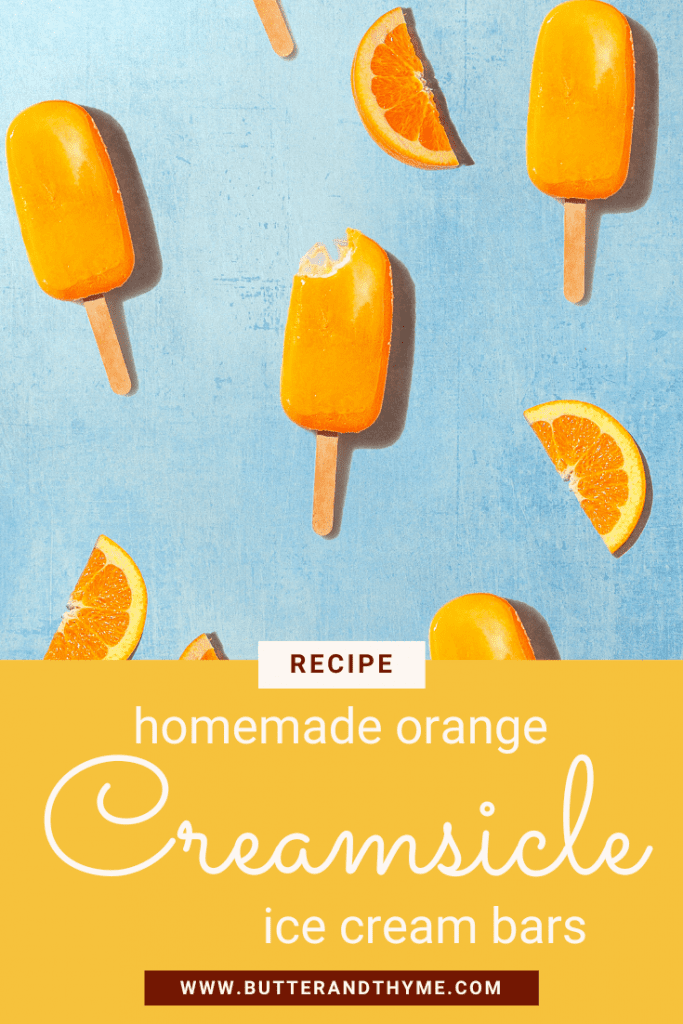
Remember those Orange Creamsicle ice cream bars by Good Humor from your childhood? Well I took the amazing combo that is frozen citrus + cream and made these (mostly) homemade orange creamsicles! Just like the original, they’re made by covering creamy vanilla ice cream in a layer of sweet-tart orange sherbet.

And not to hate on Good Humor, but I feel like Creamsicles are one of those desserts that fall flat on the memory you have of them. So I recreated this nostalgic recipe using better ingredients like real fruit juice and high-quality vanilla ice cream. (Speaking of which... you should also try my grownup version of McDonald's Shamrock Shake!)
In simple recipes like this, the quality of the ingredients is everything! Using real fruit makes them a million times more tasty than store-bought, IMO. And you're able to use whatever type of ice cream you want for the center! You can even go the healthy route, and do a frozen yogurt filling, if you prefer. Either way, you're in total control of the ingredients that go into it.
Making homemade orange creamsicles is the perfect way to celebrate summer! With their fun bright orange color and delicious taste, they're sure to be a hit with kids. And they're made with real high-quality ingredients, so adults can get on board too.
P.S. if you love recreating elevated childhood recipes, try my No Bake Milk & Cereal Bars with Cinnamon Toast Crunch too while you're at it!
Jump to:
Ingredients
Here's everything you need to make these mostly homemade orange cream ice cream bars:
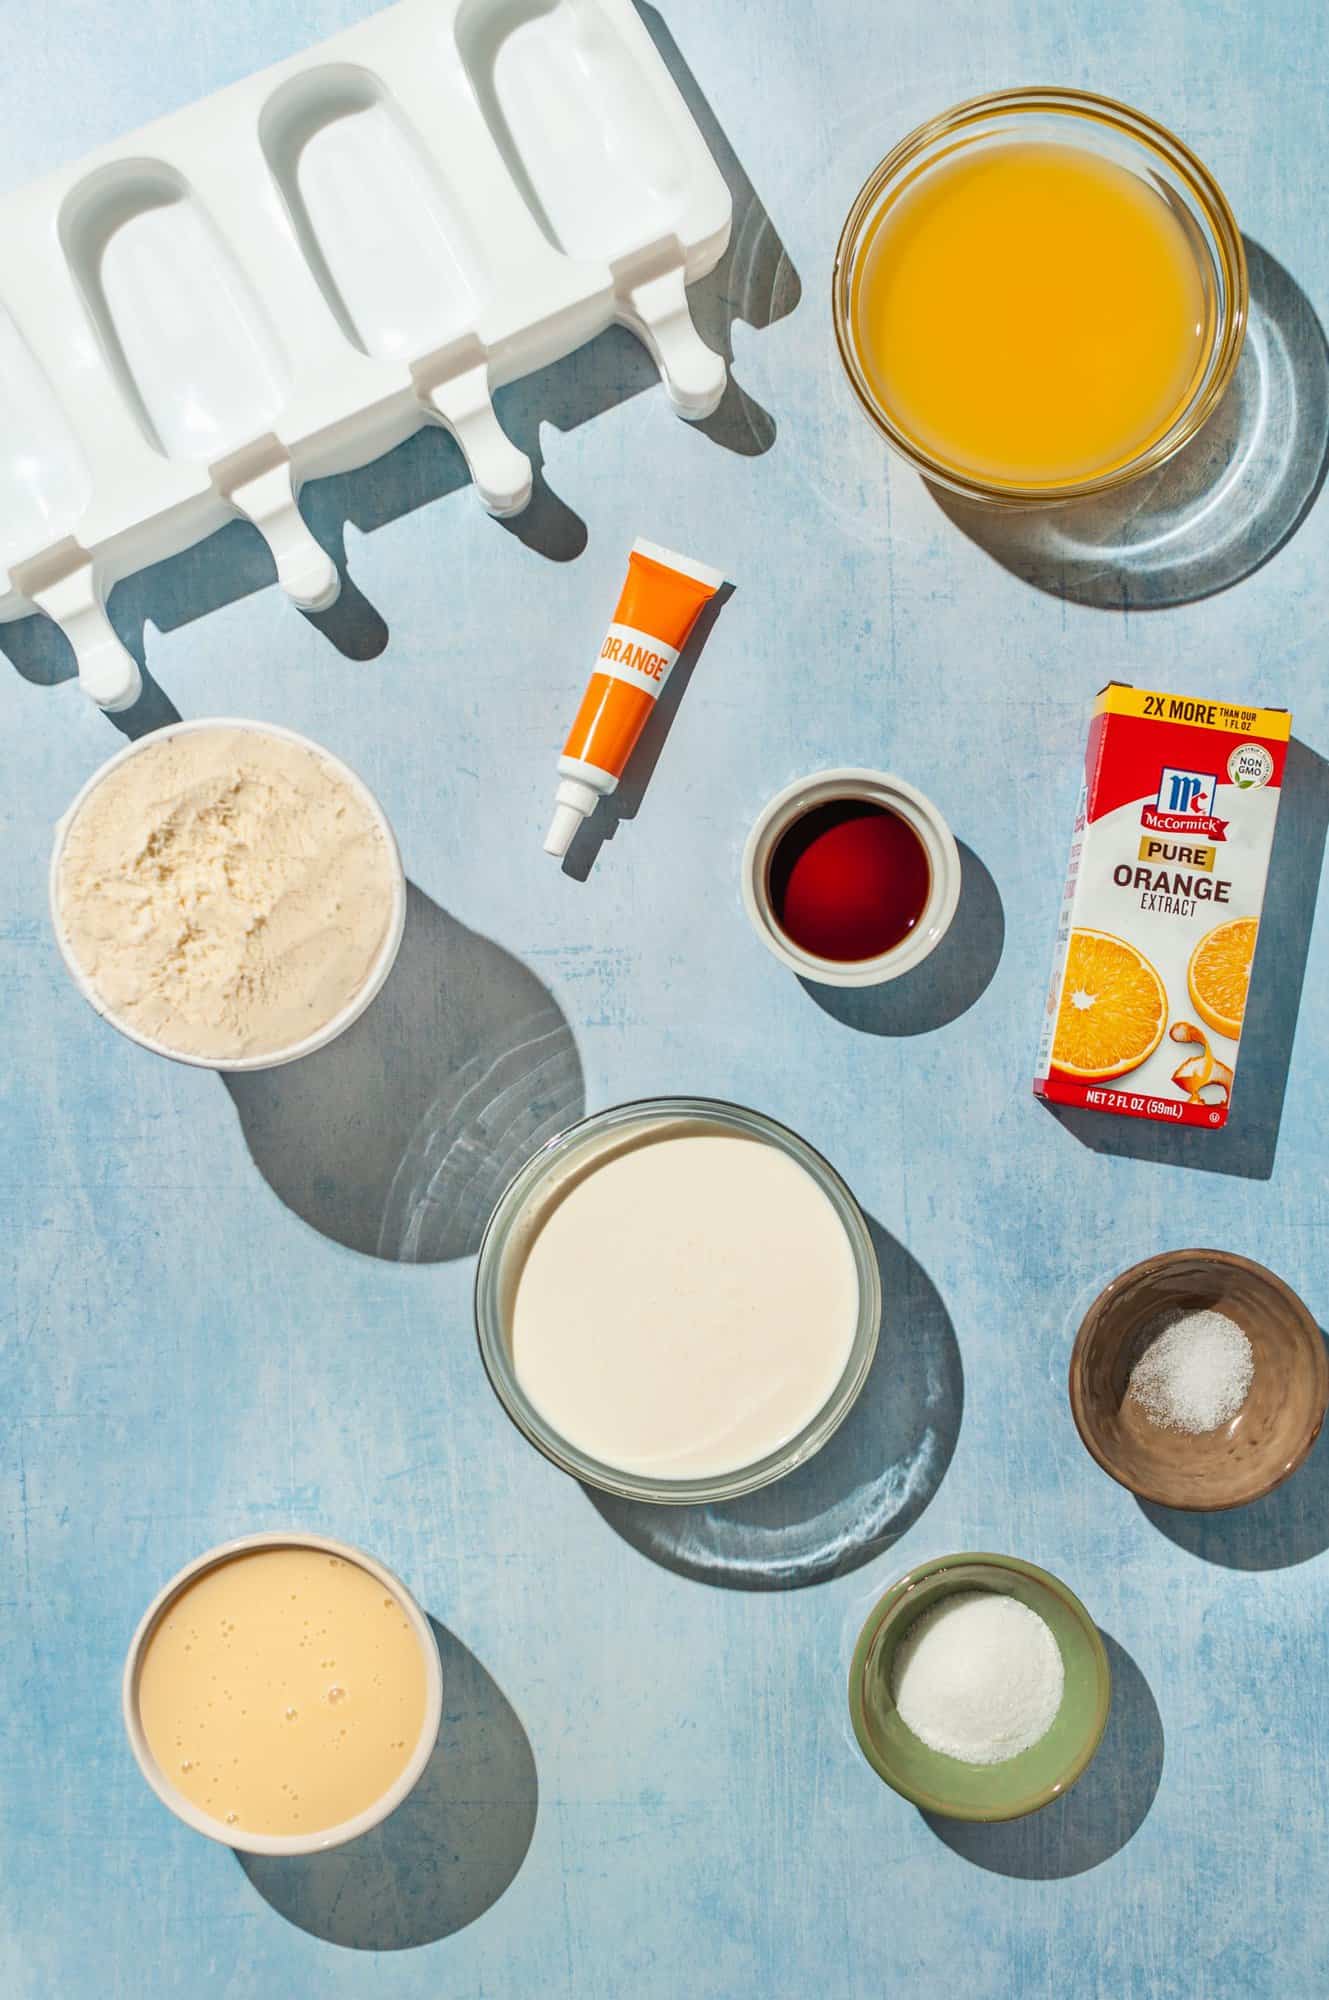
- Vanilla ice cream - I use store-bought vanilla ice cream, my favorites are Haagen Daas or Ben & Jerry's. If you want to really take these to the next level though, you could make your own vanilla ice cream!
- Heavy cream - or heavy whipping cream, they're the same thing.
- Sugar - just a little bit. You can leave it out if you want!
- Orange juice - you could use fresh squeezed or store-bought. If using store-bought, check the ingredient label. Pick one that is 100% orange juice with no sugar added, and don't use orange juice concentrate for this either. We actually want the extra water content and avoid adding extra sugar to make sure it firms up enough for sturdy popsicles.
- Vanilla extract
- Orange extract - I wanted more orange flavor but didn’t want to affect the texture of the sherbet by adding more juice or using concentrate. So I chose to add a little bit of orange extract! You could also substitute lemon extract, which will complement the orange flavor and add a little more tartness.
- Salt -I know it seems weird to add salt to this, but just a pinch! It’s necessary to balance out the sweetness.
- Orange food coloring - I used the orange from the neon gel food coloring packs you find at the supermarket. If you can’t find orange, you can use red + yellow. You also really don’t need it! It’s just for appearances to match the ones from your childhood. It doesn’t affect the taste or texture either way.
- Sweetened condensed milk - this comes in cans, not to be confused with evaporated milk, which is another canned shelf-stable milk product.
See recipe card for quantities.
How to Make Homemade Orange Creamsicles
The first step is portioning out vanilla ice cream into small pieces that will become the creamy center of the creamsicles. There are a few different ways you can go about this.
I used an old egg-shaped cookie cutter than I warped to be a little more oval-shaped. You're ideally looking for a shape that fits neatly inside the popsicle mold that you have.
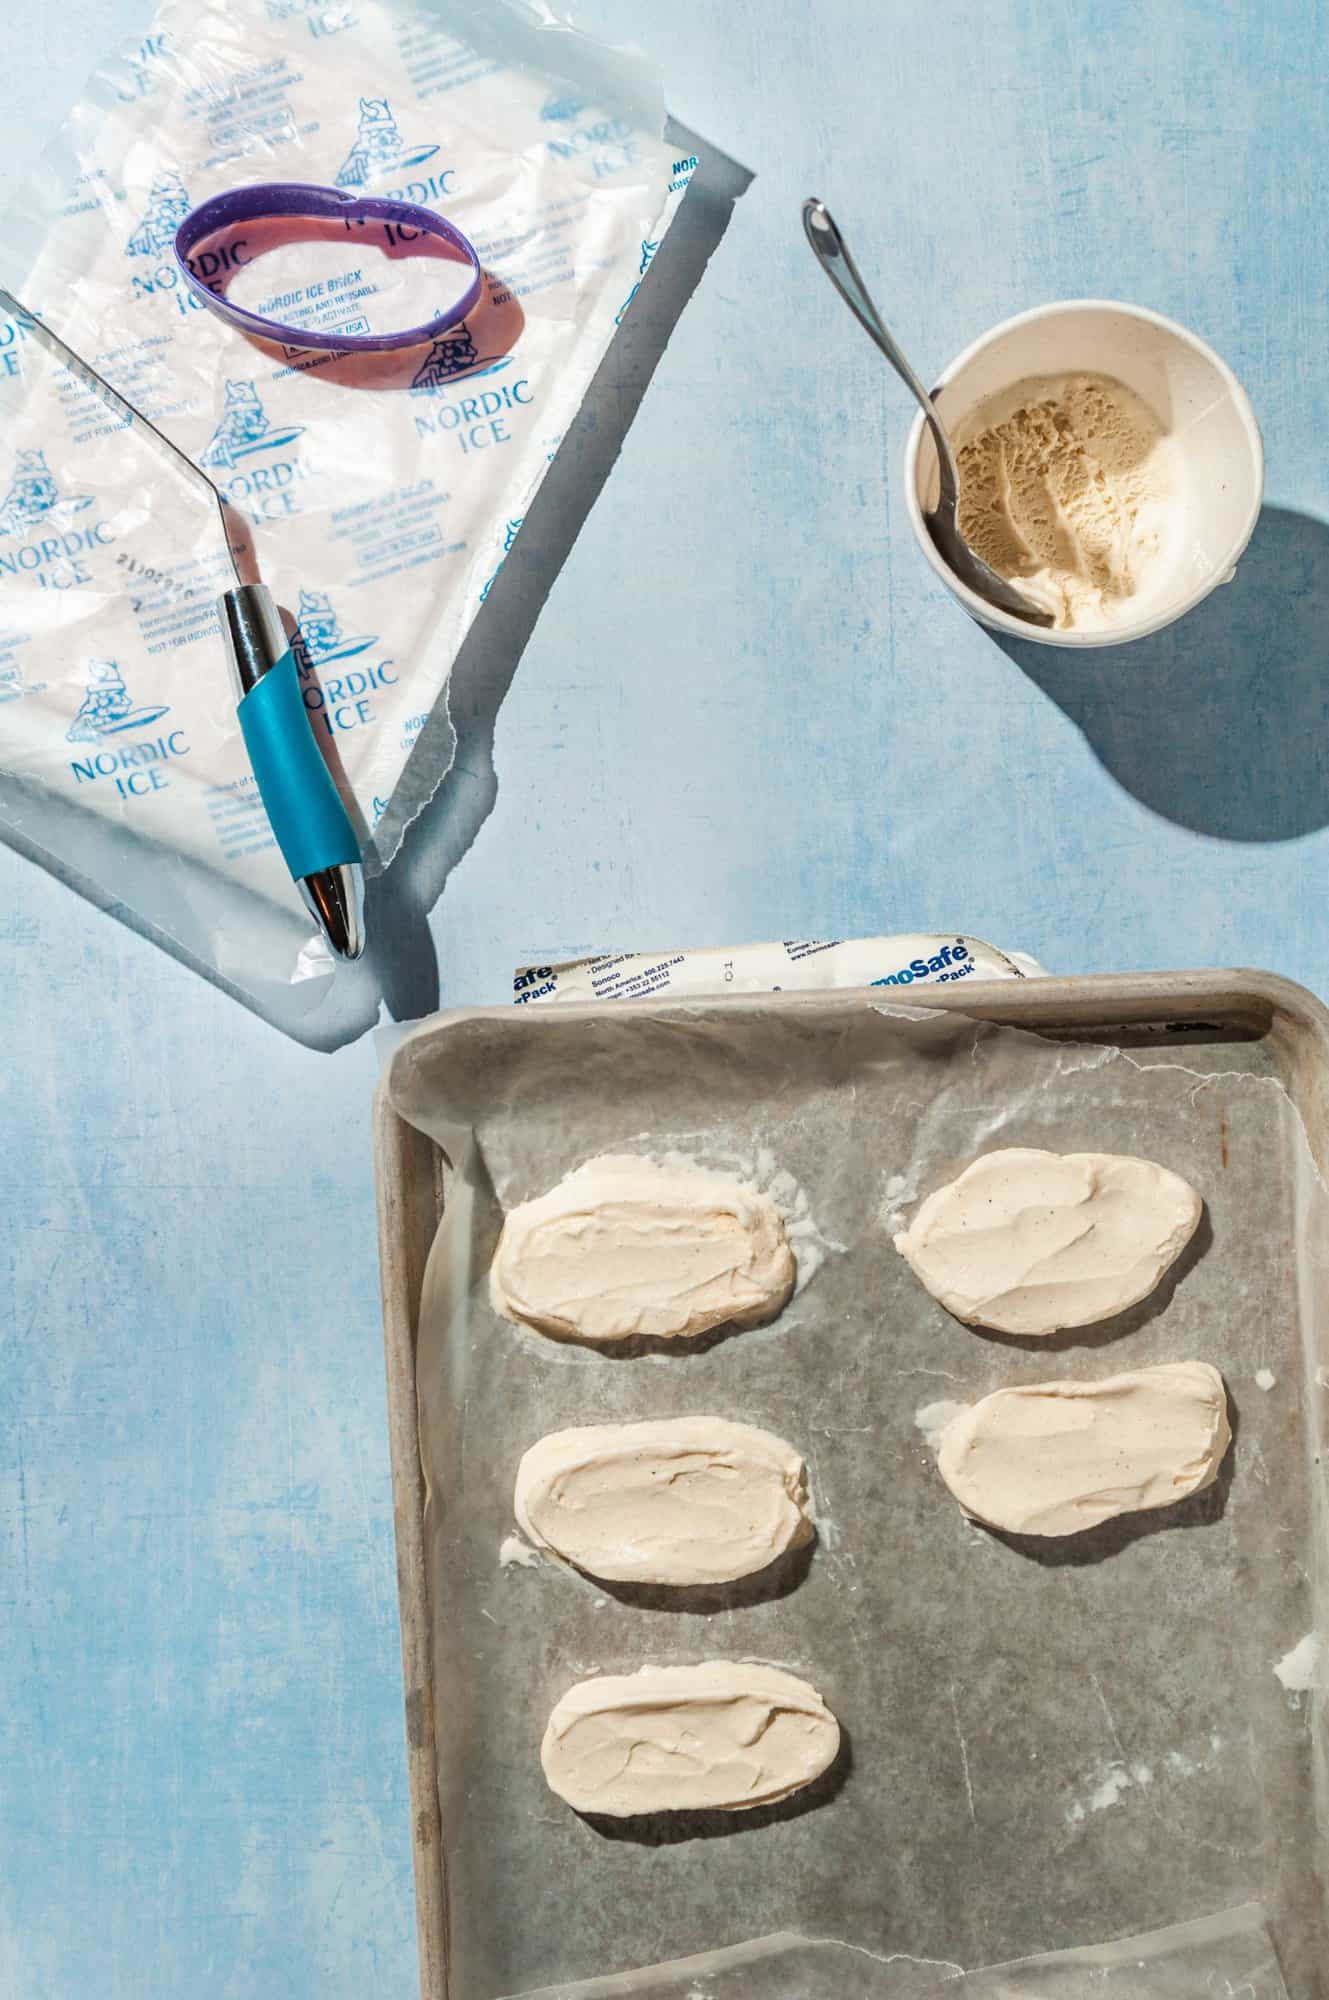
Then, you press a couple tablespoons of ice cream into the mold and transfer it to a cold sheet tray lined with wax paper. You want all your equipment to be very cold and work as quickly as possible to prevent a melty ice cream mess. I actually portioned the ice cream directly on top of a flat ice pack with a sheet of wax paper on top. I also put the sheet tray and cookie cutter in the freezer for 20 minutes before portioning.
If at any point during the process the ice cream gets too soft and messy, don't panic! Just throw the ice cream and the tray back into the freezer for 20 minutes or more, and continue when it’s colder again. I made these on a super hot day, so it took me 3 times to get all 8 ovals done!
For reference, the cavities of my popsicle molds are about 4 tablespoons each, so you're aiming to fill them about ½-¾ of the way with ice cream. It just depends on how much ice cream vs. orange sherbet you want in the ratio.
Once you have enough portions to fill all the popsicles (and maybe a few extras, just in case), set the tray in the freezer while you make the orange sherbet. You can place another layer on wax paper lightly on top to prevent freezer burn.
How to Make No-Churn Orange Sherbet
First, let me just say that I was utterly shocked to find out this is the correct spelling of sherbet. And it's apparently pronounced "SHER-bet" and not "SHER-BERT" which sounds so wrong to me. Anyone else with me on saying it wrong their entire lives?
Anyway, sherbet is a basically a combination of ice cream and fruit. So we are essentially making a no churn ice cream and adding fruit juice to it, which I guess makes it a no churn sherbet!
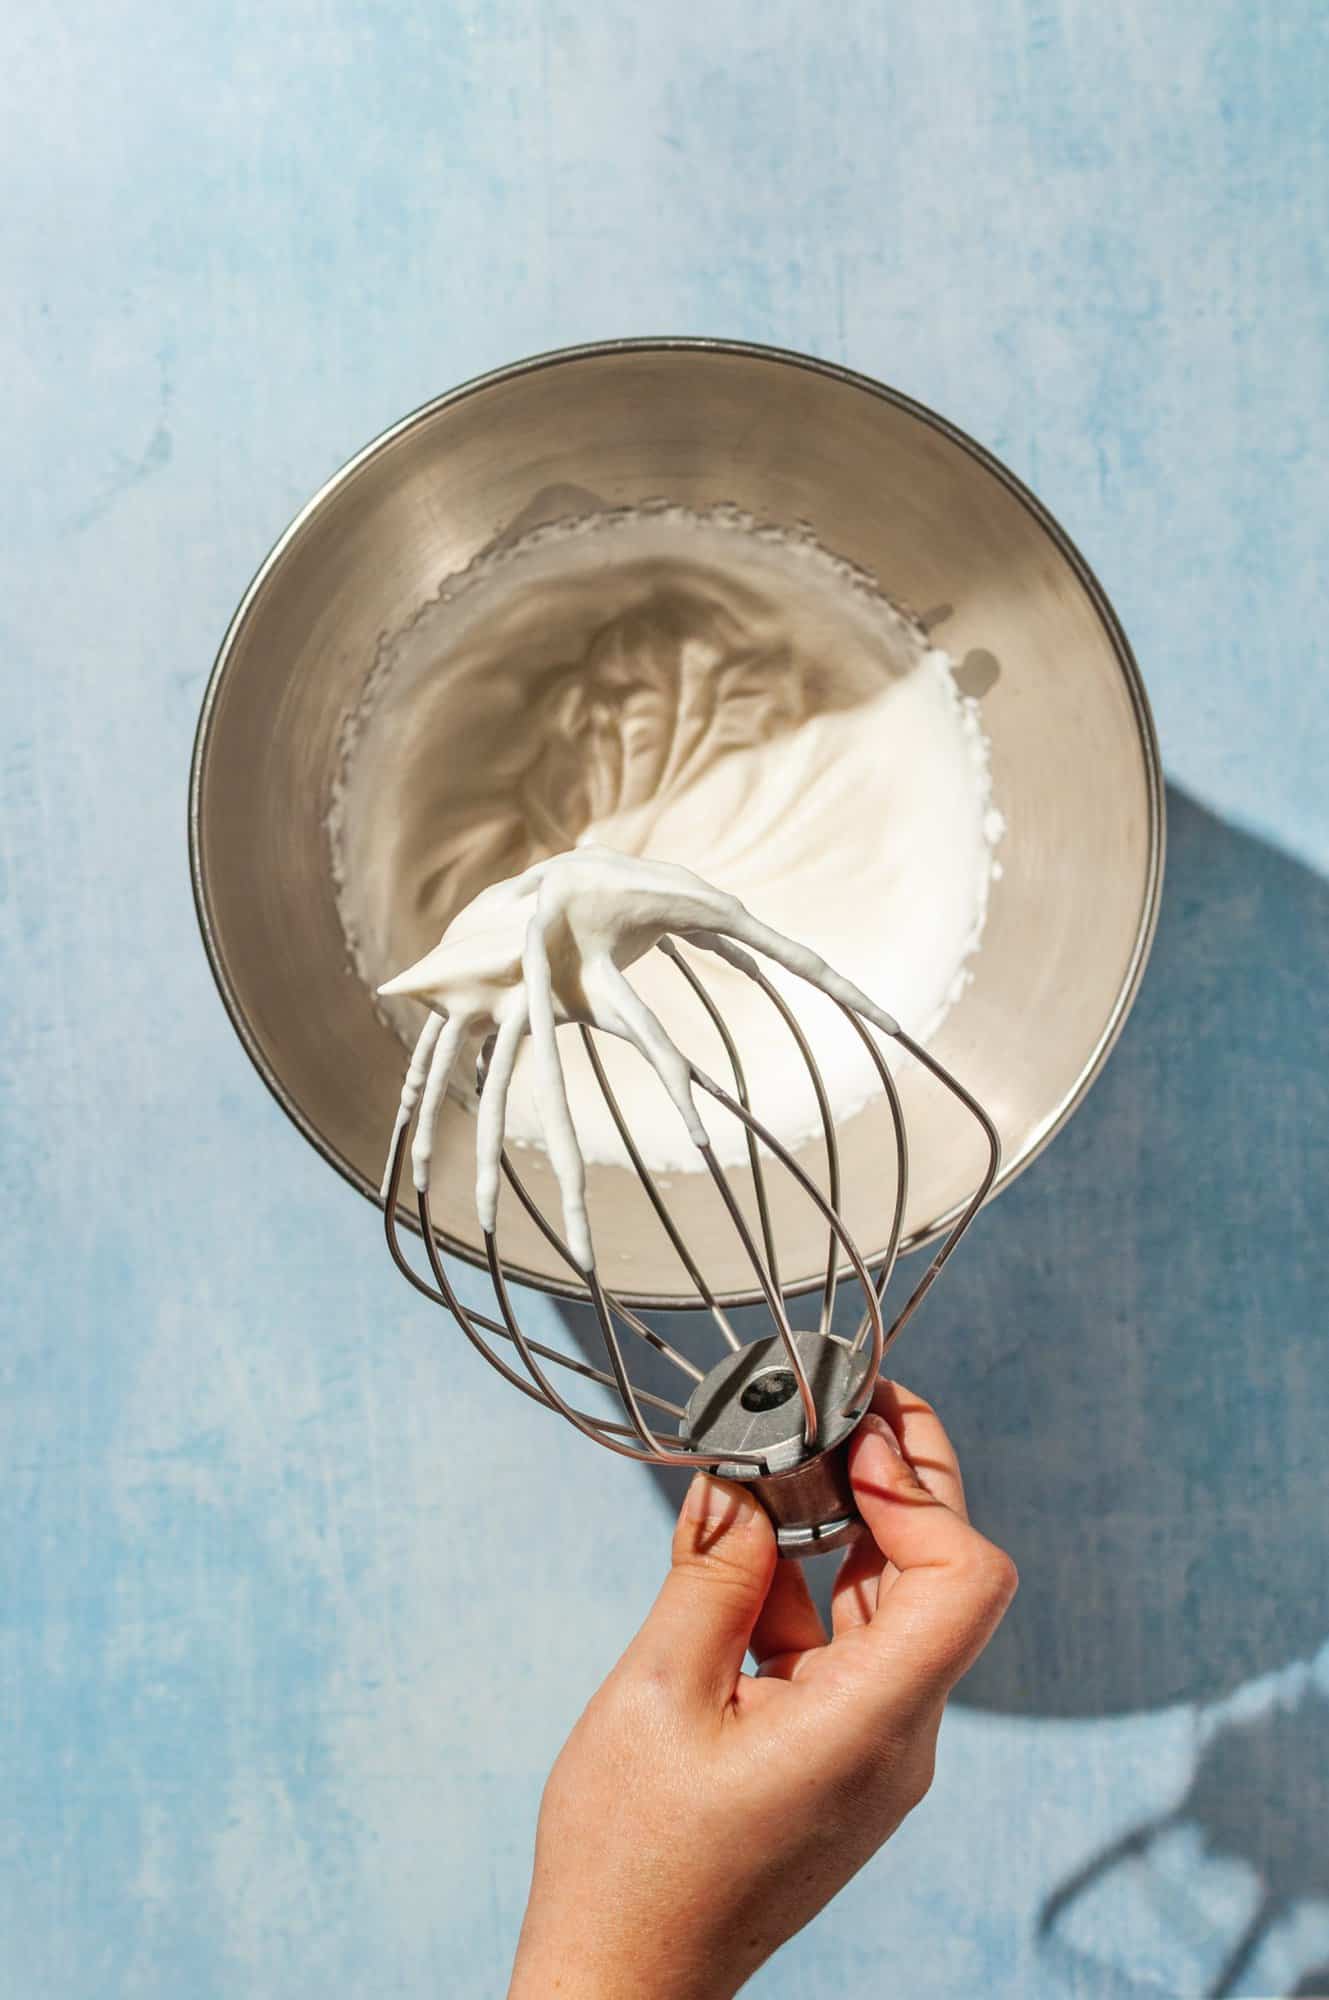
Start by whipping the heavy cream and sugar to stiff peaks. It helps if the cream and the bowl are very cold to begin with. If you have room, place the bowl and the whisk attachment in the freezer for 20 minutes before making the ice cream.
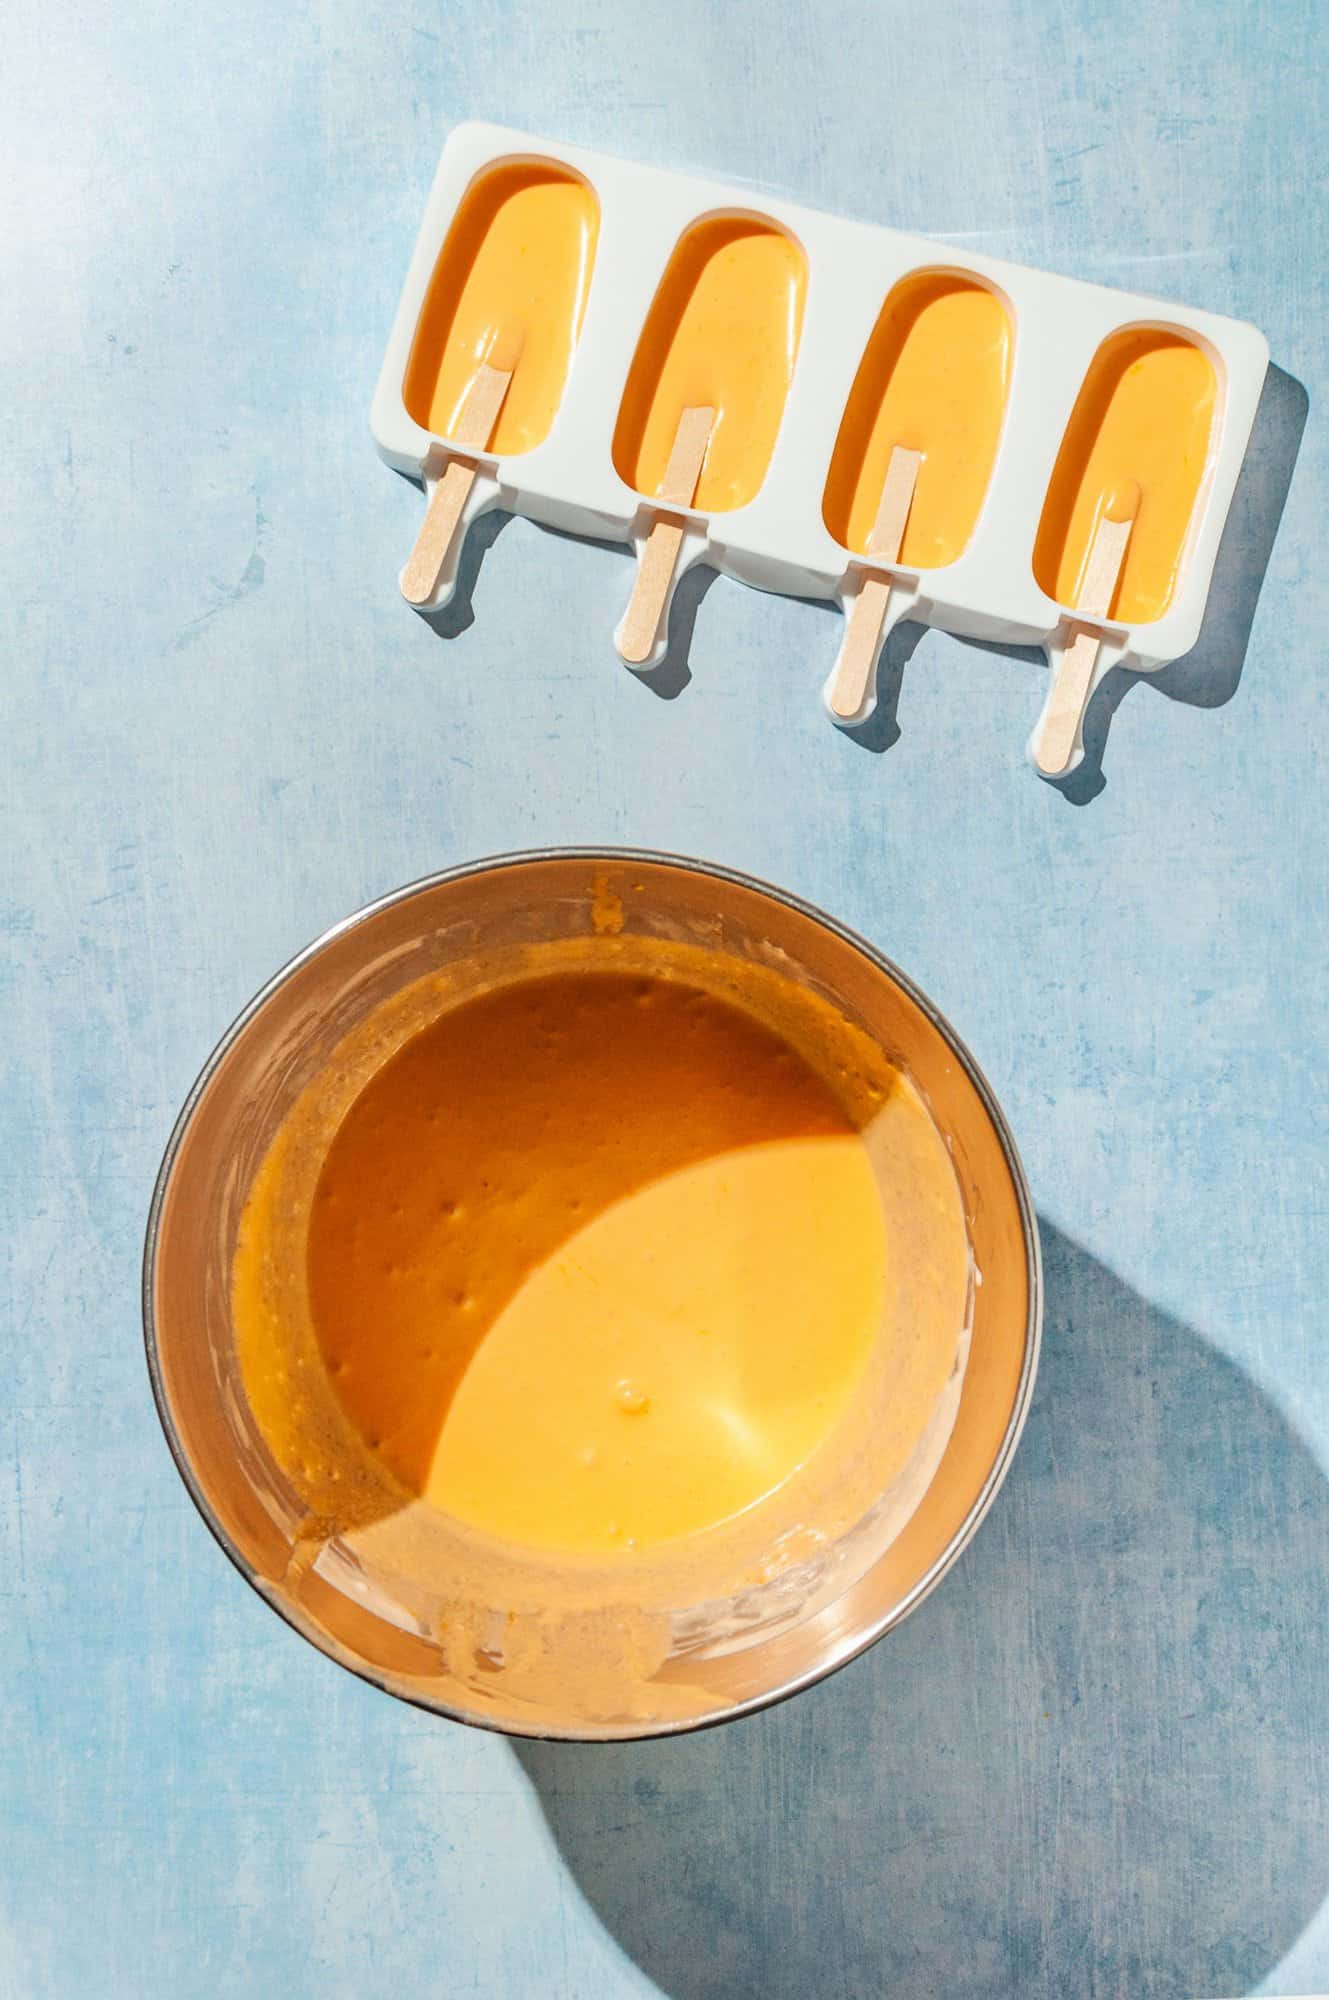
Then, add the rest of your ingredients: orange juice, vanilla extract, orange extract, sweetened condensed milk, and a pinch of salt. You'll also add the orange food coloring here. I used almost half a tube to get this bright color!
Now, fill the silicone popsicle mold part of the way with the orange sherbet mixture. You only need a thin layer at this point-- just under where the popsicle sticks lay. And you don't need to spray the mold with anything.
For best results, place the partially-filled popsicles into the freezer until partially set, at least 1 hour, before continuing. In the meantime, cover the remaining orange sherbet mixture with plastic wrap and place in the fridge.
How to Fill Popsicles with Vanilla Ice Cream
This is the trickiest part of the recipe, because you have to work quickly to keep distinct layers of orange and cream. Things can get messy real quick!
But also, don't worry too much about it. The worst thing that happens is the ice cream swirls into the sherbet a little bit. It looks kind of cool actually, and still tastes just as amazing!
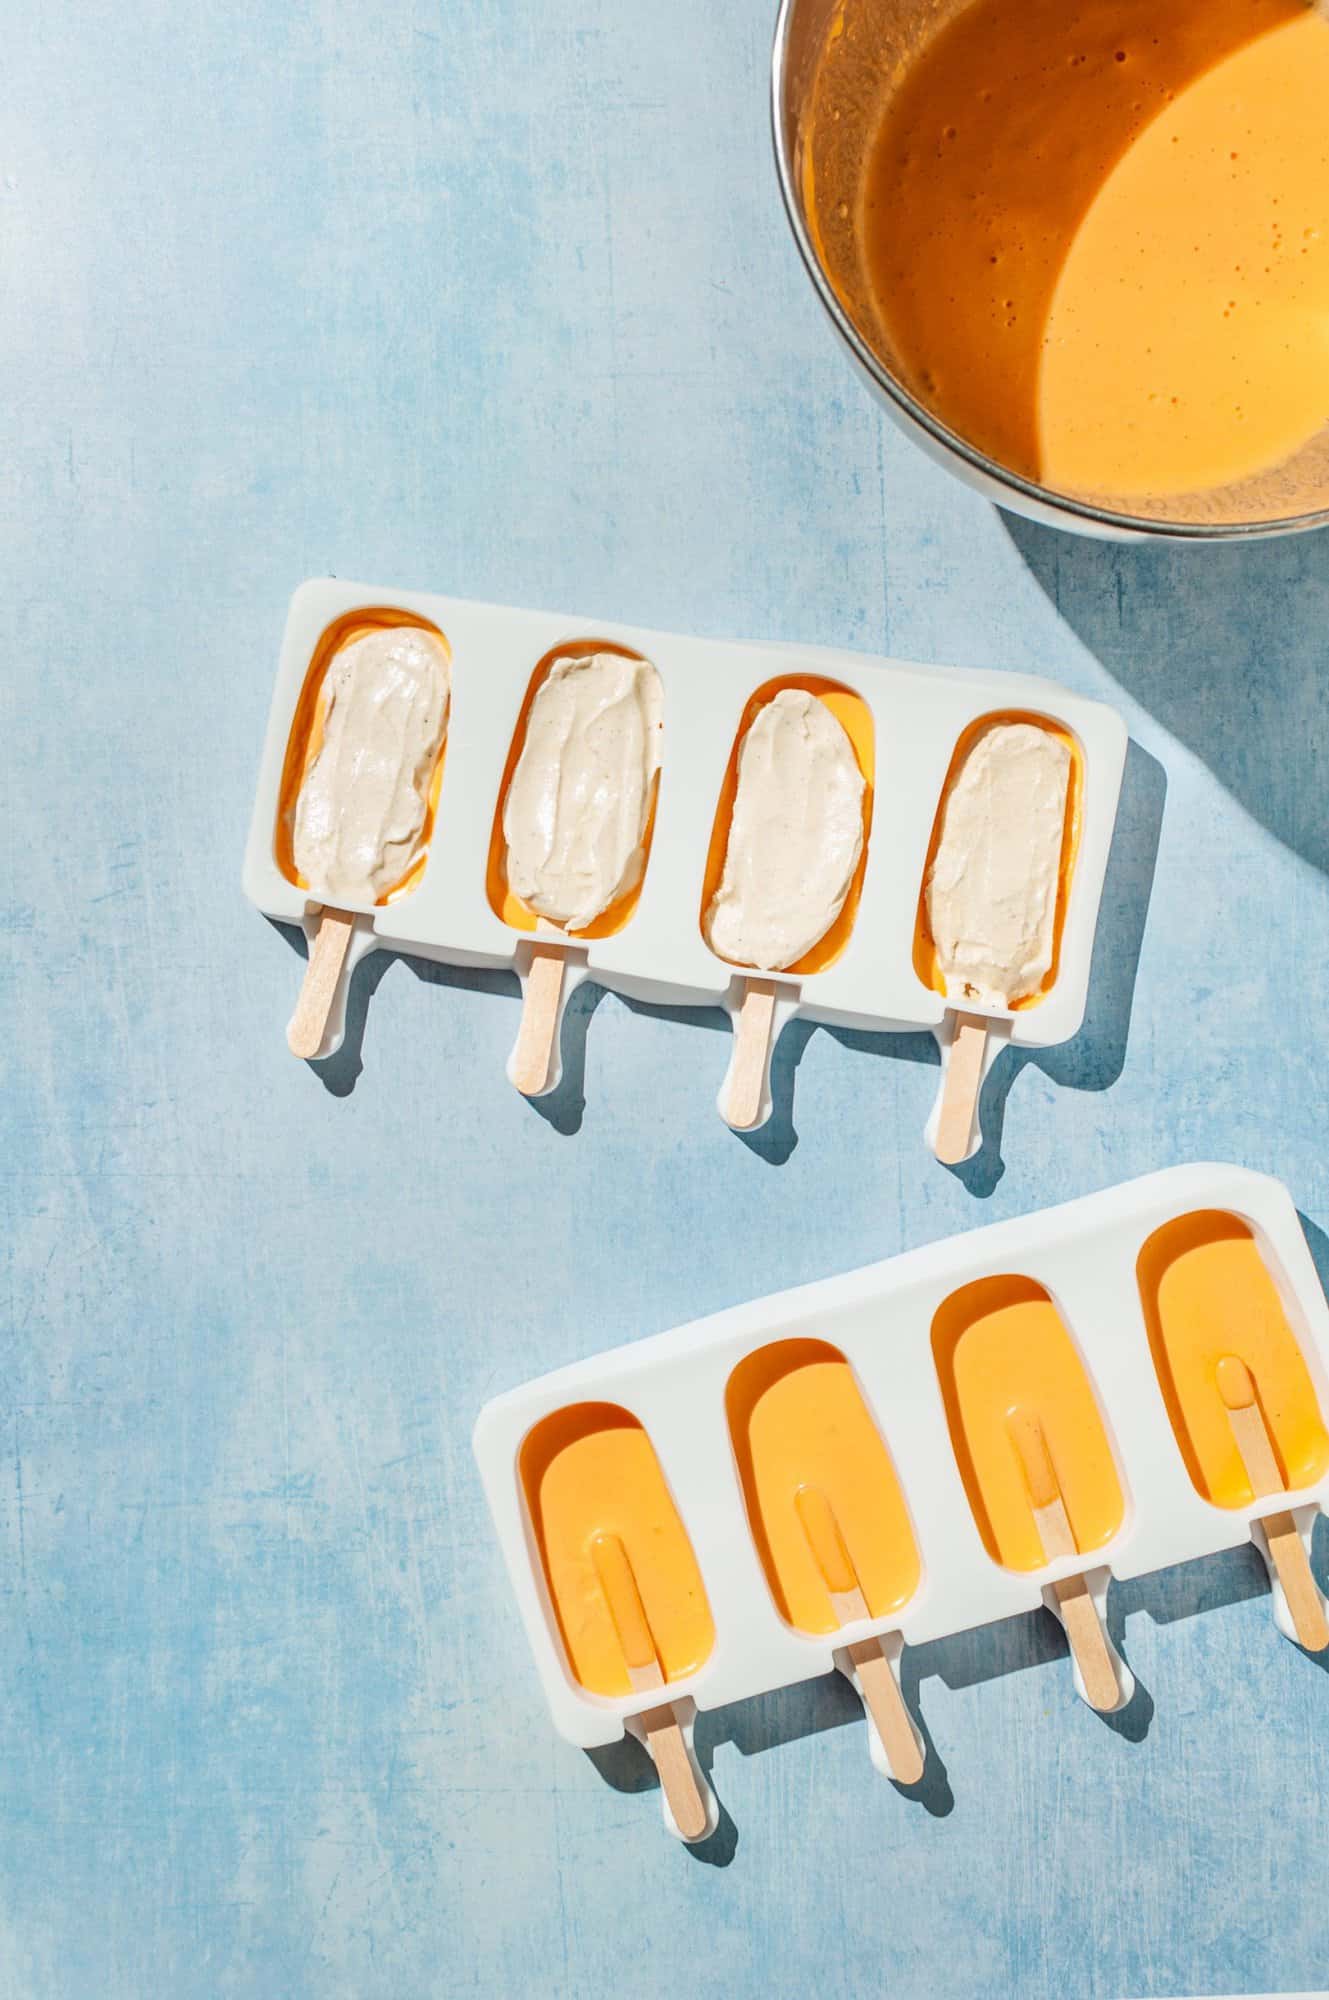
Working quickly, remove the popsicles and ice cream ovals from the freezer. Using a small offset spatula, place the ice cream in the center of each of the popsicles. Then, add more orange sherbet to cover the top and sides of the ice cream to conceal it. The creamsicles should be filled to the top of the mold now, with the ice cream fully or mostly hidden inside.
Again, you can do this in shifts. I think it makes sense to do just 4 popsicles at a time and take a freezer break in between to keep things nice and cold.
After the molds are filled, set the homemade orange creamsicles in the freezer to set completely -- at least 6 hours or overnight.
Also, you'll likely have a little extra sherbet mixture after filling the popsicles. You can transfer the remaining mixture to a freezer-safe metal pan and freeze it too! It will become creamy, scoop-able orange sherbet after a few hours in the freezer.
Top Tip
Clear some room in your freezer! You'll need to make enough room for the popsicle molds and the tray of portioned ice cream to lay flat.
Substitutions & Variations
For a super easy version of this recipe, you can make no-churn creamsicle ice cream in a loaf pan instead of making popsicles! It's the same process, but pour half of the sherbet mixture in first, followed by a layer of vanilla ice cream, and top with the remaining sherbet. If you want, you could create a swirl in the ice cream with a butter knife.
And if you want popsicles, but this whole process is a bit much for you, there's an easier way: mix a little bit of softened vanilla ice cream into the sherbet batter and just pour that into the popsicle molds. They will just be plain orange throughout, but will taste just as great! This is a great option if you have a vertical popsicle mold like this instead of one that lays flat.
This recipe also works for any fruit, not just orange! Just make sure you use 100% fruit juice or puree with no sugar added. If you add too much sugar to the mix, it might not freeze well enough for study popsicles. Try this recipe with these juices next:
- Strawberry
- Raspberry
- Blueberry
- Peach
- Lemon-lime
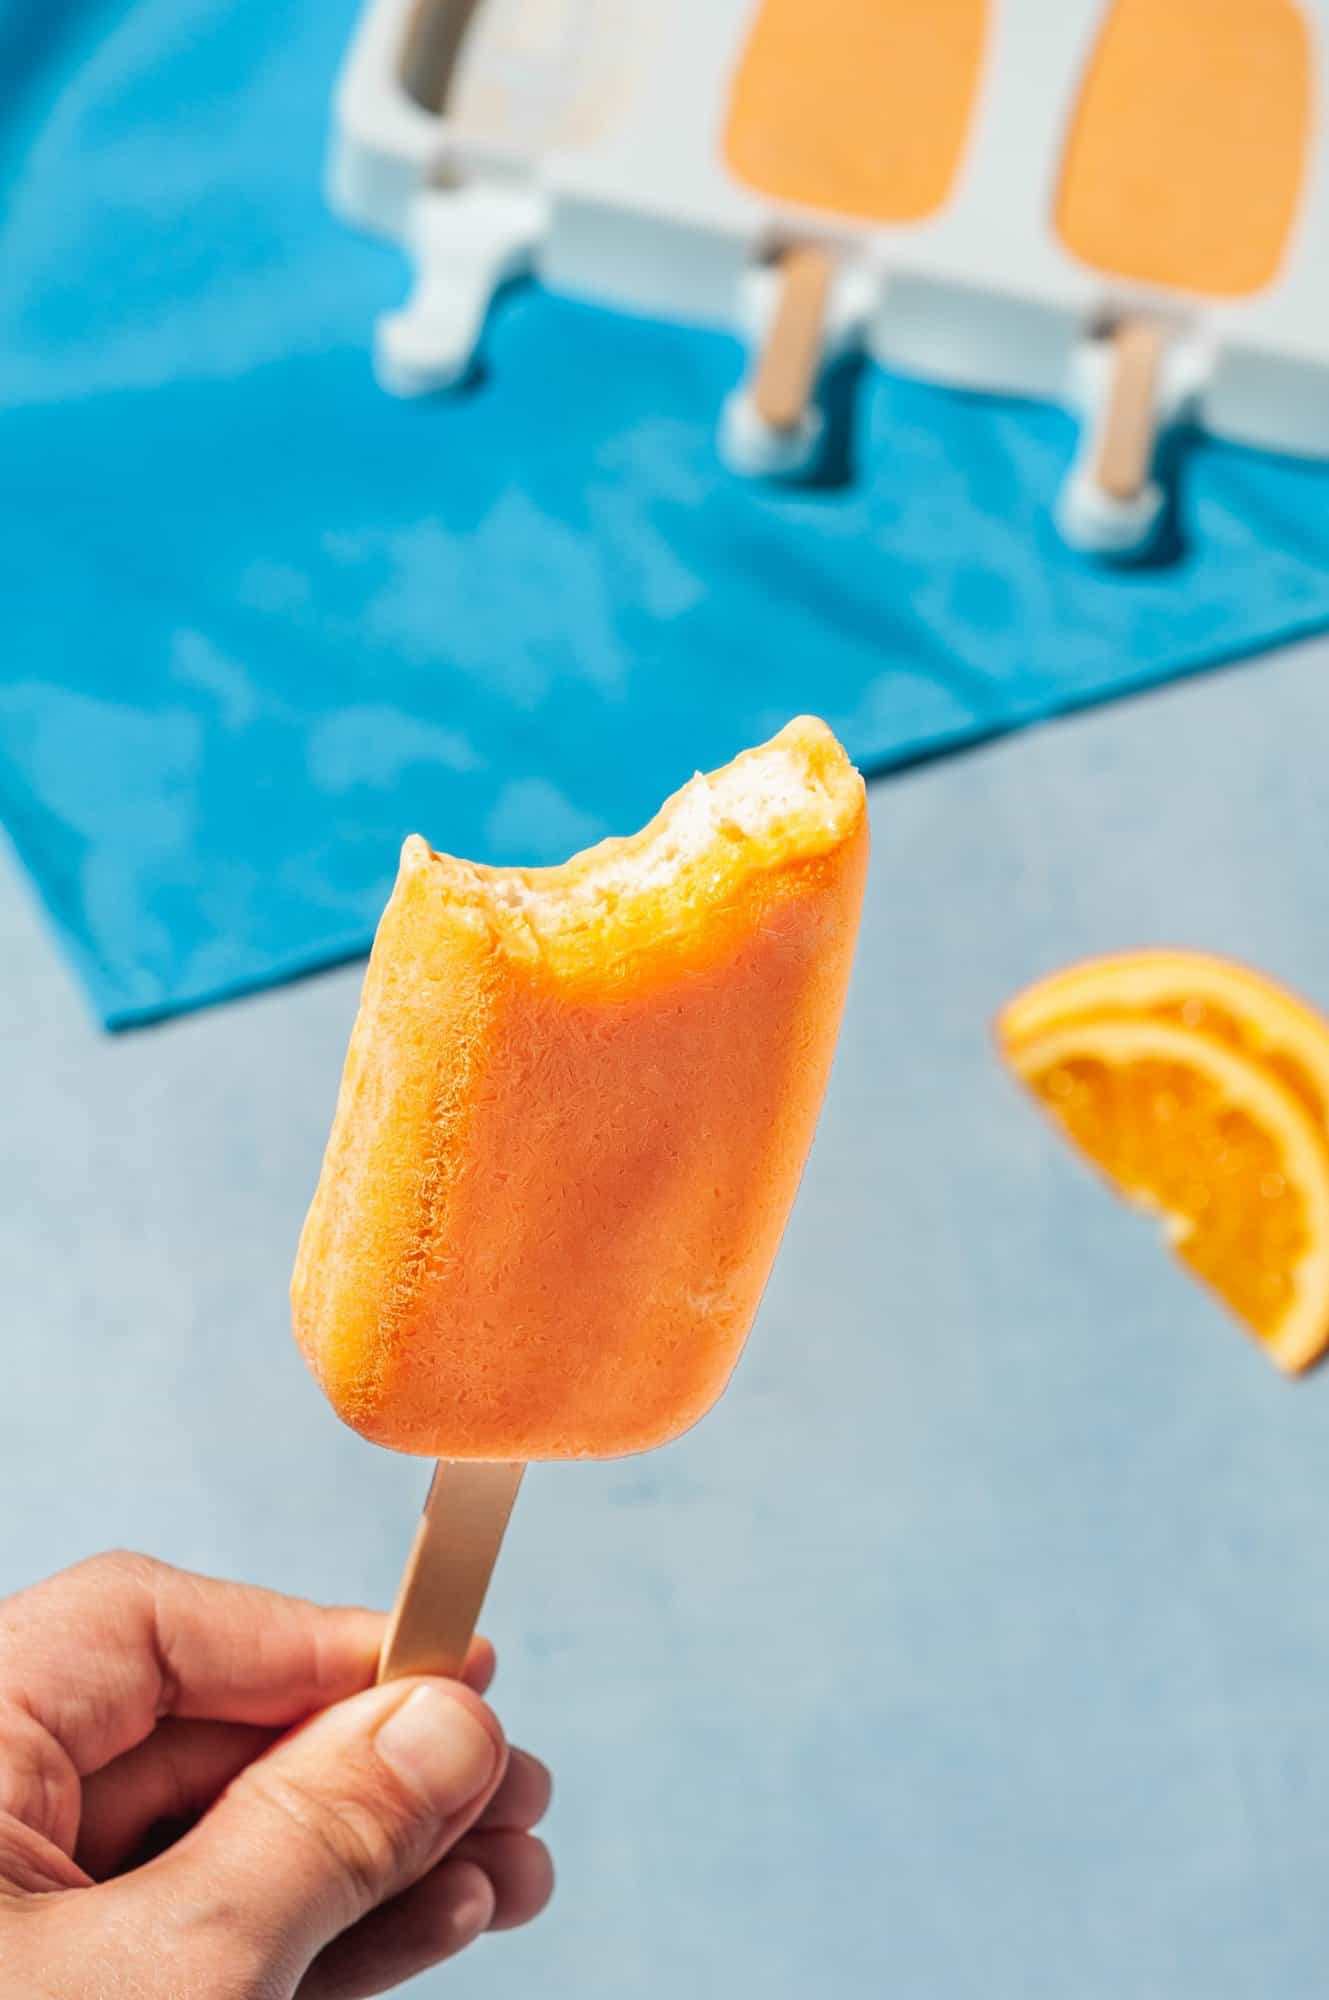
And if love you colorful fruit desserts, try my lemon meringue pie and whipped strawberry pie bars too ◡̈
Equipment
You'll only really need a couple of items to make this recipe:
- Popsicle mold - the kind that lays horizontally, as opposed to vertically. This helps because you're able to freeze in different layers, creating distinct layers of orange and vanilla.
- Small oval cookie cutter - something like this would work really well to portion the ice cream. The ideal situation is an oval or rectangle cutter that’s just smaller than the popsicle mold. But if you have a round biscuit cutter that's roughly the right size, you can cut circles of ice cream and gently press them into a rough oval shape. Alternatively, you can slice the ice cream into large rounds by slicing straight through the carton. Then, cut the ice cream into rectangular pieces that will fit nicely in the center of each pop. Lots of options!
- Wax paper - or parchment paper, keeps the mess in control and prevents ice cream from sticking to the sheet tray.
- Electric mixer - I used a stand mixer with the whisk attachment to whip the cream to full volume, but you can also use a handheld electric mixer.
Extra Equipment (optional)
Here's some more equipment you don't need, but will definitely be helpful to have on hand:
- Flat ice packs - this type of reusable ice pack is perfect for portioning the ice cream. Since they lay totally flat, you can use them as a work surface.
- Ice cream maker - I chose to go the easier route and use store-bought ice-cream, so you don't need an ice cream maker for this recipe! However, once you see how easy and fun it is to make your own ice cream, you might become a little obsessed. If you want to try making your own vanilla ice cream for these homemade orange creamsicles, this Cuisinart ice cream maker is highly rated and seems like a really good value! *adds to wish list*
- Juicer - if using fresh squeezed juice, 1 ½ cups is a lot to do by hand, so I'd recommend an electric juicer. You could also use a food processor or blender to puree the oranges. Just know that it will have some pulp, so it won’t be totally smooth.
- Small offset spatula - this helps to transfer the ice cream centers.
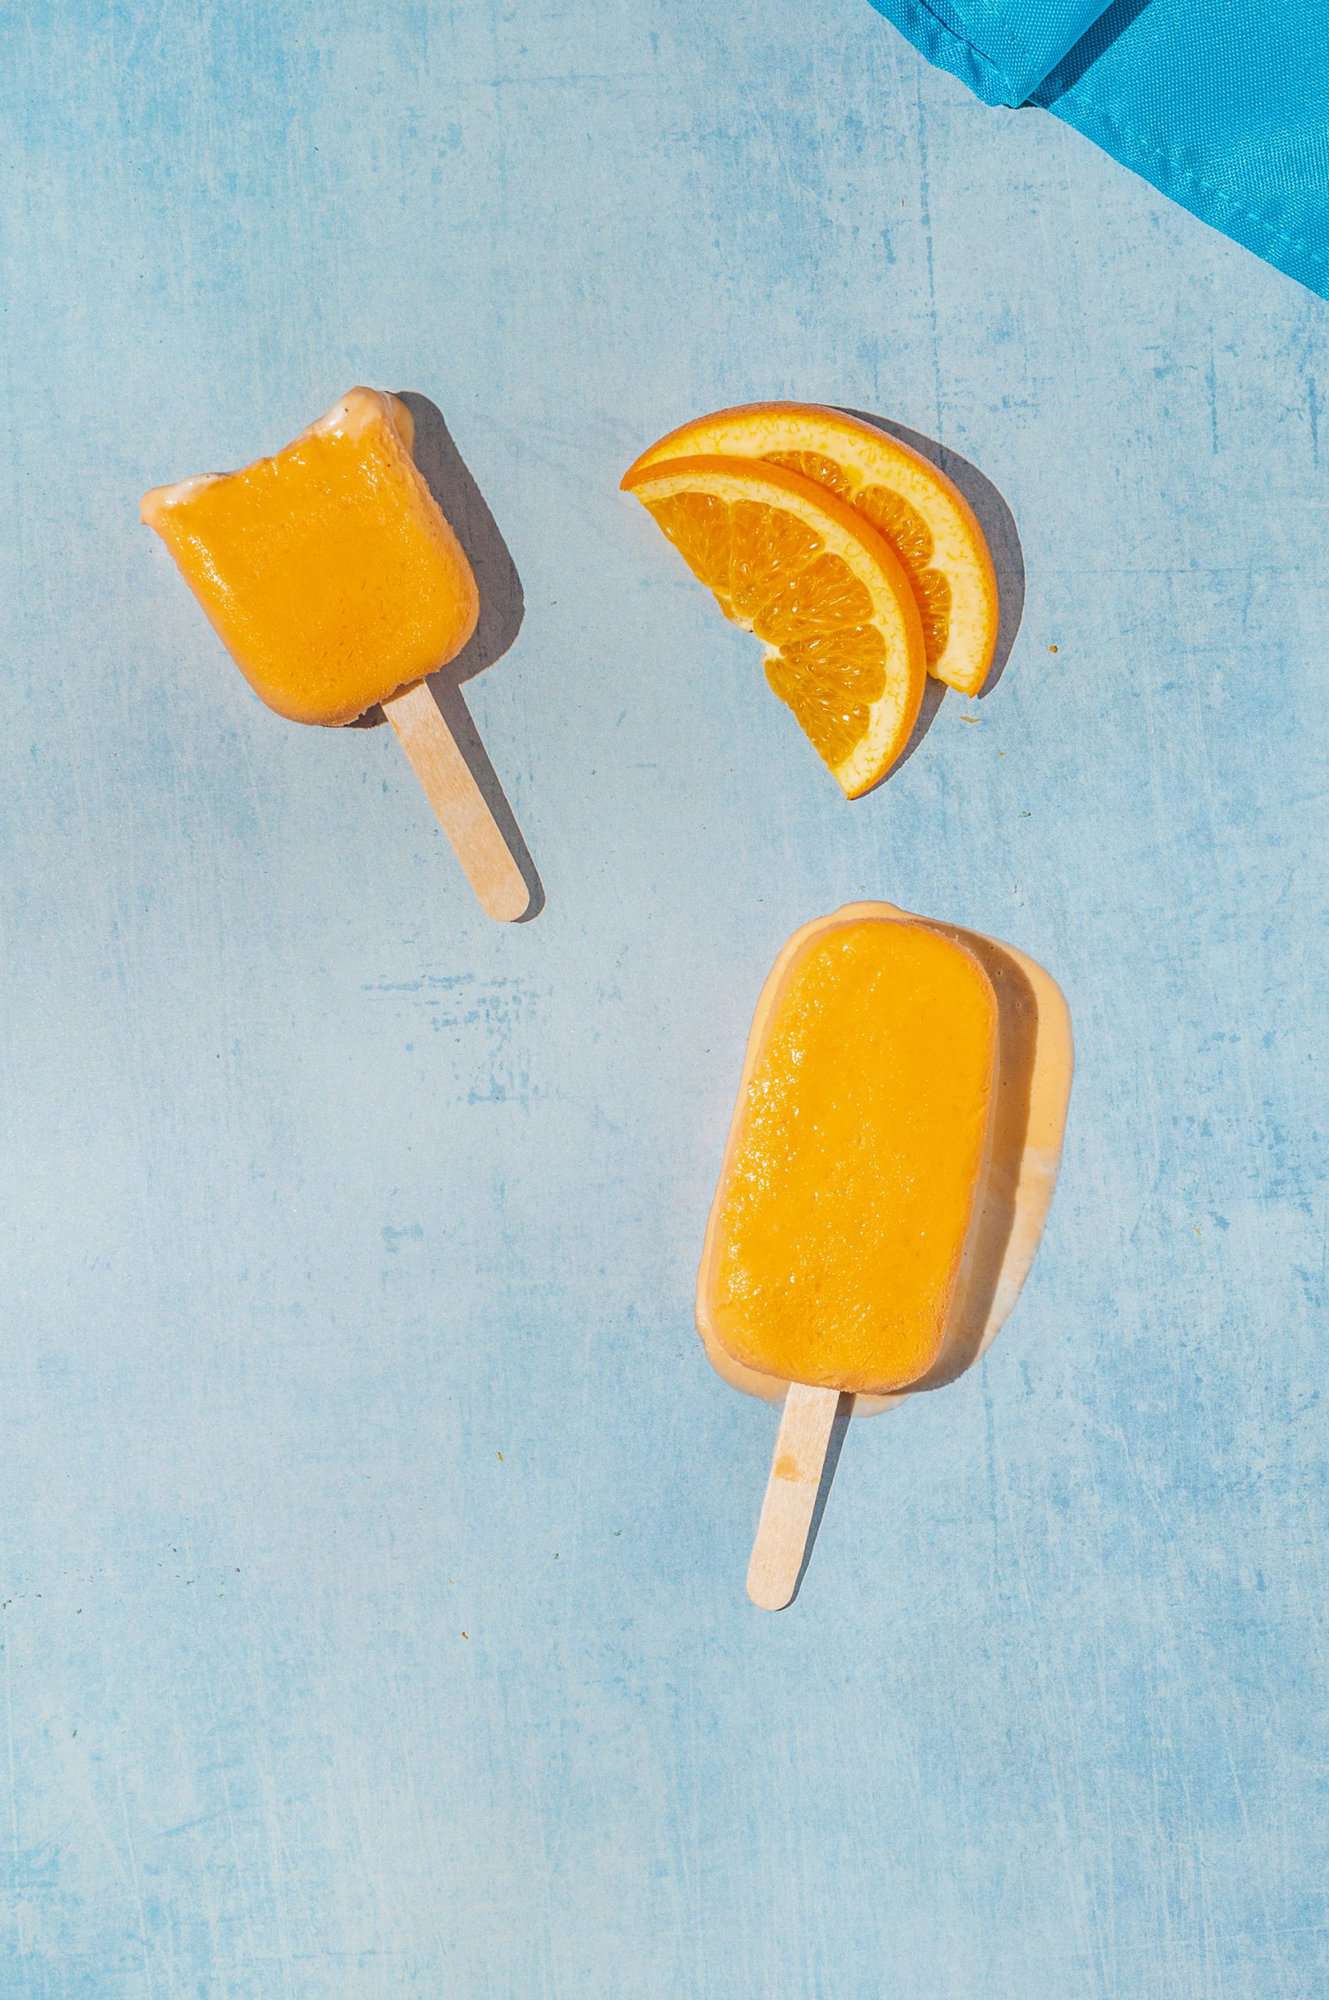
How to Store Orange Cream Ice Cream Bars
You can store these uncovered in the fridge for 24 hours while they set. Much longer than that, and you might start to see some freezer burn. They'll still be perfectly fine to eat though!
To prevent freezer burn, transfer the homemade orange creamsicles to individual plastic bags. This popsicle mold is great because it comes with popsicle sticks AND storage bags that fit perfectly and have an adhesive strip to seal! Stored this way, they will keep for 3-6 months in the freezer.
FAQ
Sorbet is made by flavoring ice, usually with fruit juice, and often contains added sugar. It's totally dairy-free and vegan (or it should be - check your ingredient labels!)
Sherbet is fruit puree with some dairy added. So it's sort of like a combination of ice cream and sorbet.
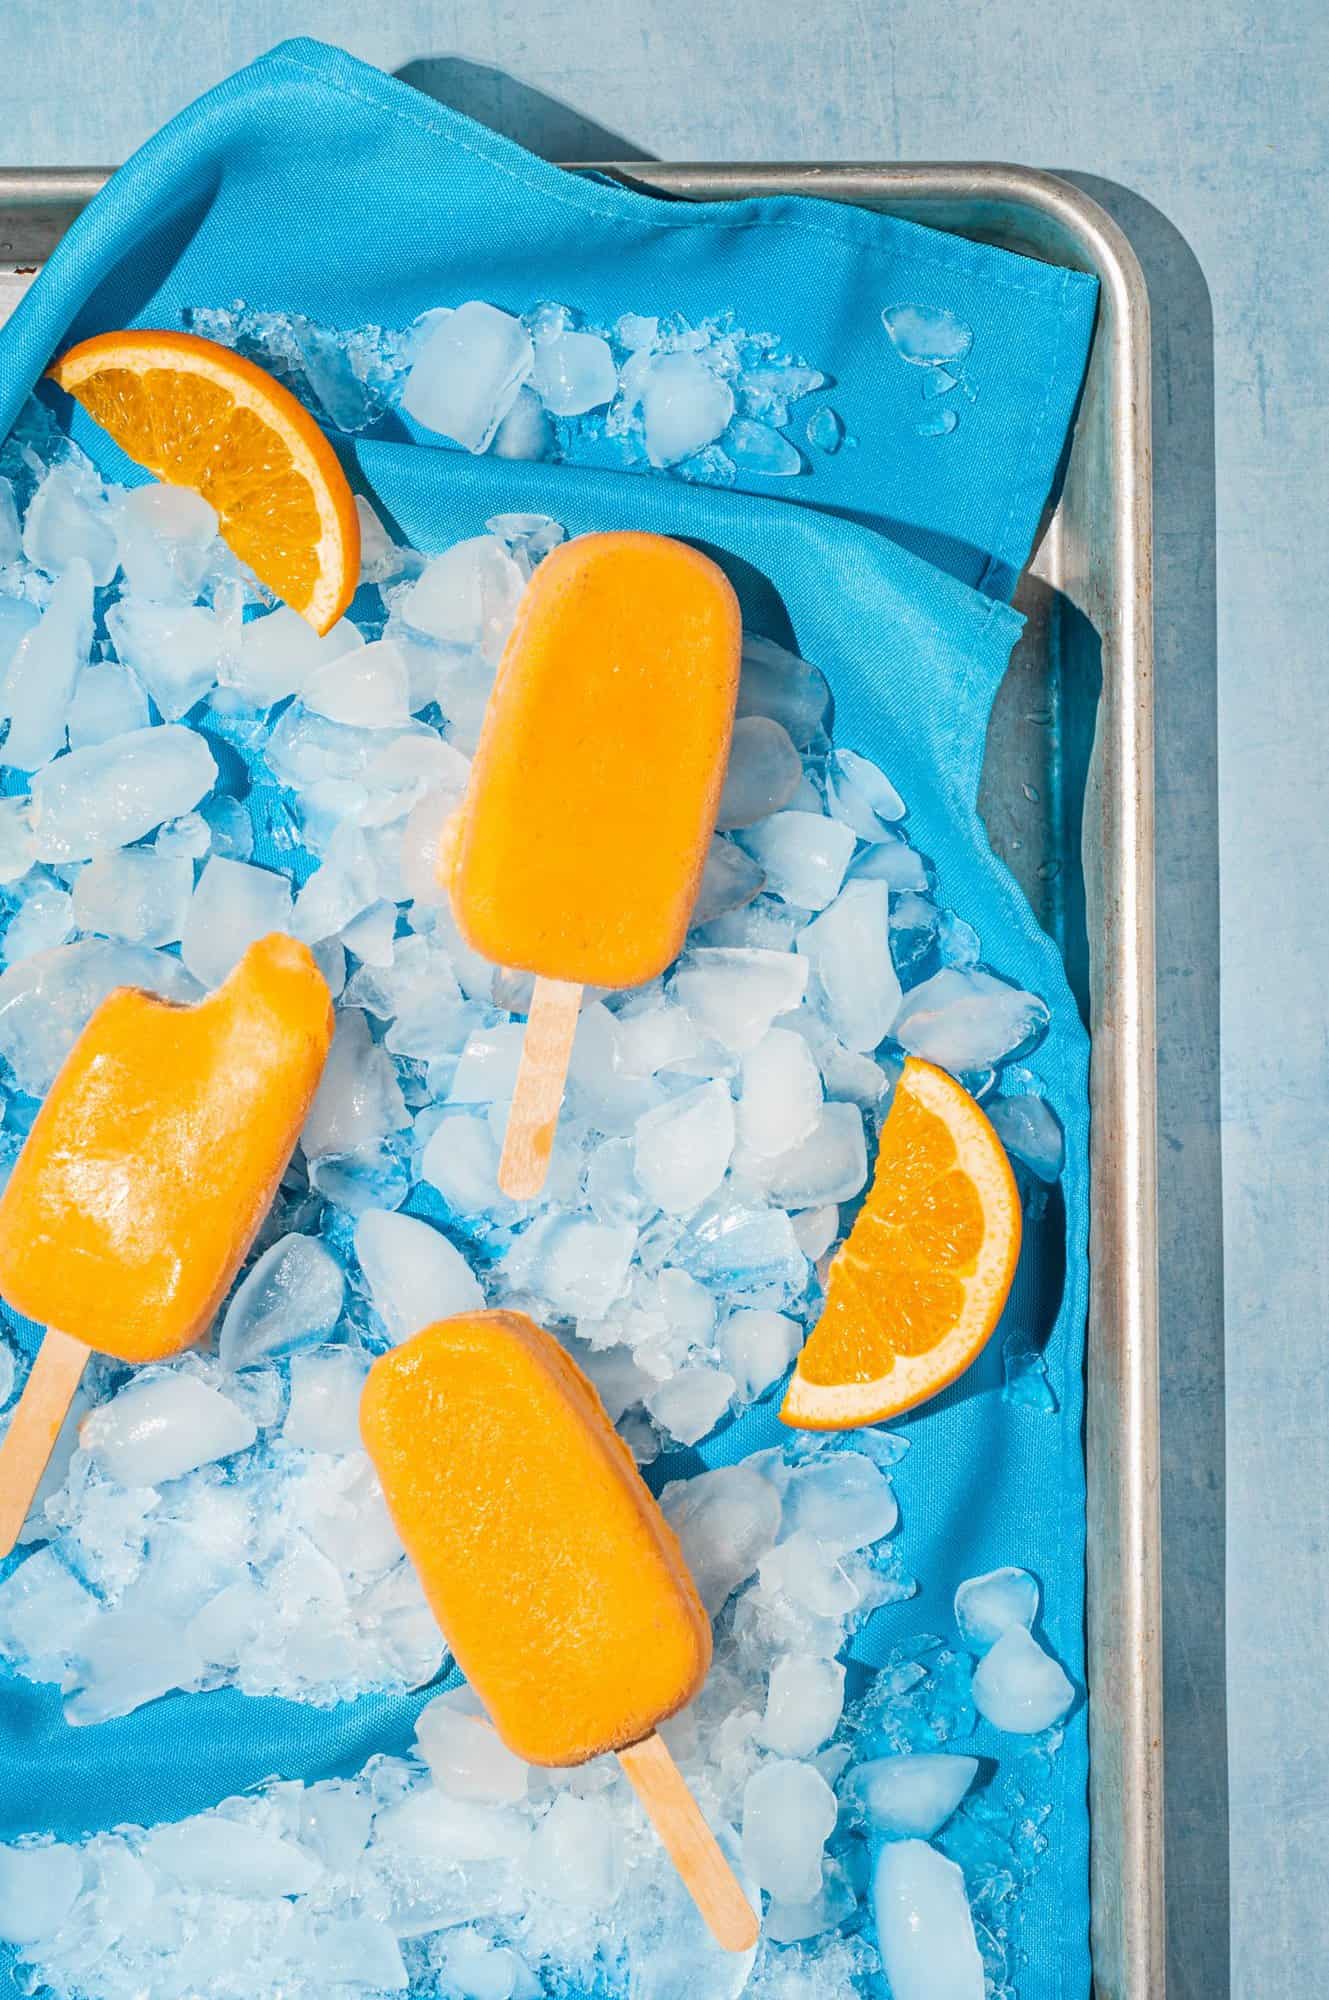
Homemade Orange Creamsicle Ice Cream Bars
This is a Good Humor Orange Creamsicle copycat recipe with some serious upgrades. We start with a homemade orange sherbet base made with real fruit juice. And you can use your favorite brand of vanilla ice cream for the creamy cool center. The nostalgia is real, and the citrus and cream combo can't be beat!
Ingredients
- 1 pint vanilla ice cream
- ¾ cup heavy cream, chilled
- 1 tablespoon granulated sugar
- ¾ cup sugar-free 100% orange juice
- 1 teaspoon vanilla extract
- 1 teaspoon orange extract (optional or sub. lemon)
- Pinch of salt
- ⅔ cup sweetened condensed milk
- Neon orange gel food coloring (or red + yellow)
Instructions
- Portion out the ice cream for the creamy vanilla filling: Working quickly, place 2-3 tablespoons of ice cream into a small oval cookie cutter.* Press firmly, using the back of a spoon or a flat-bottomed shot glass, and transfer onto a cold sheet tray lined with wax paper. Cover the tray loosely with another sheet of wax paper and place in the freezer.
-
Make no-churn orange sherbet: In the bowl of a stand mixer, whip the heavy cream + sugar to stiff peaks. Then add the remaining ingredients: orange juice, vanilla, orange extract, salt, and sweetened condensed milk, and mix on low to combine. Add food coloring, if using, starting with a couple teaspoons and adding more until you reach your desired color.
-
Add popsicle sticks to the openings in the molds. Fill the molds about ⅓ full with the orange sherbet mixture, just until it almost reaches the popsicle stick, and set in the freezer for about 1 hour. Cover the remaining sherbet mixture with plastic wrap and place in the fridge.
-
After 1 hour, take the vanilla ice cream ovals and place them in the center of each of the popsicle molds. Take the remaining orange sherbet mixture* and pour it around the sides and on top of the ice cream in a thin layer to fully (or mostly) enclose the vanilla ice cream. Chill until fully set - at least 6 hours or overnight.
- Gently remove the popsicles from the molds, careful not to break them. Serve immediately or transfer to individual plastic bags and keep frozen until ready to serve.
Notes
- Try to find a small mold that fits inside of the cavity of your popsicle mold. Any shape works! Alternatively, you can slice the pint of ice cream into slabs using a sharp knife. Then, cut the ice cream into rectangular shapes that will fit in the center of the popsicles.
- In Step 4, mix the orange sherbet mixture well before continuing with the recipe. After sitting in the fridge for an hour, it's likely to have separated, but will come right back together with a quick mix.
- If you have extra orange sherbet mixture, you can freeze it separately. Transfer it to a metal container and freeze until solid.



Anonymous says
So fun and nostalgic!