A chocolate lover’s dream! This decadent molten lava cake recipe makes 3 individual-sized cakes - perfect for 2, with one extra to share.
This recipe was sponsored by Selefina. All opinions in this blog post are my own.
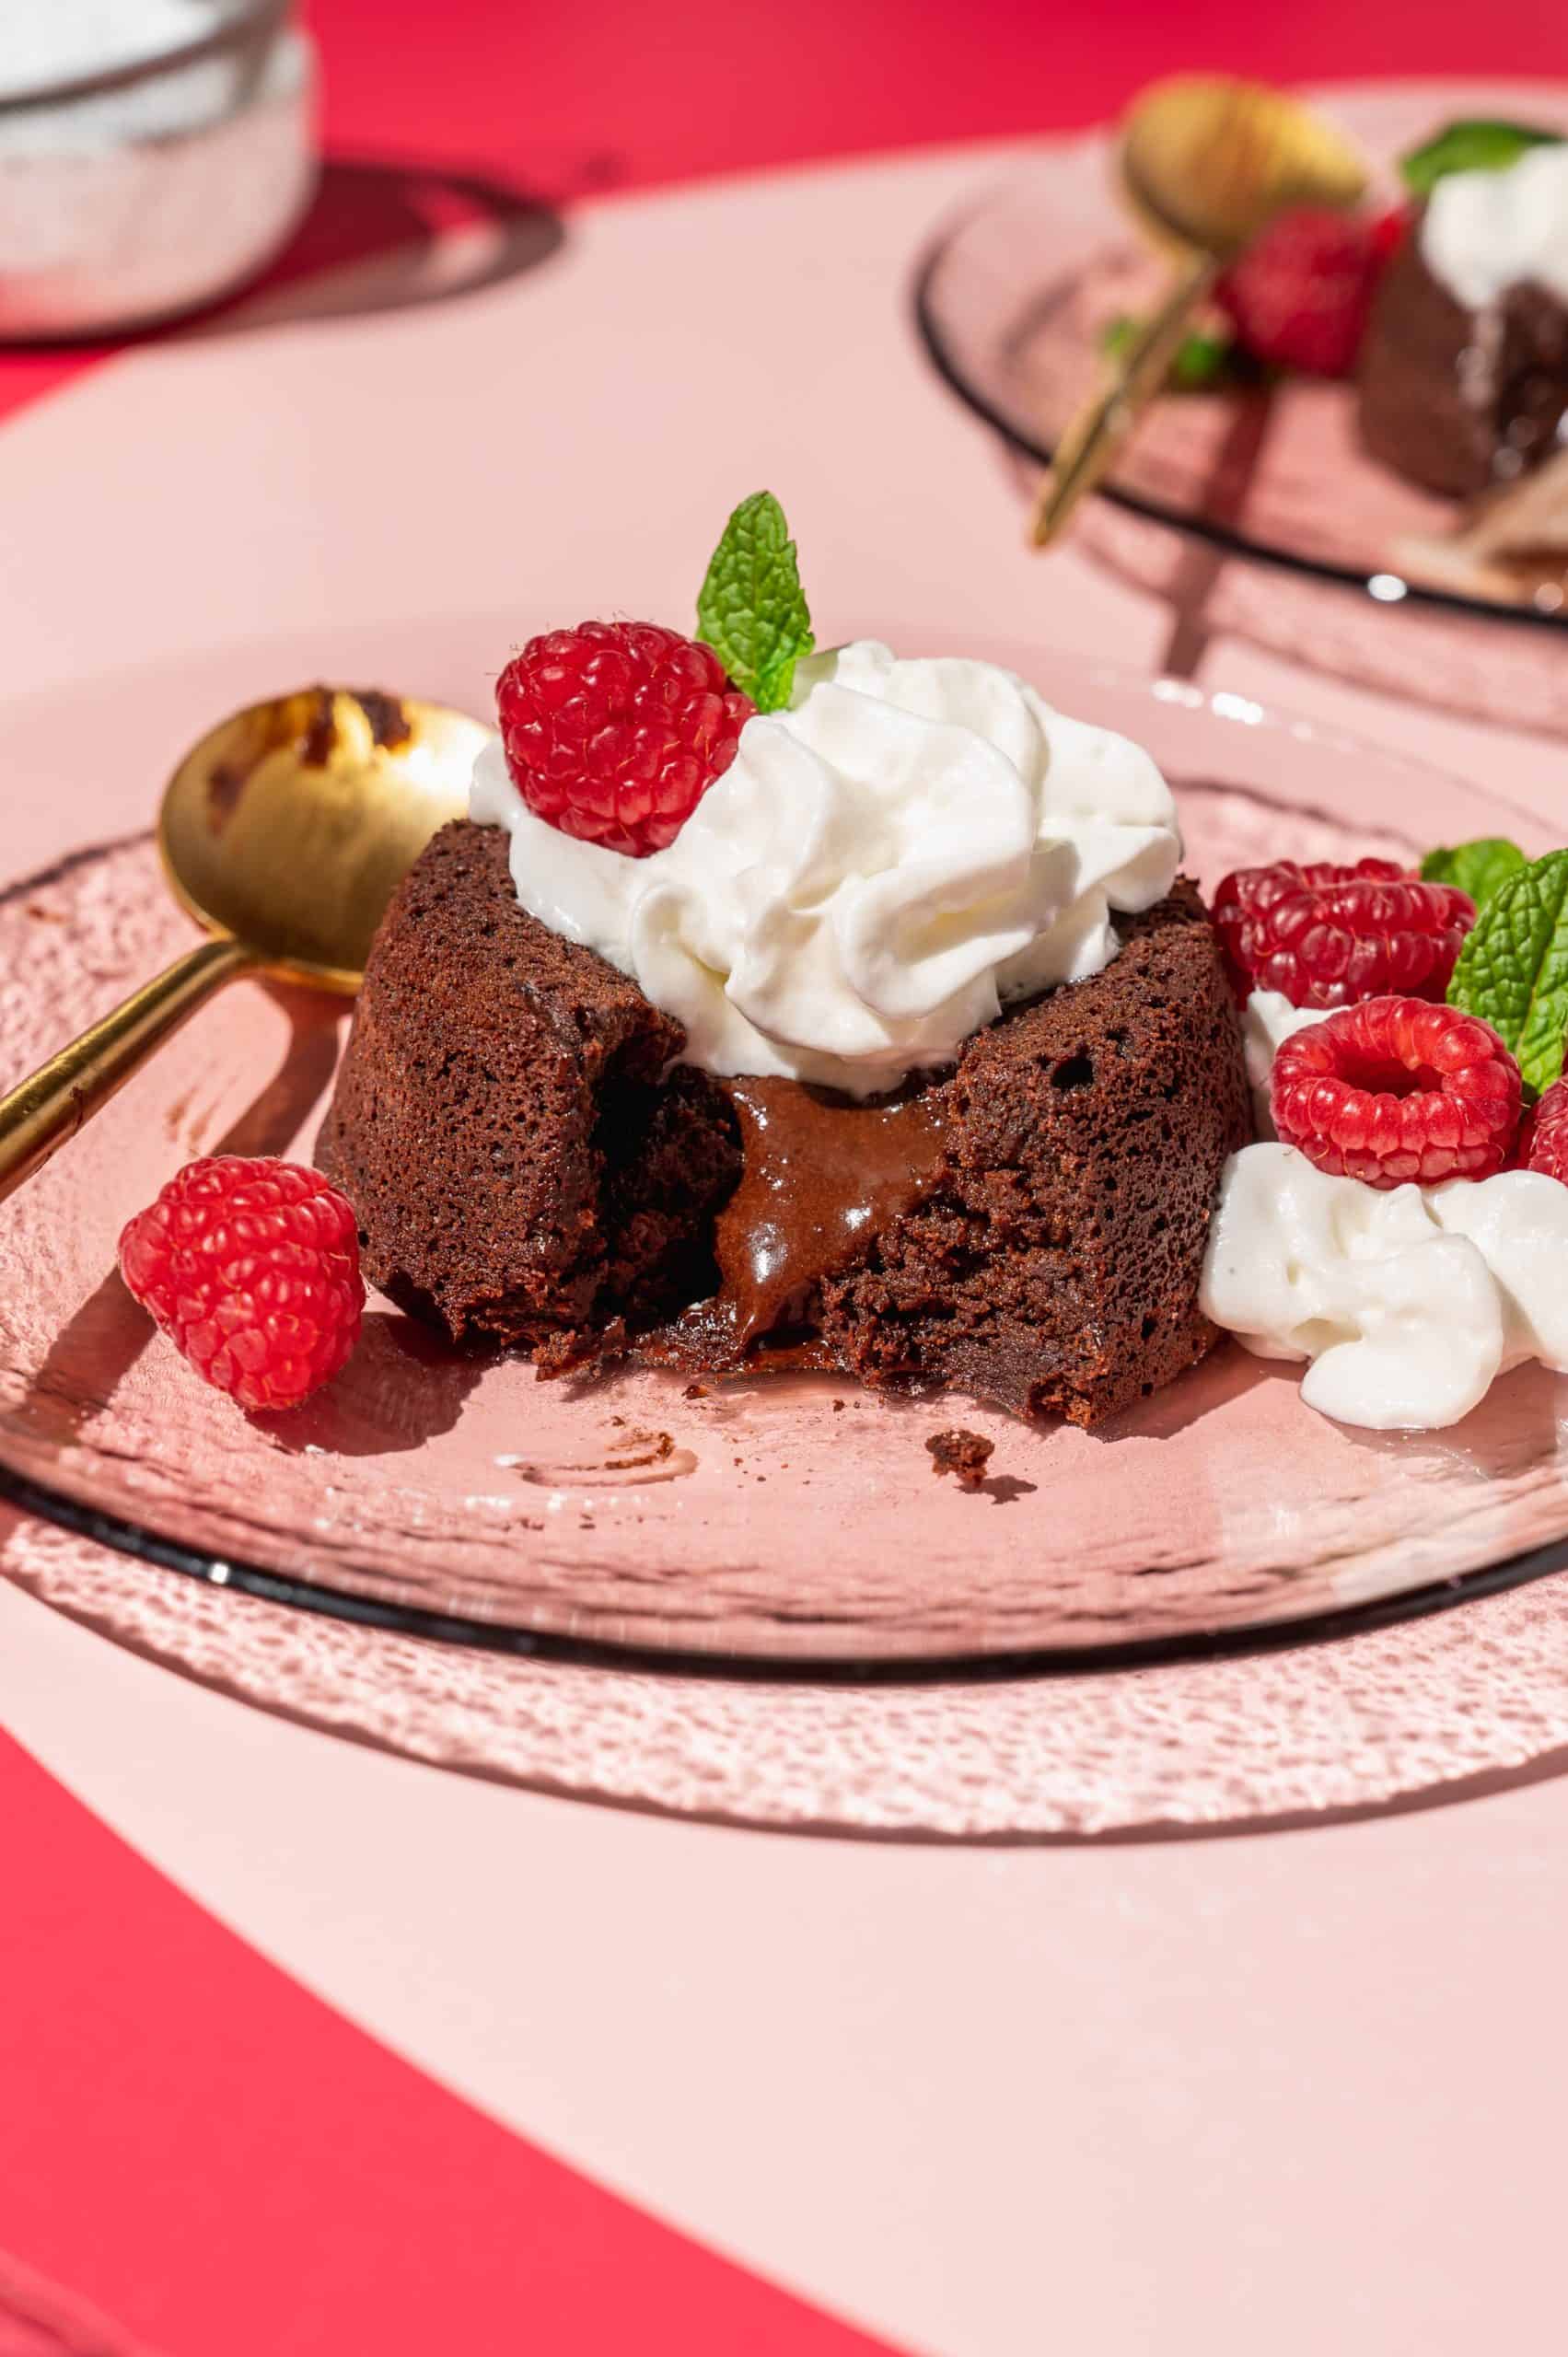
Molten chocolate cake was a popular restaurant dessert growing up in the 90s, so it's nostalgic for me. And I can see what made them so popular, they're decadent and delicious!
So I know this recipe is supposed to be for two servings but actually makes three mini lava cakes. They're small, so I figured you won’t mind the extra to share ◡̈ It’s also good to have an extra as a tester if you’re not sure if it’s done or not. You don’t want to overcook these, to ensure the center stays gooey and lava-like!
This recipe is the perfect ending to a romantic date night. I also love it paired with some fresh raspberries or strawberries for Valentine's Day or Galentine's Day! If you're looking for more Valentine's Day dessert recipes, try these Nutella brownies or these creamy strawberry pie bars.
Jump to:
Why You'll Love This Recipe
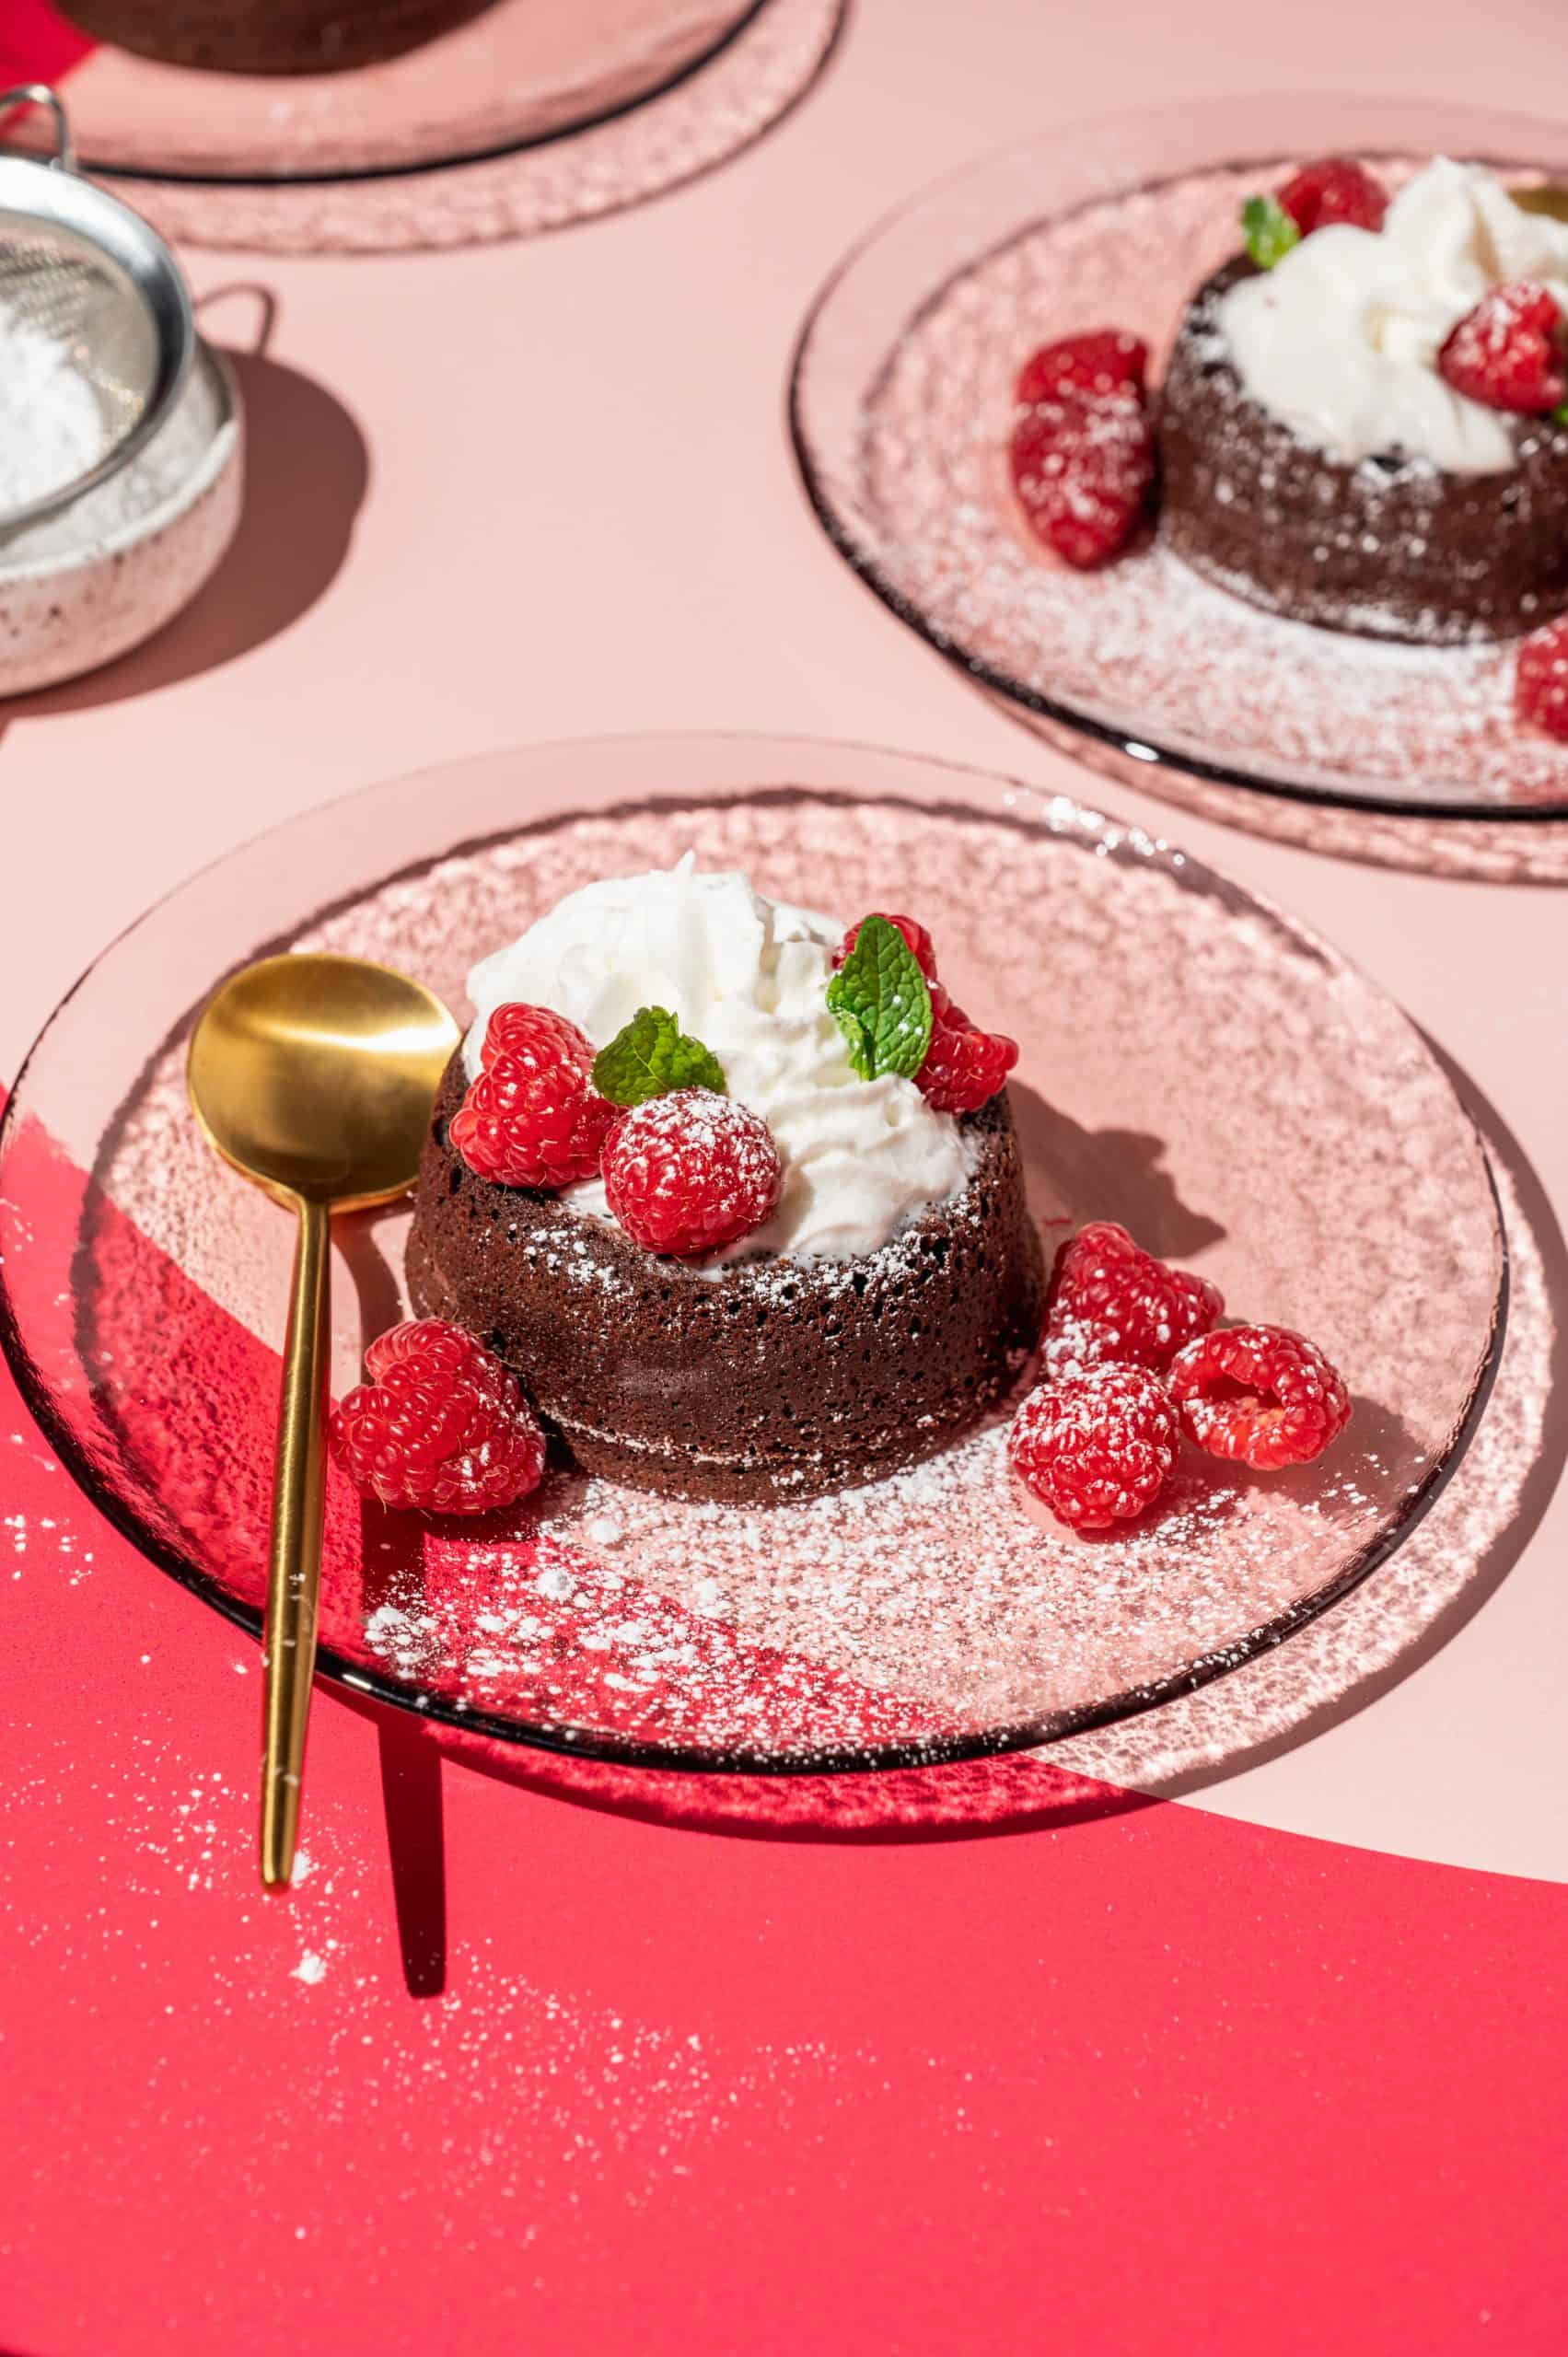
- It's super chocolatey and decadent! The chocolate cake is super moist, with a thick chocolate lava-like interior.
- Unlike many other chocolate lava cake recipes, this recipe contains cocoa powder, which makes the filling taste a bit more like brownie batter.
- It's approachable! If inverting the cakes seems intimidating, just serve them in the ramekins. Or, since you have an extra, try inverting one and see how it goes. If it breaks, you still have the other two perfectly intact.
Ingredients
Here's what you need to make this chocolate lava cake with cocoa powder:
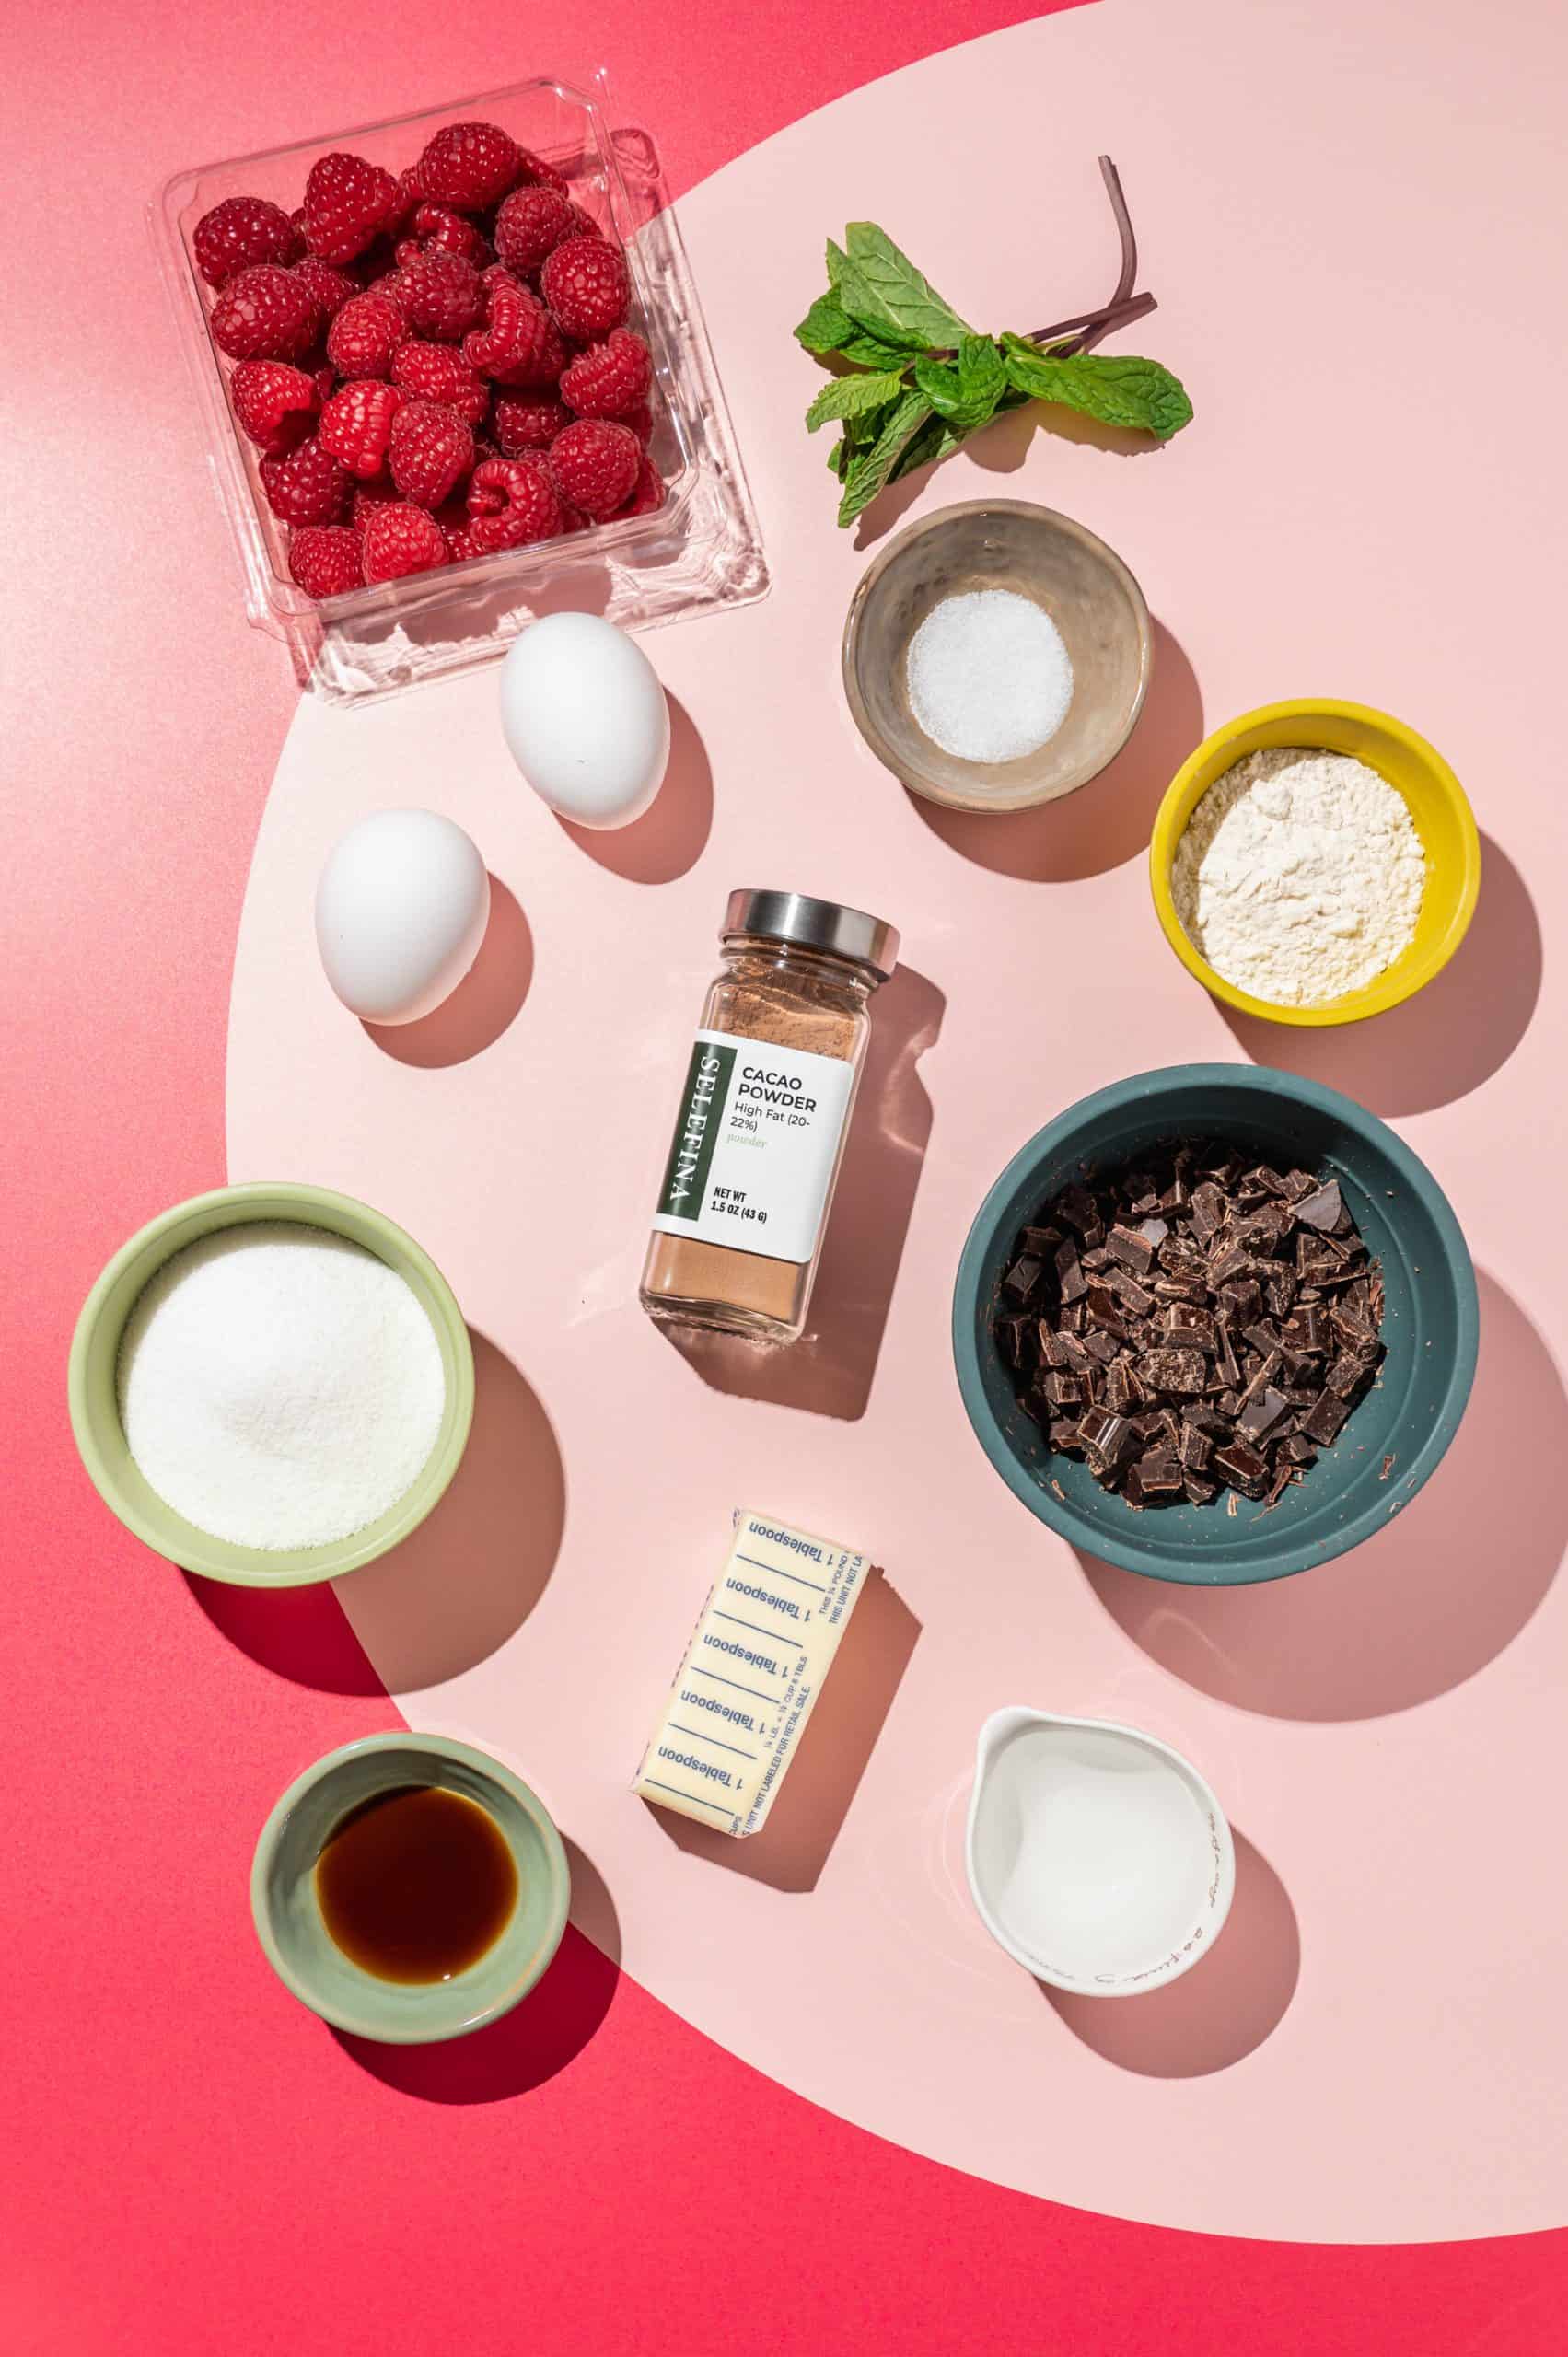
- Butter - most of the butter is melted with the chocolate, but 1 tablespoon is set aside to grease the ramekins.
- Bittersweet chocolate - for a dark chocolate flavor, or you can substitute semisweet chocolate if you’d like it a little sweeter.
- Sugar
- Eggs
- Vanilla
- Salt - balances out the bitterness of the dark chocolate.
- Flour
- Cocoa powder - I used Selefina high-fat cacao powder. High-fat cacao powder contains at least 20% cocoa butter compared to the FDA minimum of 10% which is closer to what you'll normally find in grocery stores. This results in a richer, creamier taste and fuller chocolate flavor!
- Water
- Powdered sugar, whipped cream, raspberries, and fresh mint for serving (optional) - it also would be great with vanilla ice cream on top!
See recipe card for quantities.
How to Make Individual Molten Chocolate Lava Cakes
Here's how to make this molten lava cake recipe:
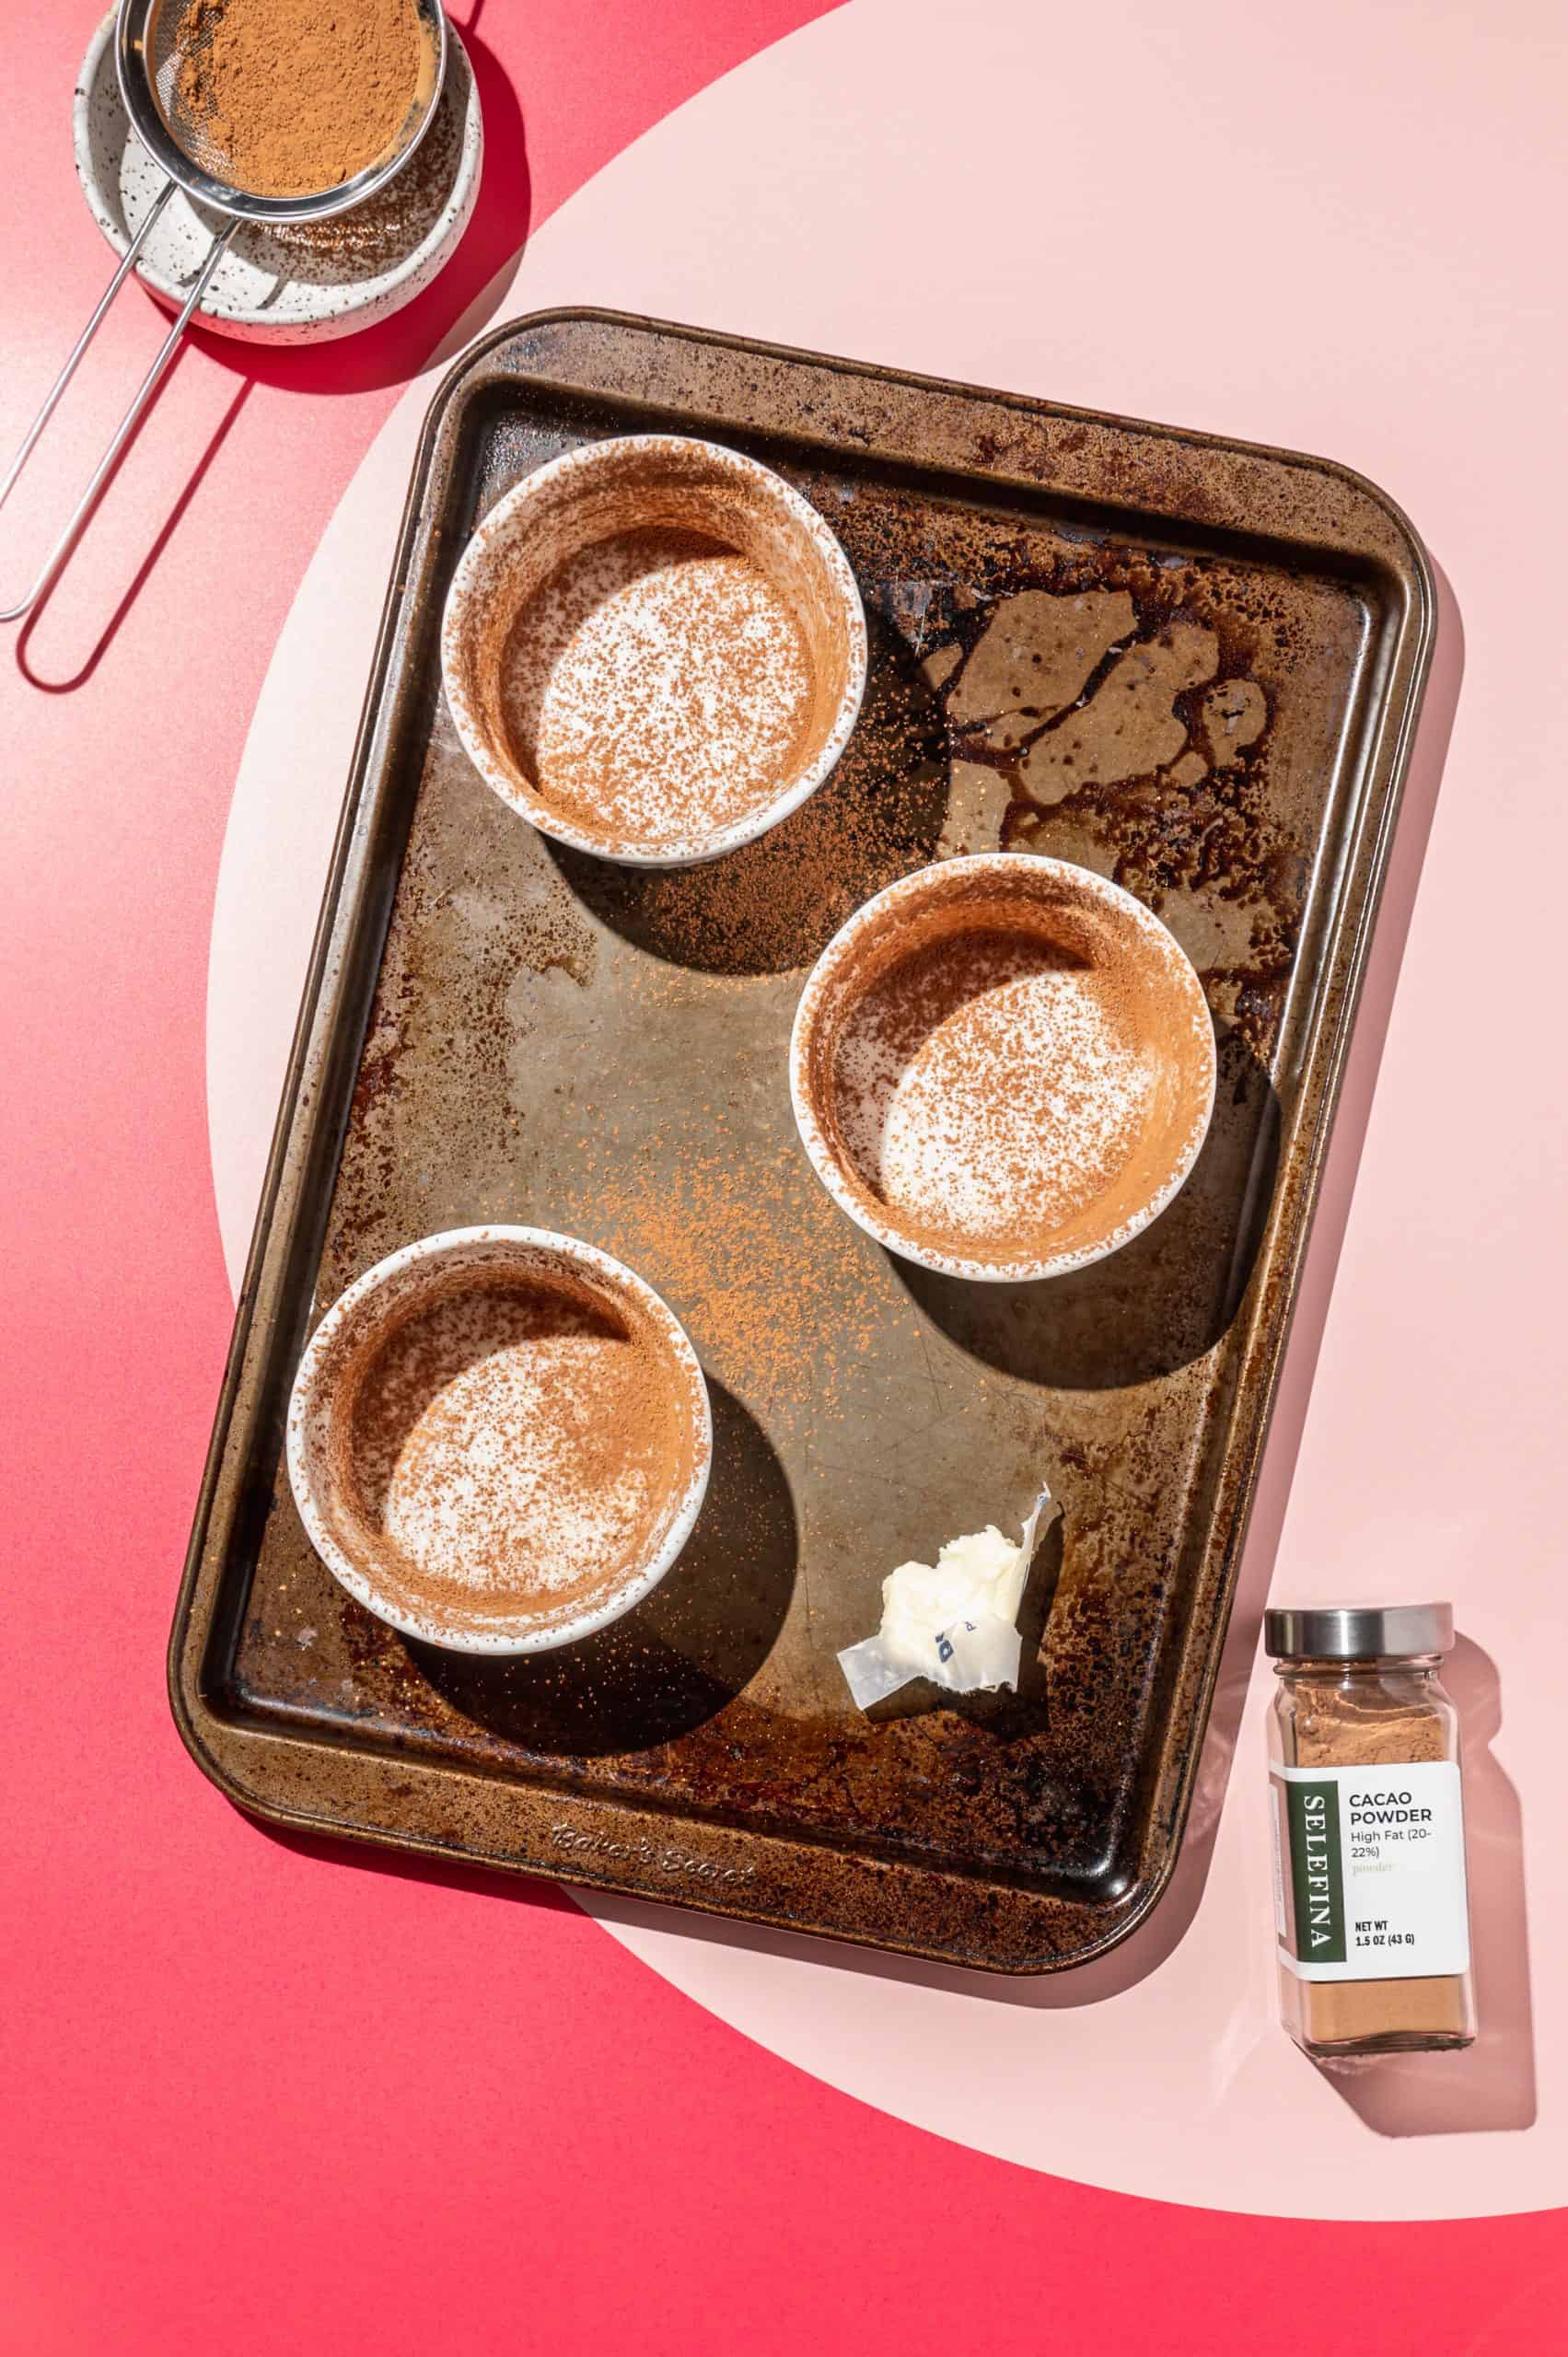
Prepare the ramekins by first greasing them with butter and then dusting them with cocoa powder. Make sure you get into all the nooks and crannies to prevent sticking. This is important if you want to serve them inverted on a plate! Use a mini sifter to evenly dust the cocoa powder in a thin layer.
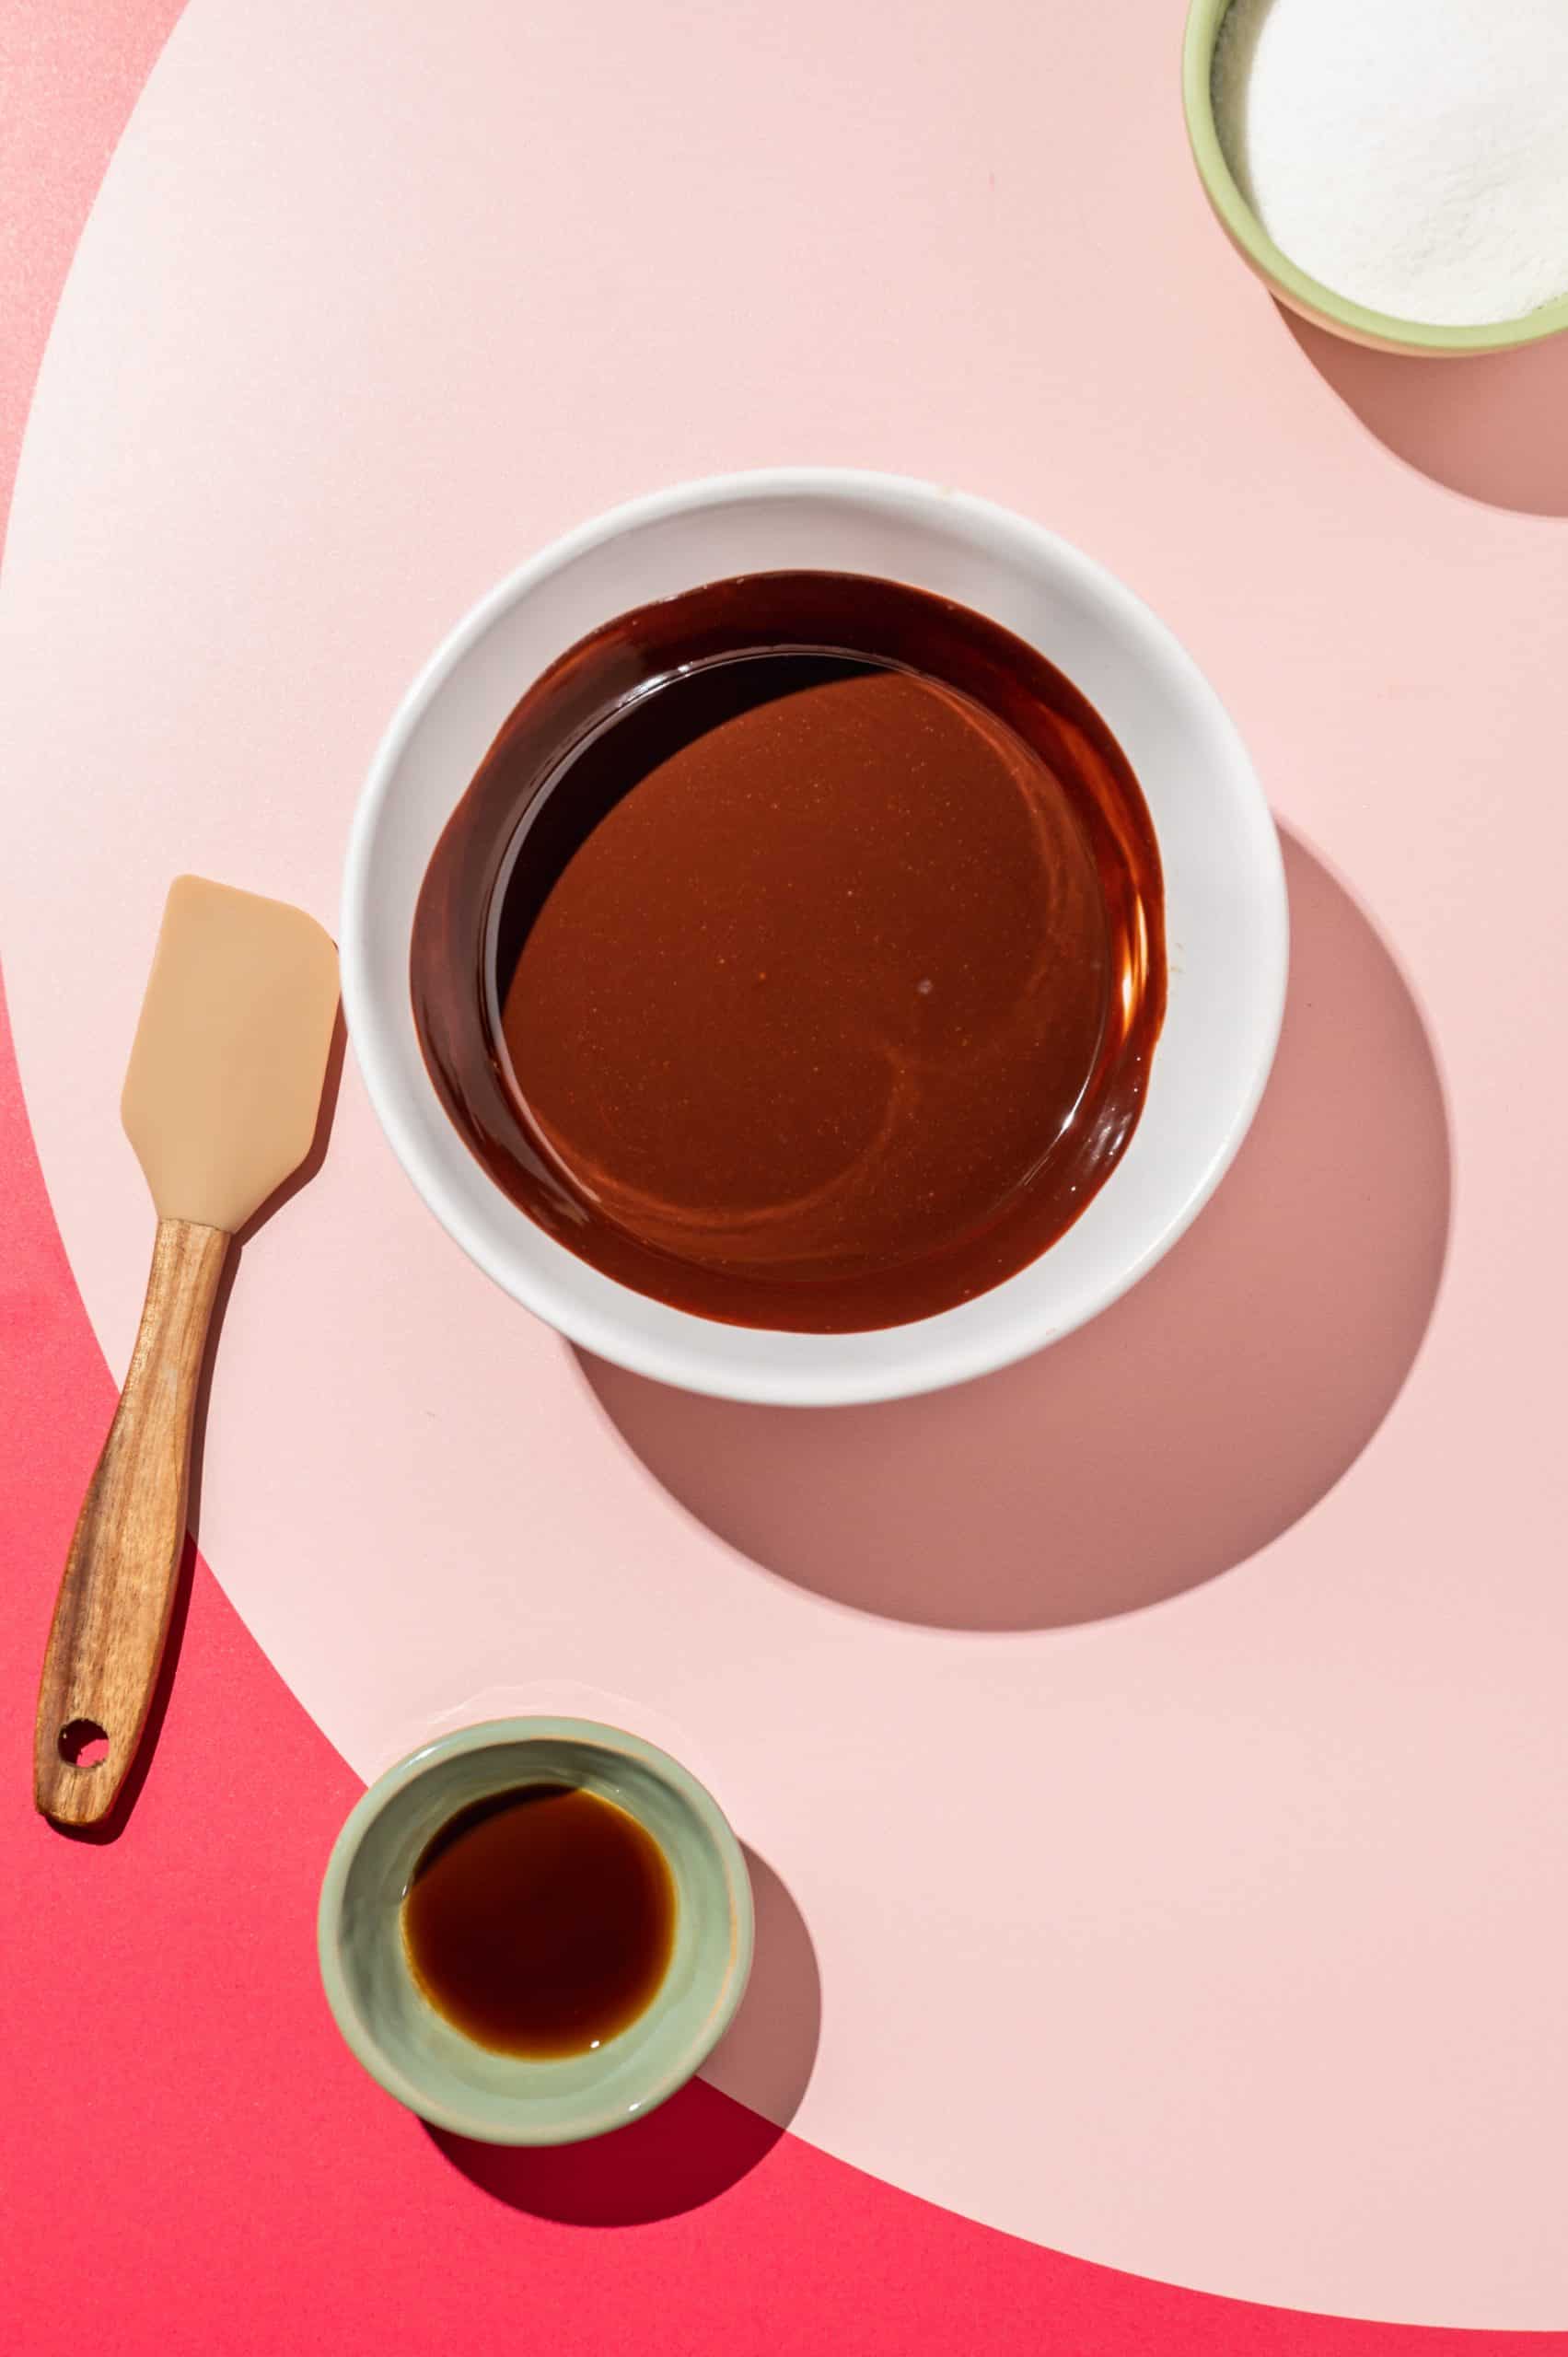
Melt the chocolate and butter in a microwave-safe bowl. Microwave in 30-second intervals so you don’t burn the chocolate. Alternatively, you can gently heat the chocolate and butter in a double boiler if you don’t have a microwave.
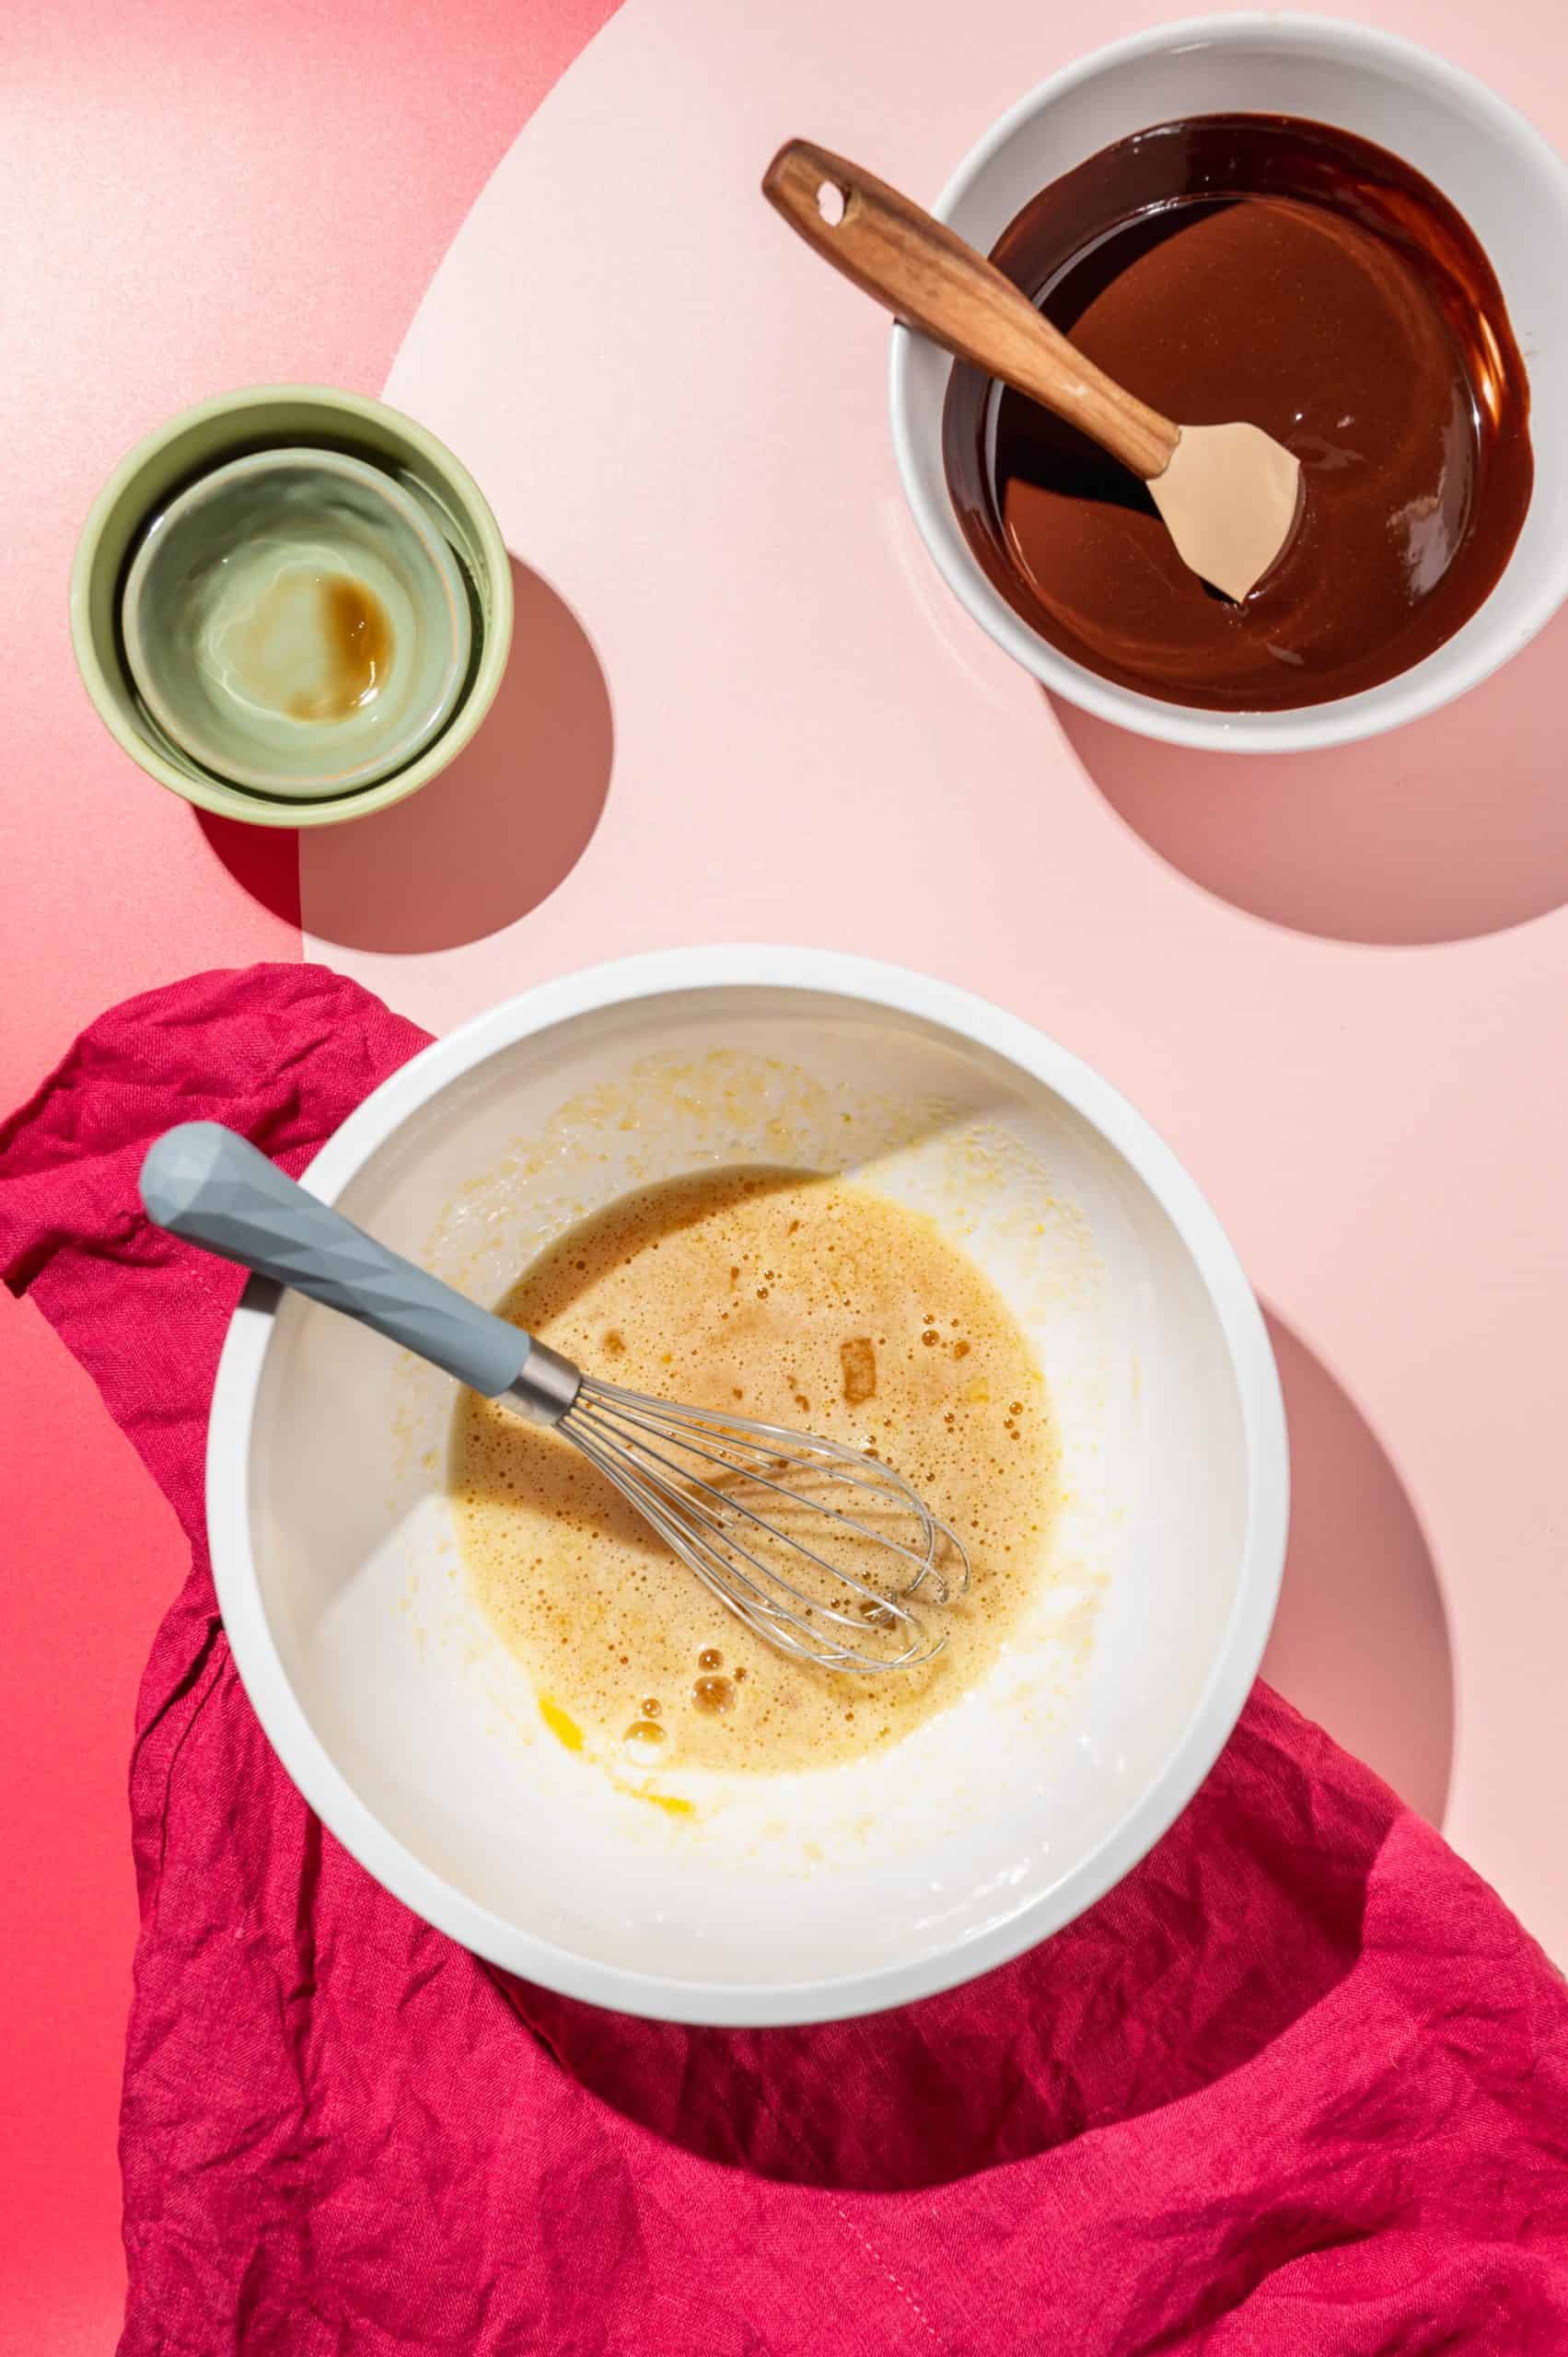
Next, combine sugar, eggs, and vanilla extract in a large bowl. Whisk very well, until smooth.
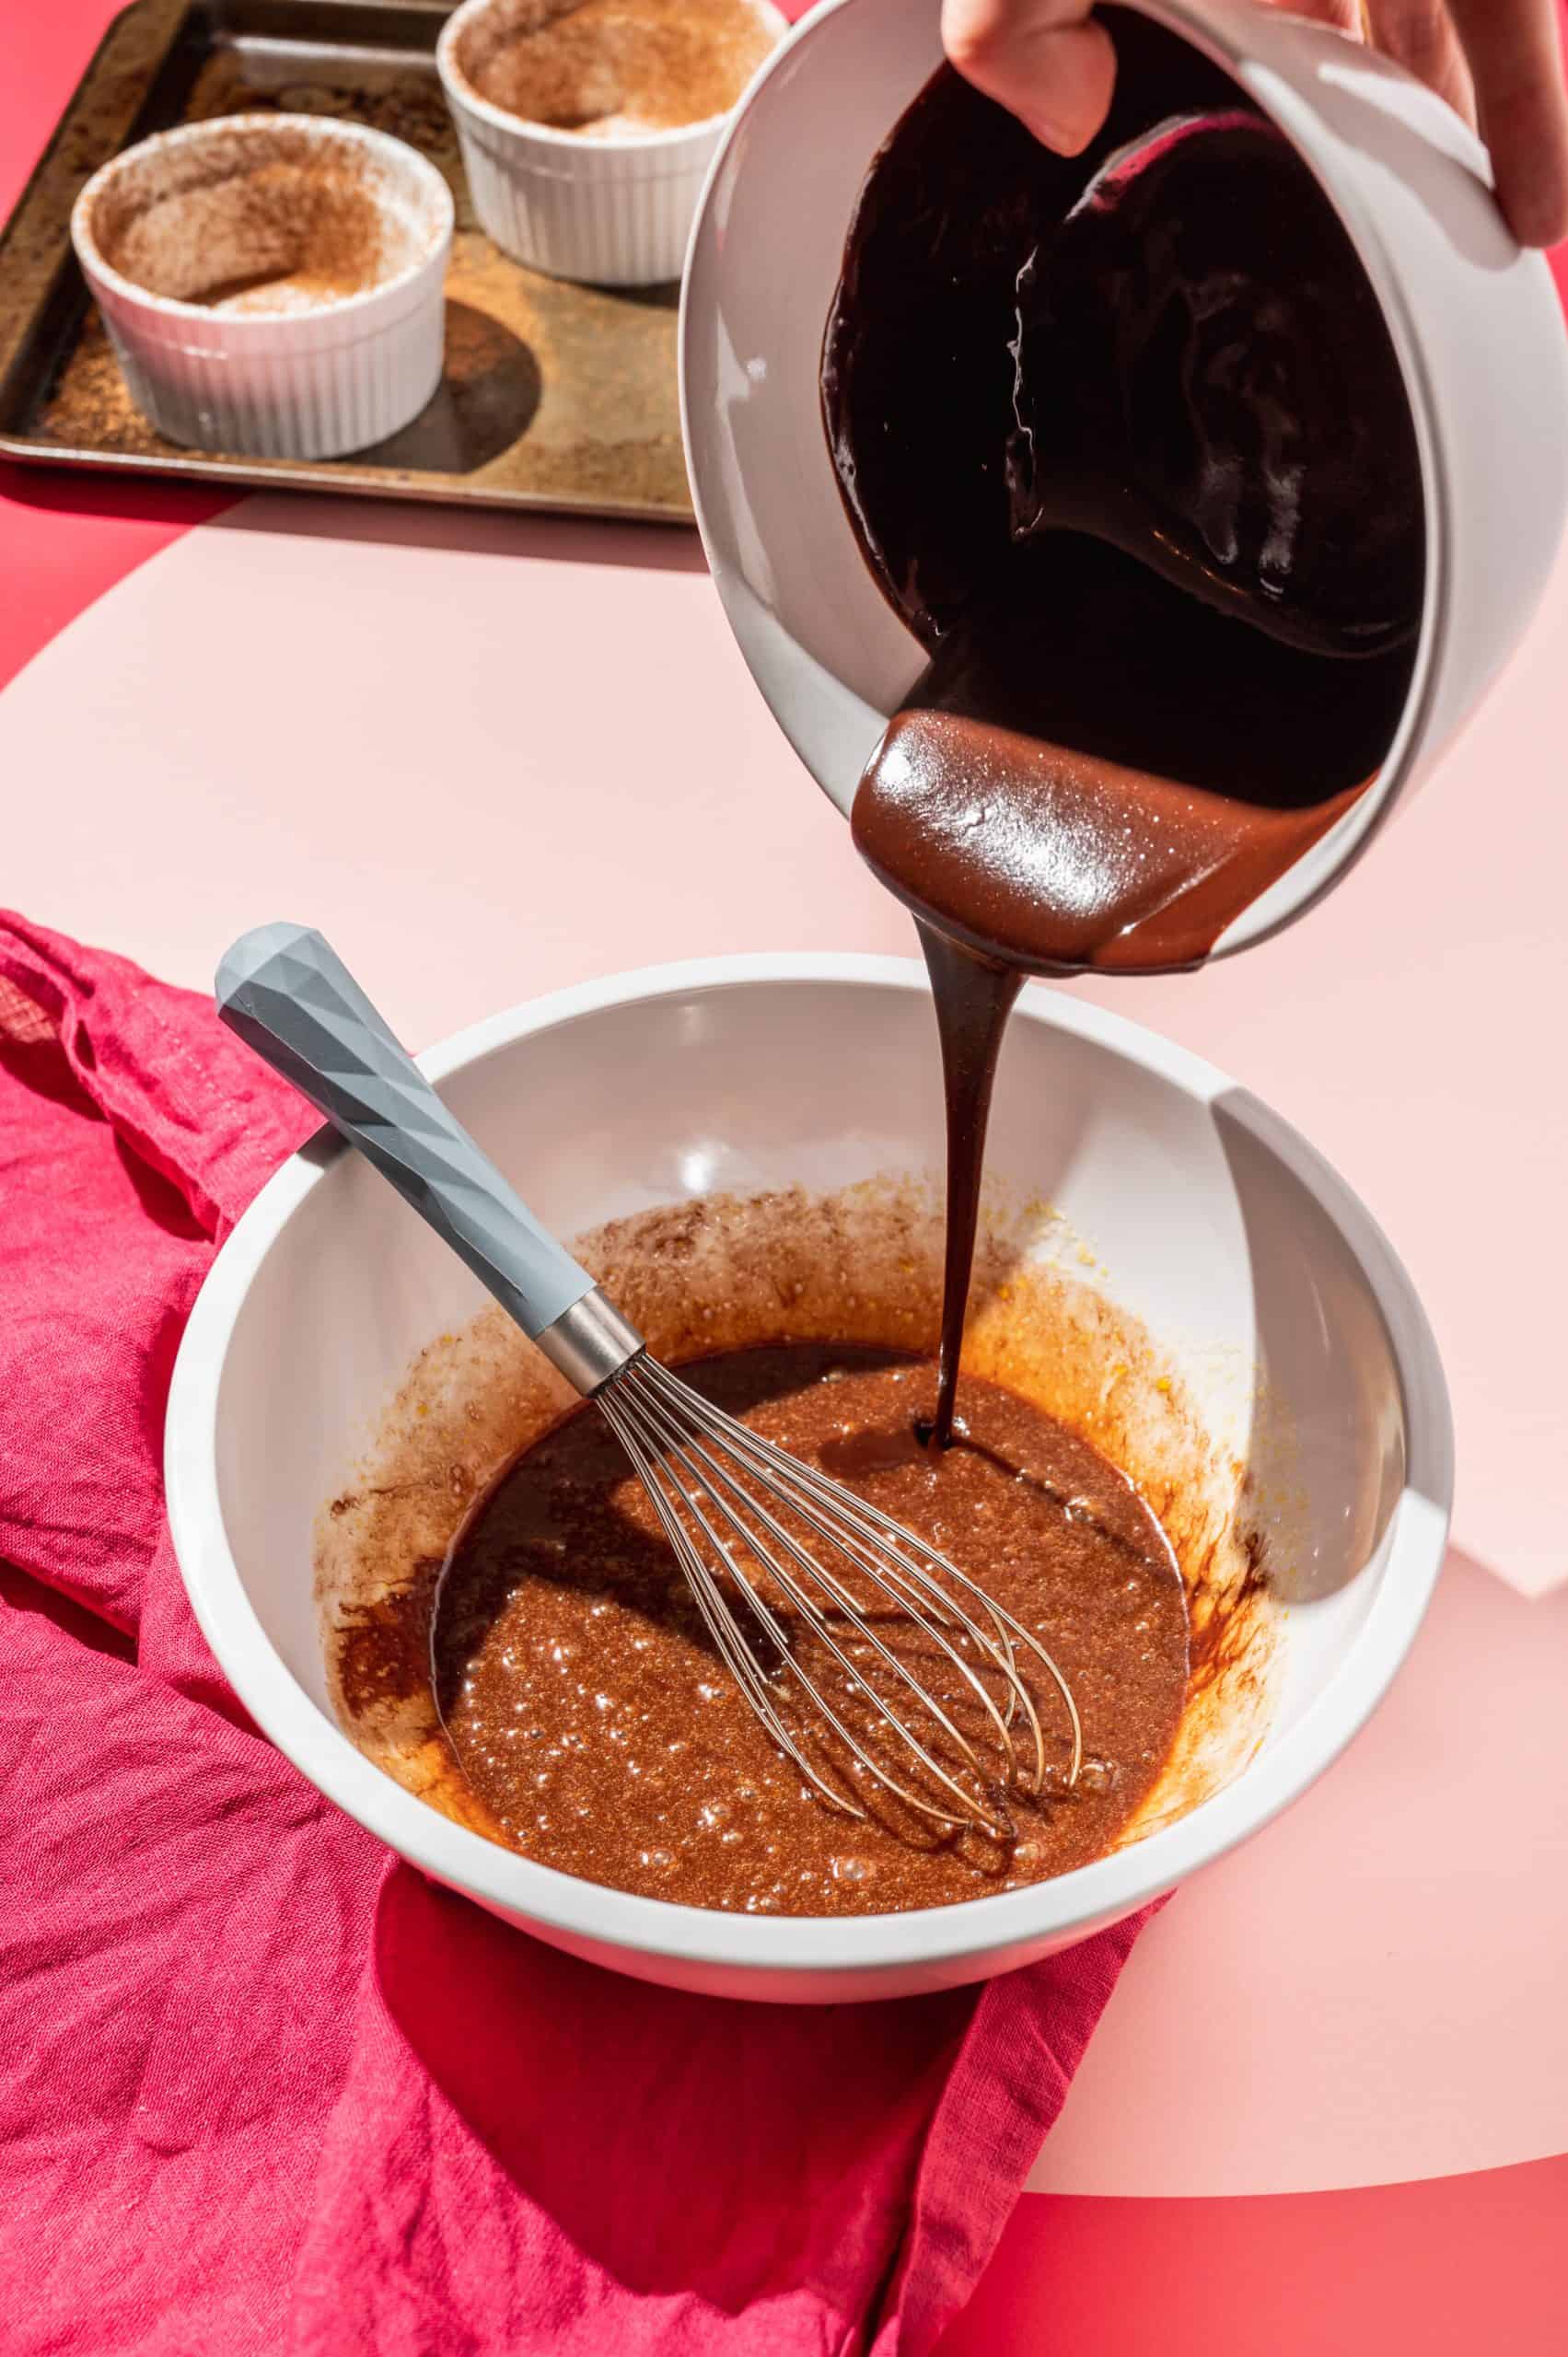
Slowly pour the melted chocolate into the sugar mixture. Make sure the chocolate mixture isn’t too hot and that you add it slowly while whisking constantly, so it doesn’t clump up.
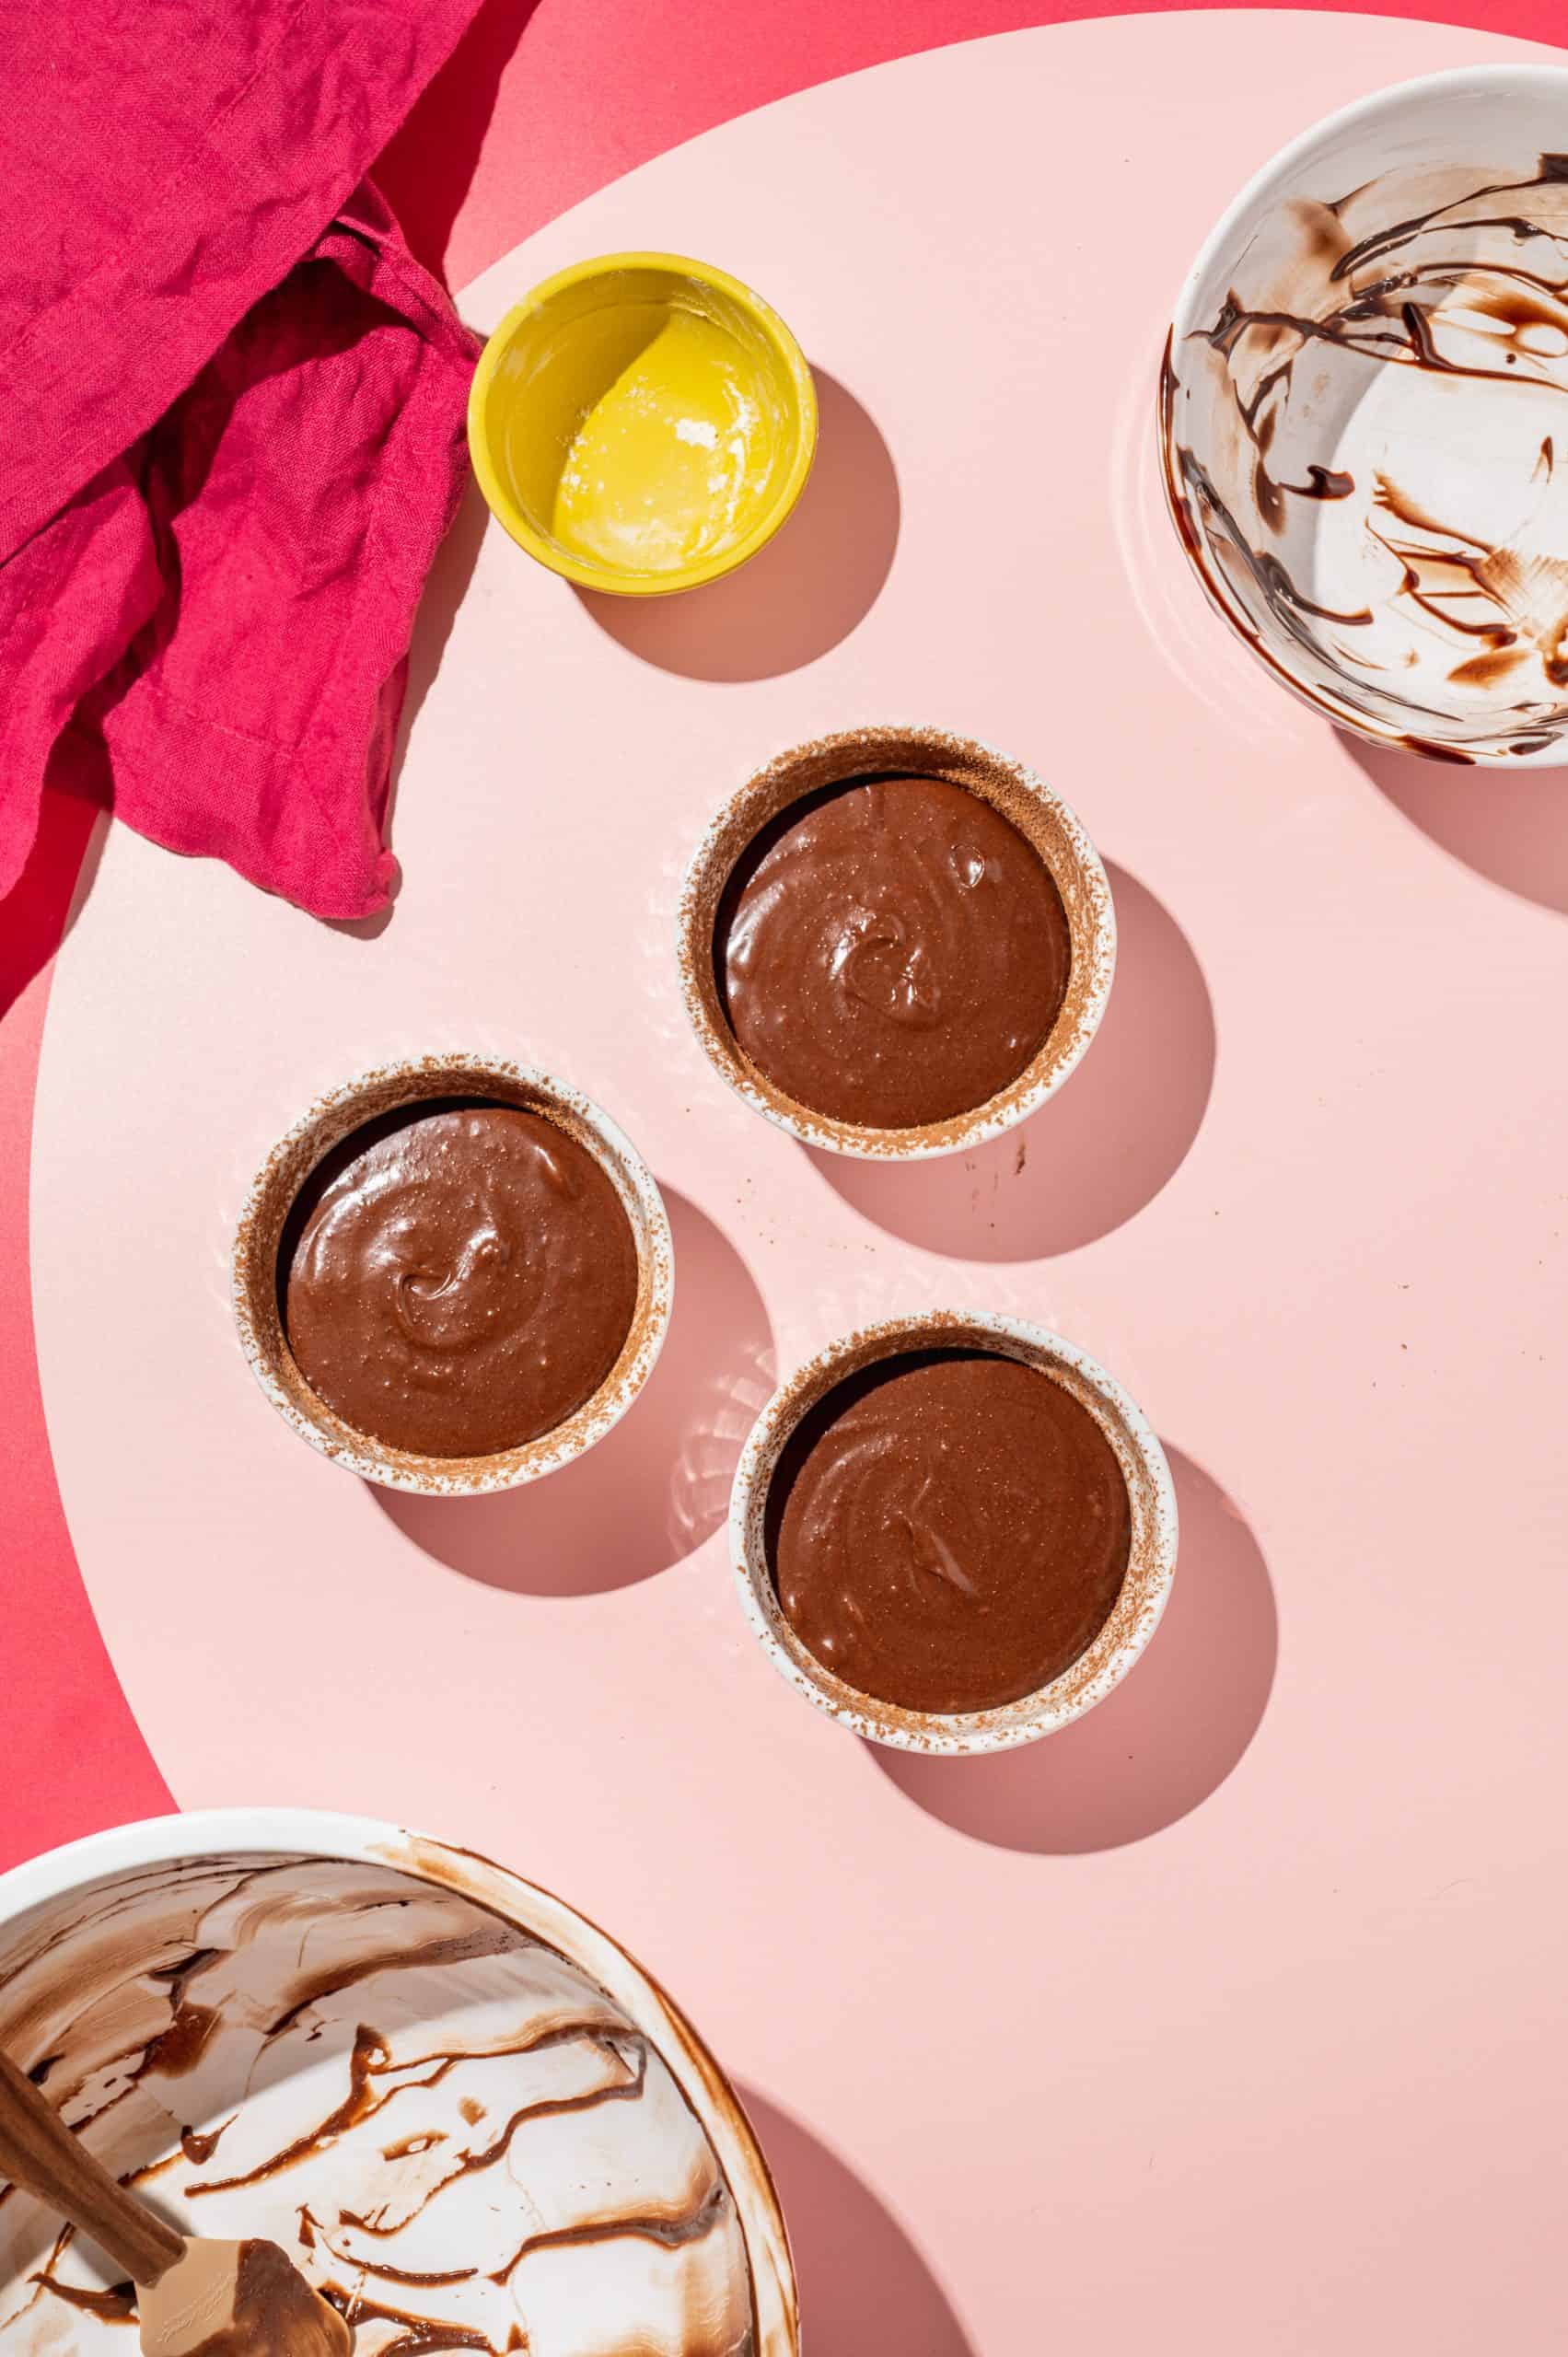
To finish the batter, fold in the cacao powder, salt, and flour, then add the water and mix until smooth.
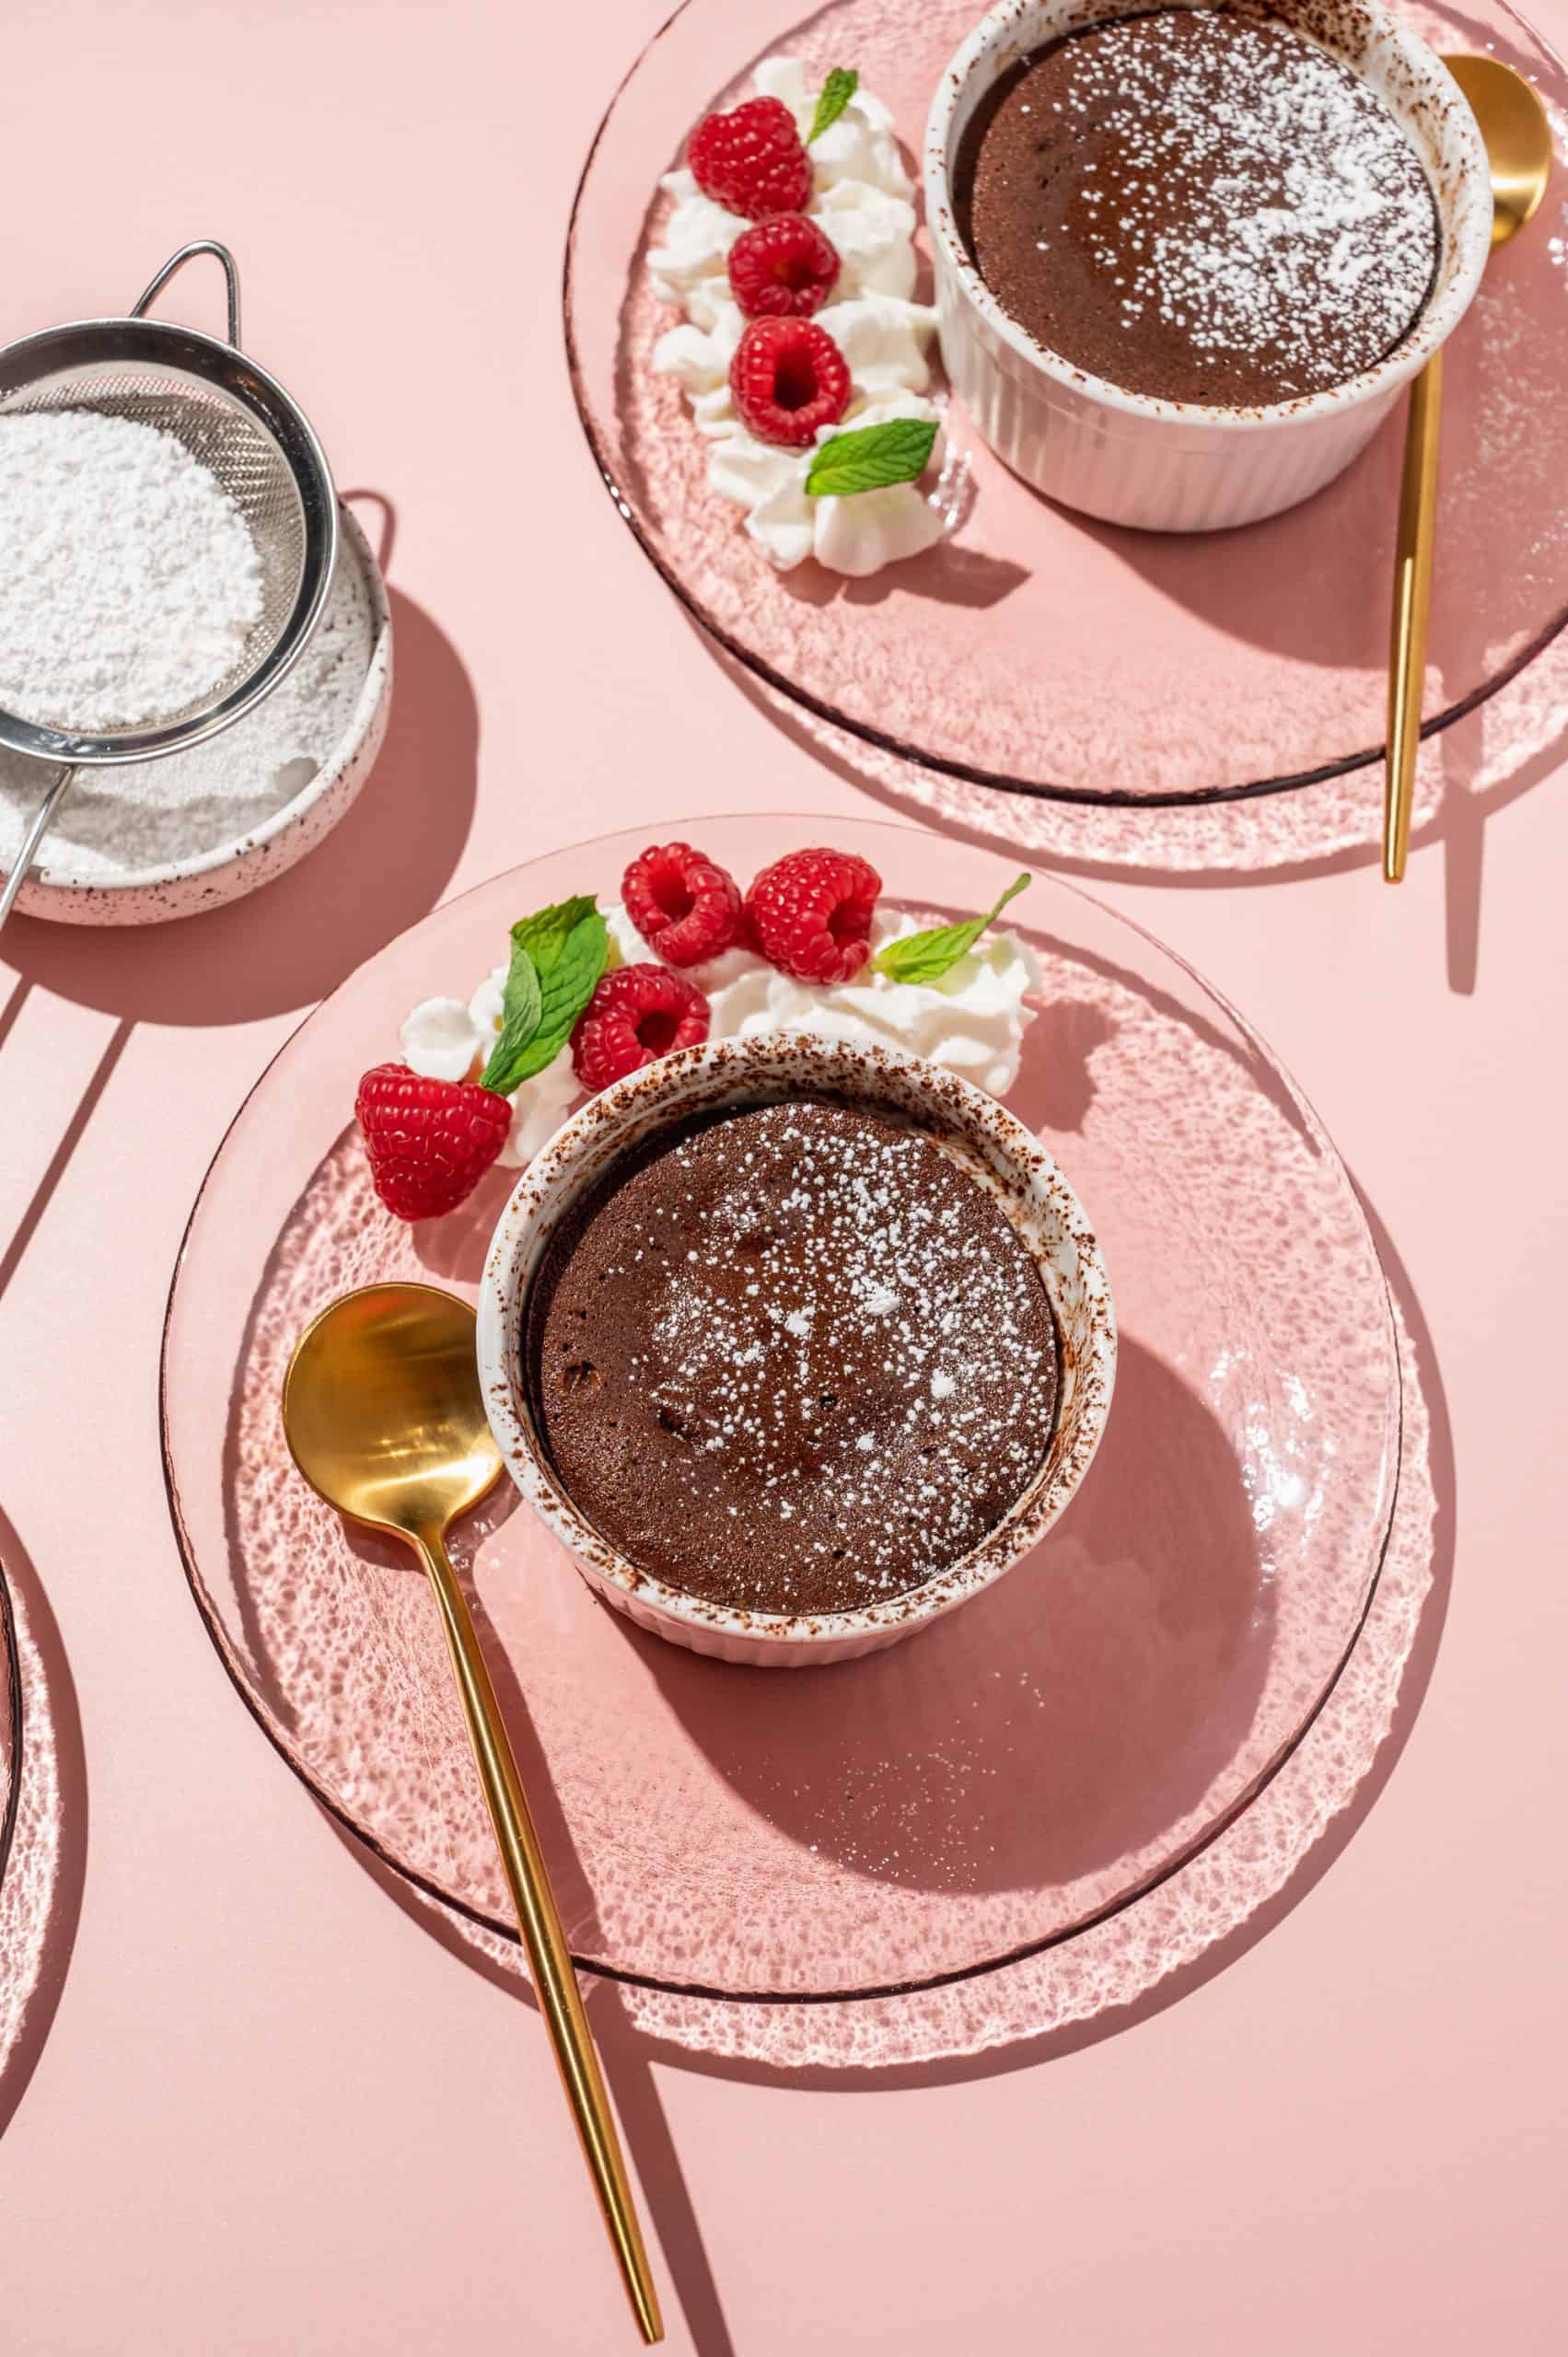
Finally, pour the batter into the prepared ramekins and bake them in the preheated oven. They only take 13 minutes to cook!
I recommend you place the filled ramekins on a sheet tray to bake. This will make it easier to put them in the oven and remove them swiftly.
Top tip
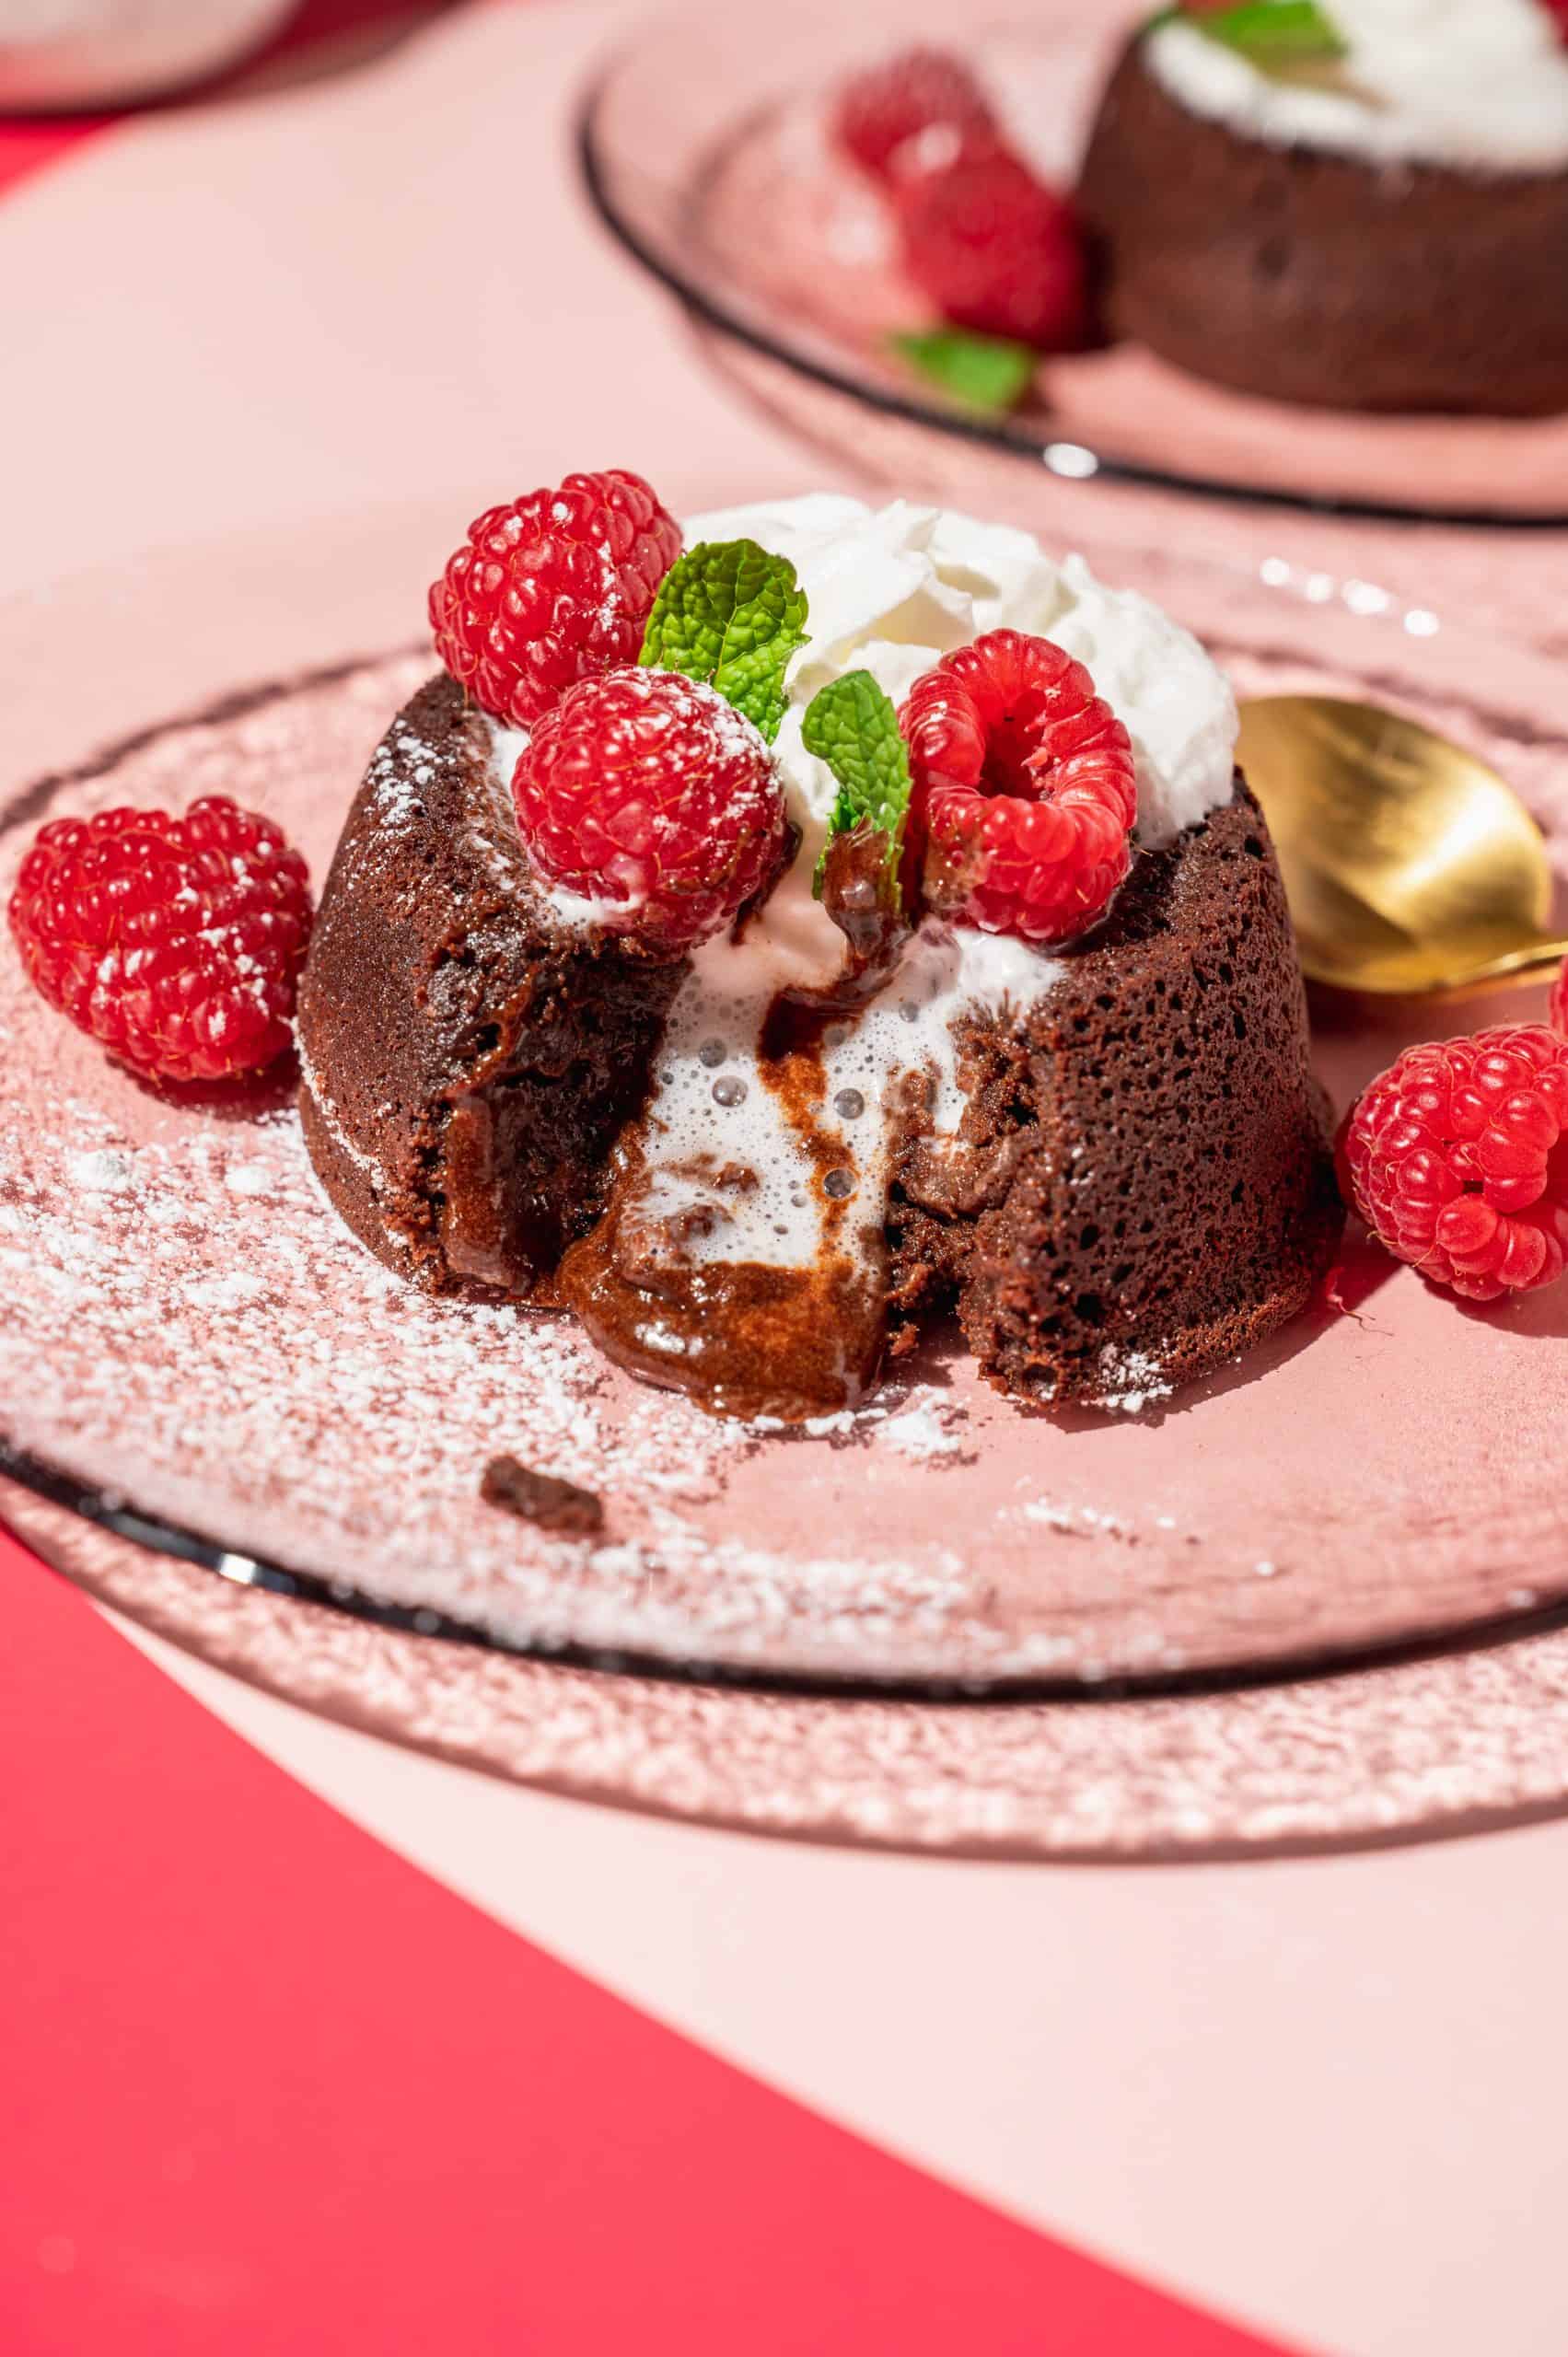
Don't overcook! The mini chocolate lava cakes should still jiggle in the center when you remove them from the oven. This ensures the center will be gooey and lava-like when you break into them.
But if you do happen to overcook them a little, no worries! They'll still taste great, just more like a dense chocolate cake or brownie rather than a molten lava cake.
Equipment
Here's everything you'll need to make this molten lava cake recipe:
- Mixing bowls - including at least one microwave-safe mixing bowl to melt the chocolate and butter in. Or, use a double boiler pot set over a pot of simmering water.
- Whisk
- Rubber spatula - a large flat rubber spatula is best for gently folding batter without deflating it.
- Mini sifter - not 100% necessary, but a mini sifter is super helpful for small jobs like dusting the ramekins with cocoa powder and topping the molten lava cakes evenly with powdered sugar.
- Ramekins - 6-8 ounce ramekins work best for this recipe, and you'll need 3 of them. These ramekins are also perfect for making coffee creme brulee!
- Baking sheet - makes transporting the ramekins in and out of the oven easier. Also prevents the cakes from spilling over in the oven if they are overfilled!
- Oven mitts - not only for removing the hot baking sheet, but oven mitts are also helpful for handling the hot ramekins to invert them onto plates. You could also use a dish towel.
- Instant-read thermometer - optional, if you want to ensure the molten center reaches 145 °F. It should after 13-14 minutes of cooking, but every oven is different. Having an instant-read thermometer gives you extra peace of mind.
FAQ
They're pretty similar in terms of appearance and ingredients, but they have different textures. Souffles are super light and airy, made by folding in whipped egg whites which causes the souffle to rise in the oven. Chocolate lava cakes are denser with a molten center.
Both have creamy chocolate centers, but the center of a lava cake is denser, like a brownie batter. The center of a souffle is more like a mousse or custard. Souffles are also notoriously finicky and hard to make.
No! It’s undercooked, which is why it’s still gooey, but it’s totally safe to eat compared to raw batter. Dishes containing eggs should be cooked to a minimum of 145 °F for 15 seconds to kill salmonella bacteria. Even though lava cake appears underdone, the molten center will still be heated above that temperature after 13-14 minutes in the oven. So, it looks and tastes like you’re eating brownie batter, but it’s perfectly safe to eat, no raw eggs!
If you're still a bit unsure, you can take extra precautions by using pasteurized eggs and/or ensuring the internal temperature of the cooked lava cakes reaches 145-150 °F (since food safety is a combination of temperature + time).
Molten Lava Cake
- Prep Time: 12 minutes
- Cook Time: 13 minutes
- Total Time: 25 minutes
- Yield: 3 servings 1x
- Category: dessert
- Method: baking
- Cuisine: American
Ingredients
- ¼ cup + 1 tablespoon unsalted butter, divided
- ¼ cup + 1 tablespoon cacao powder, divided
- 3 ounces bittersweet chocolate, chopped
- ½ cup sugar
- 2 eggs
- 1 teaspoon vanilla extract
- ½ teaspoon salt
- ¼ cup flour
- ¼ cup water
- Powdered sugar, whipped cream, raspberries and/or fresh mint (optional toppings, for serving)
Instructions
- Use 1 tablespoon of butter to grease the insides of 3 ramekins (6-8 oz.), then lightly dust with 1 tablespoon of cacao powder. Preheat the oven to 400 °F.
- Add ¼ cup butter + bittersweet chocolate in a microwaveable bowl. Microwave in 30-second intervals, stirring in between, until completely melted and smooth. Let cool slightly.
- Combine sugar, eggs, and vanilla in a large bowl and whisk until light and fluffy. Slowly add the melted chocolate mixture and whisk until smooth. Add the remaining ¼ cup of cacao powder, salt, and flour, and mix until just combined. Then add ¼ cup water and whisk until smooth.
- Pour the batter evenly into the 3 prepared ramekins and bake for 13-14 minutes (the centers should still jiggle a little).
- Serve the lava cakes while warm, in the ramekins. Alternatively, let the cakes cool in the ramekins for about 2 minutes, then carefully invert them onto small plates. Garnish with powdered sugar, whipped cream, raspberries, and fresh mint, if desired.
Notes
- To make it easier to transfer in and out of the oven, place the ramekins on a sheet tray to bake.



Anonymous says
YUM and way easier to make than I thought they'd be, definitely gonna make this recipe again!!