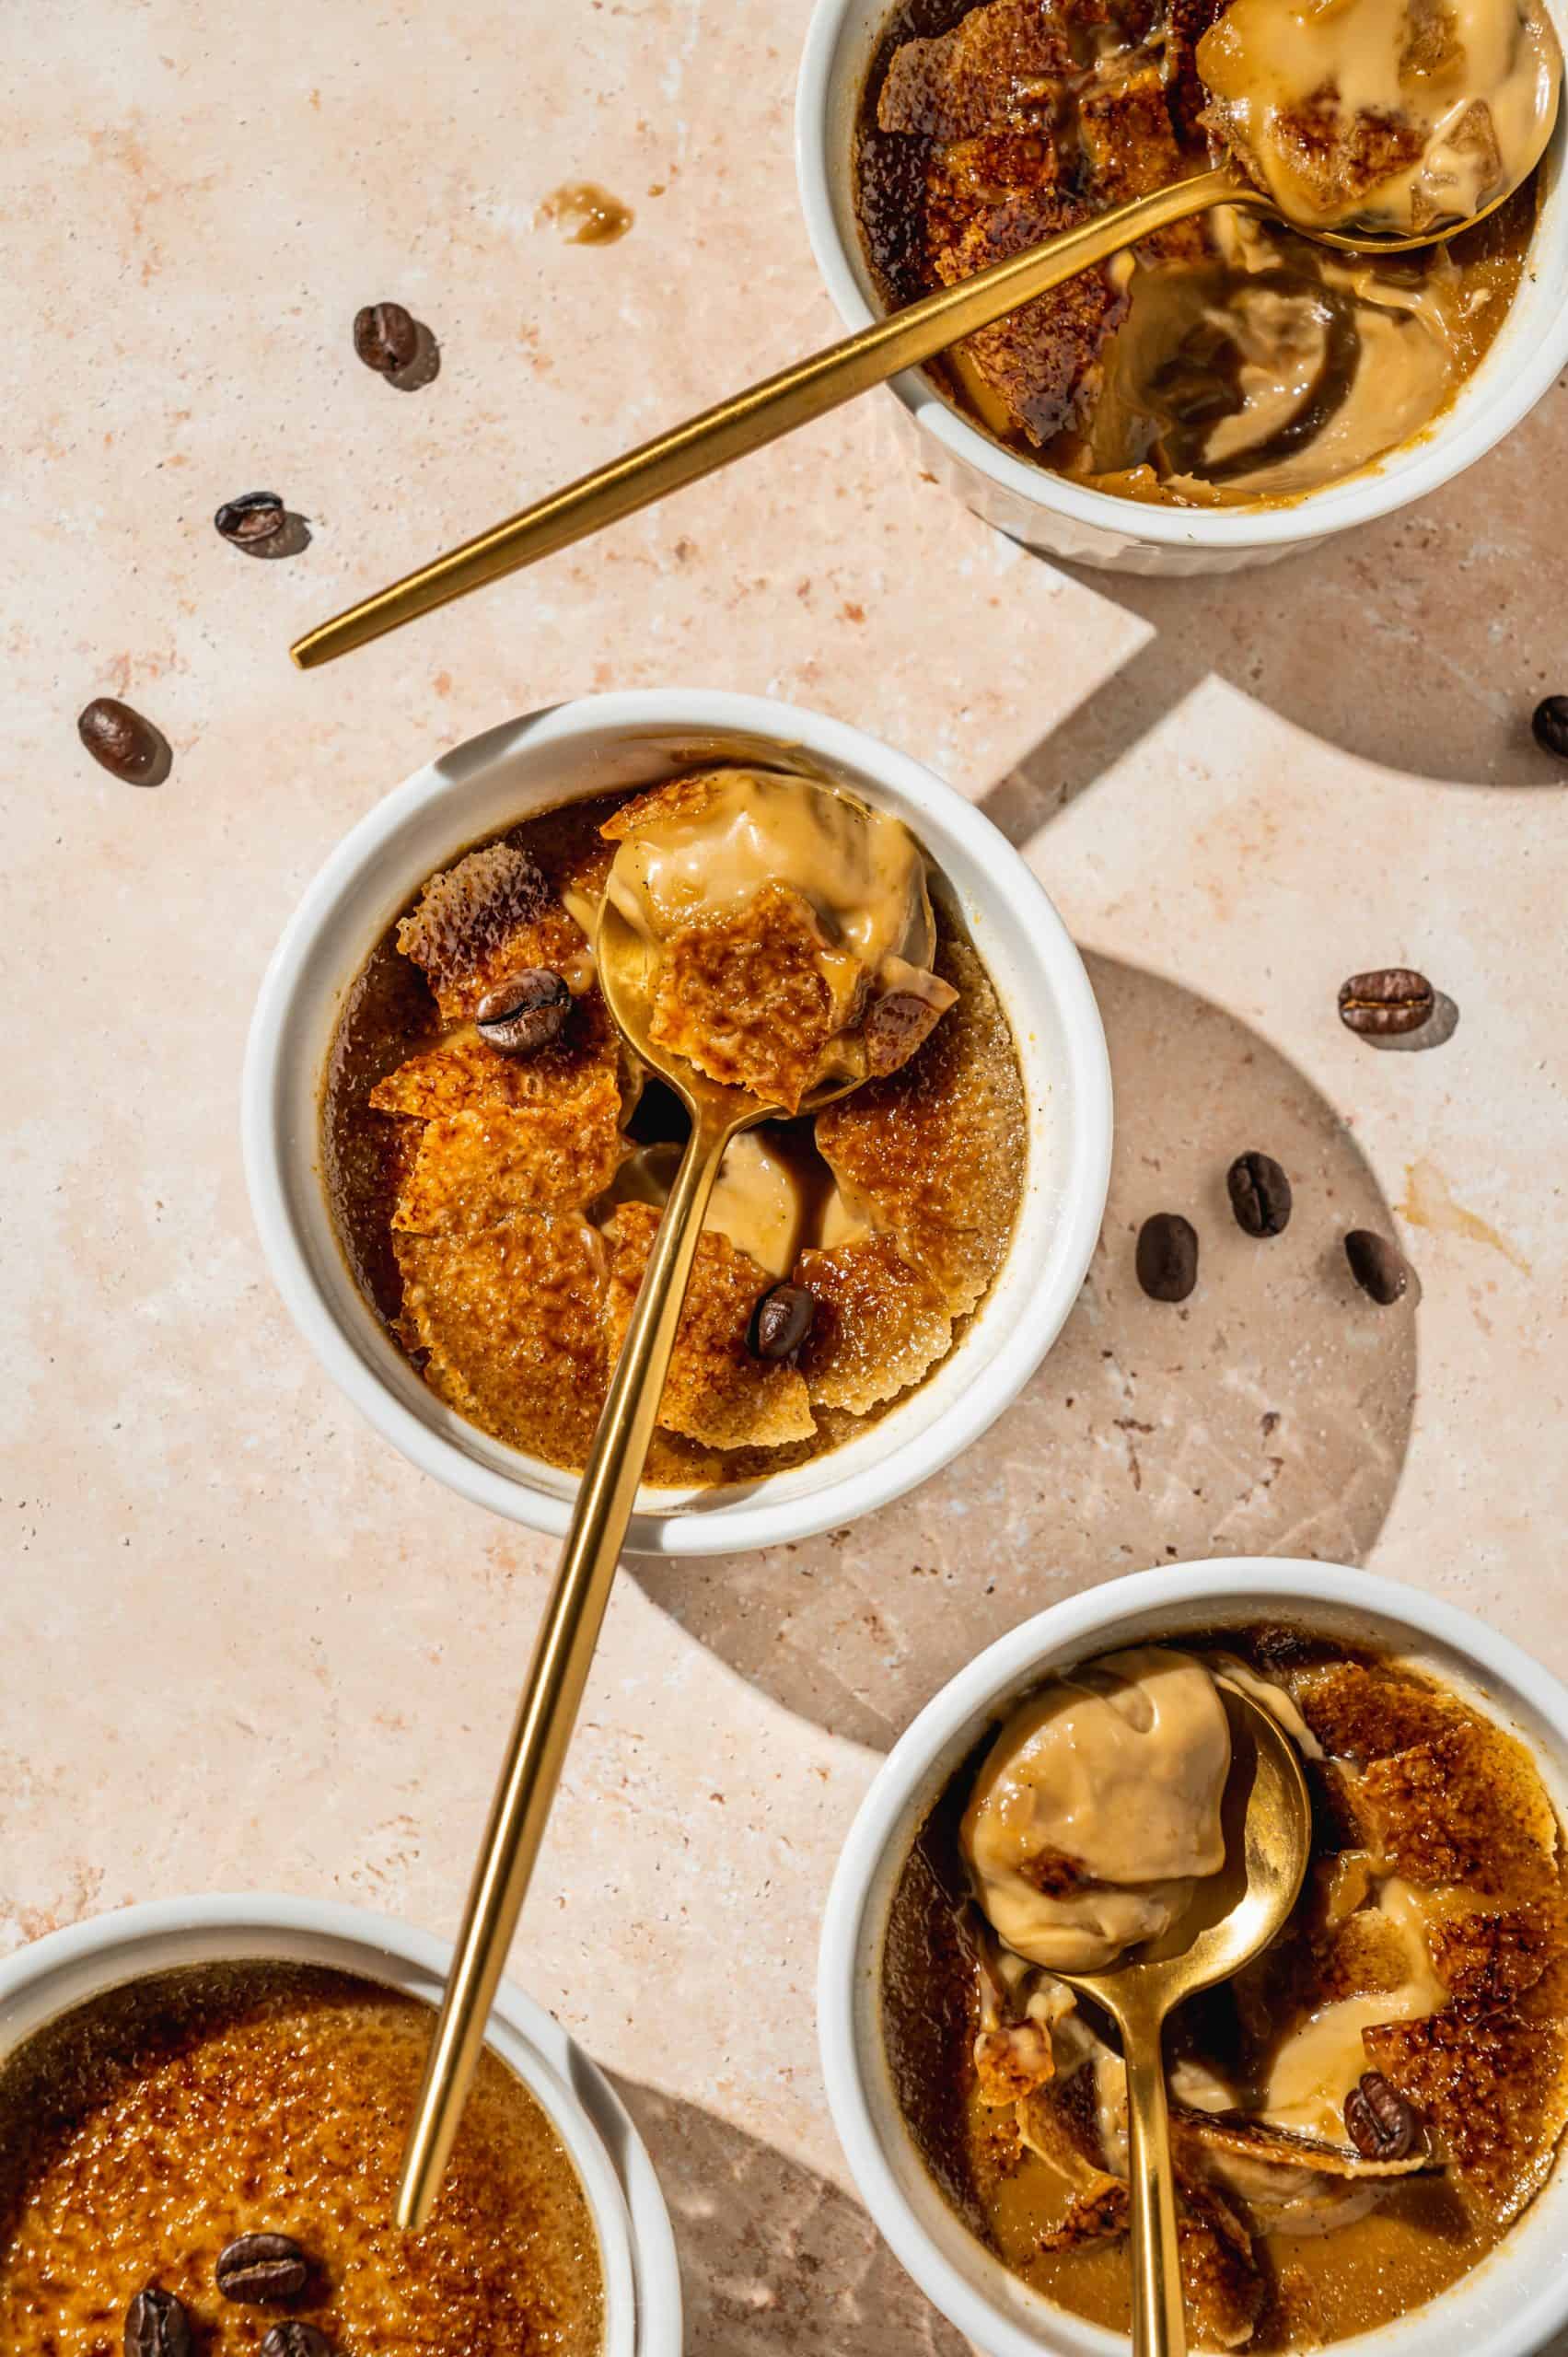
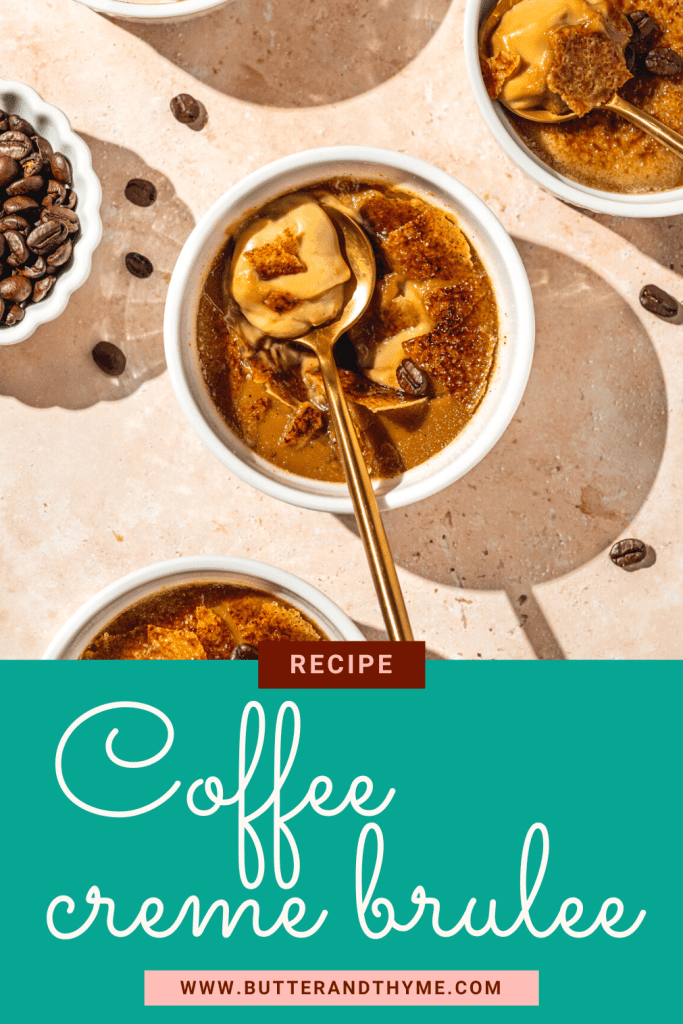
This coffee creme brulee is one of my favorite desserts, perfect for coffee lovers! It’s smooth, rich, creamy, full of bold coffee flavor, and surprisingly simple to make.
Psst… if you’re a fellow coffee fanatic, you’ve got to try this Pumpkin Spice Latte Bread recipe too!
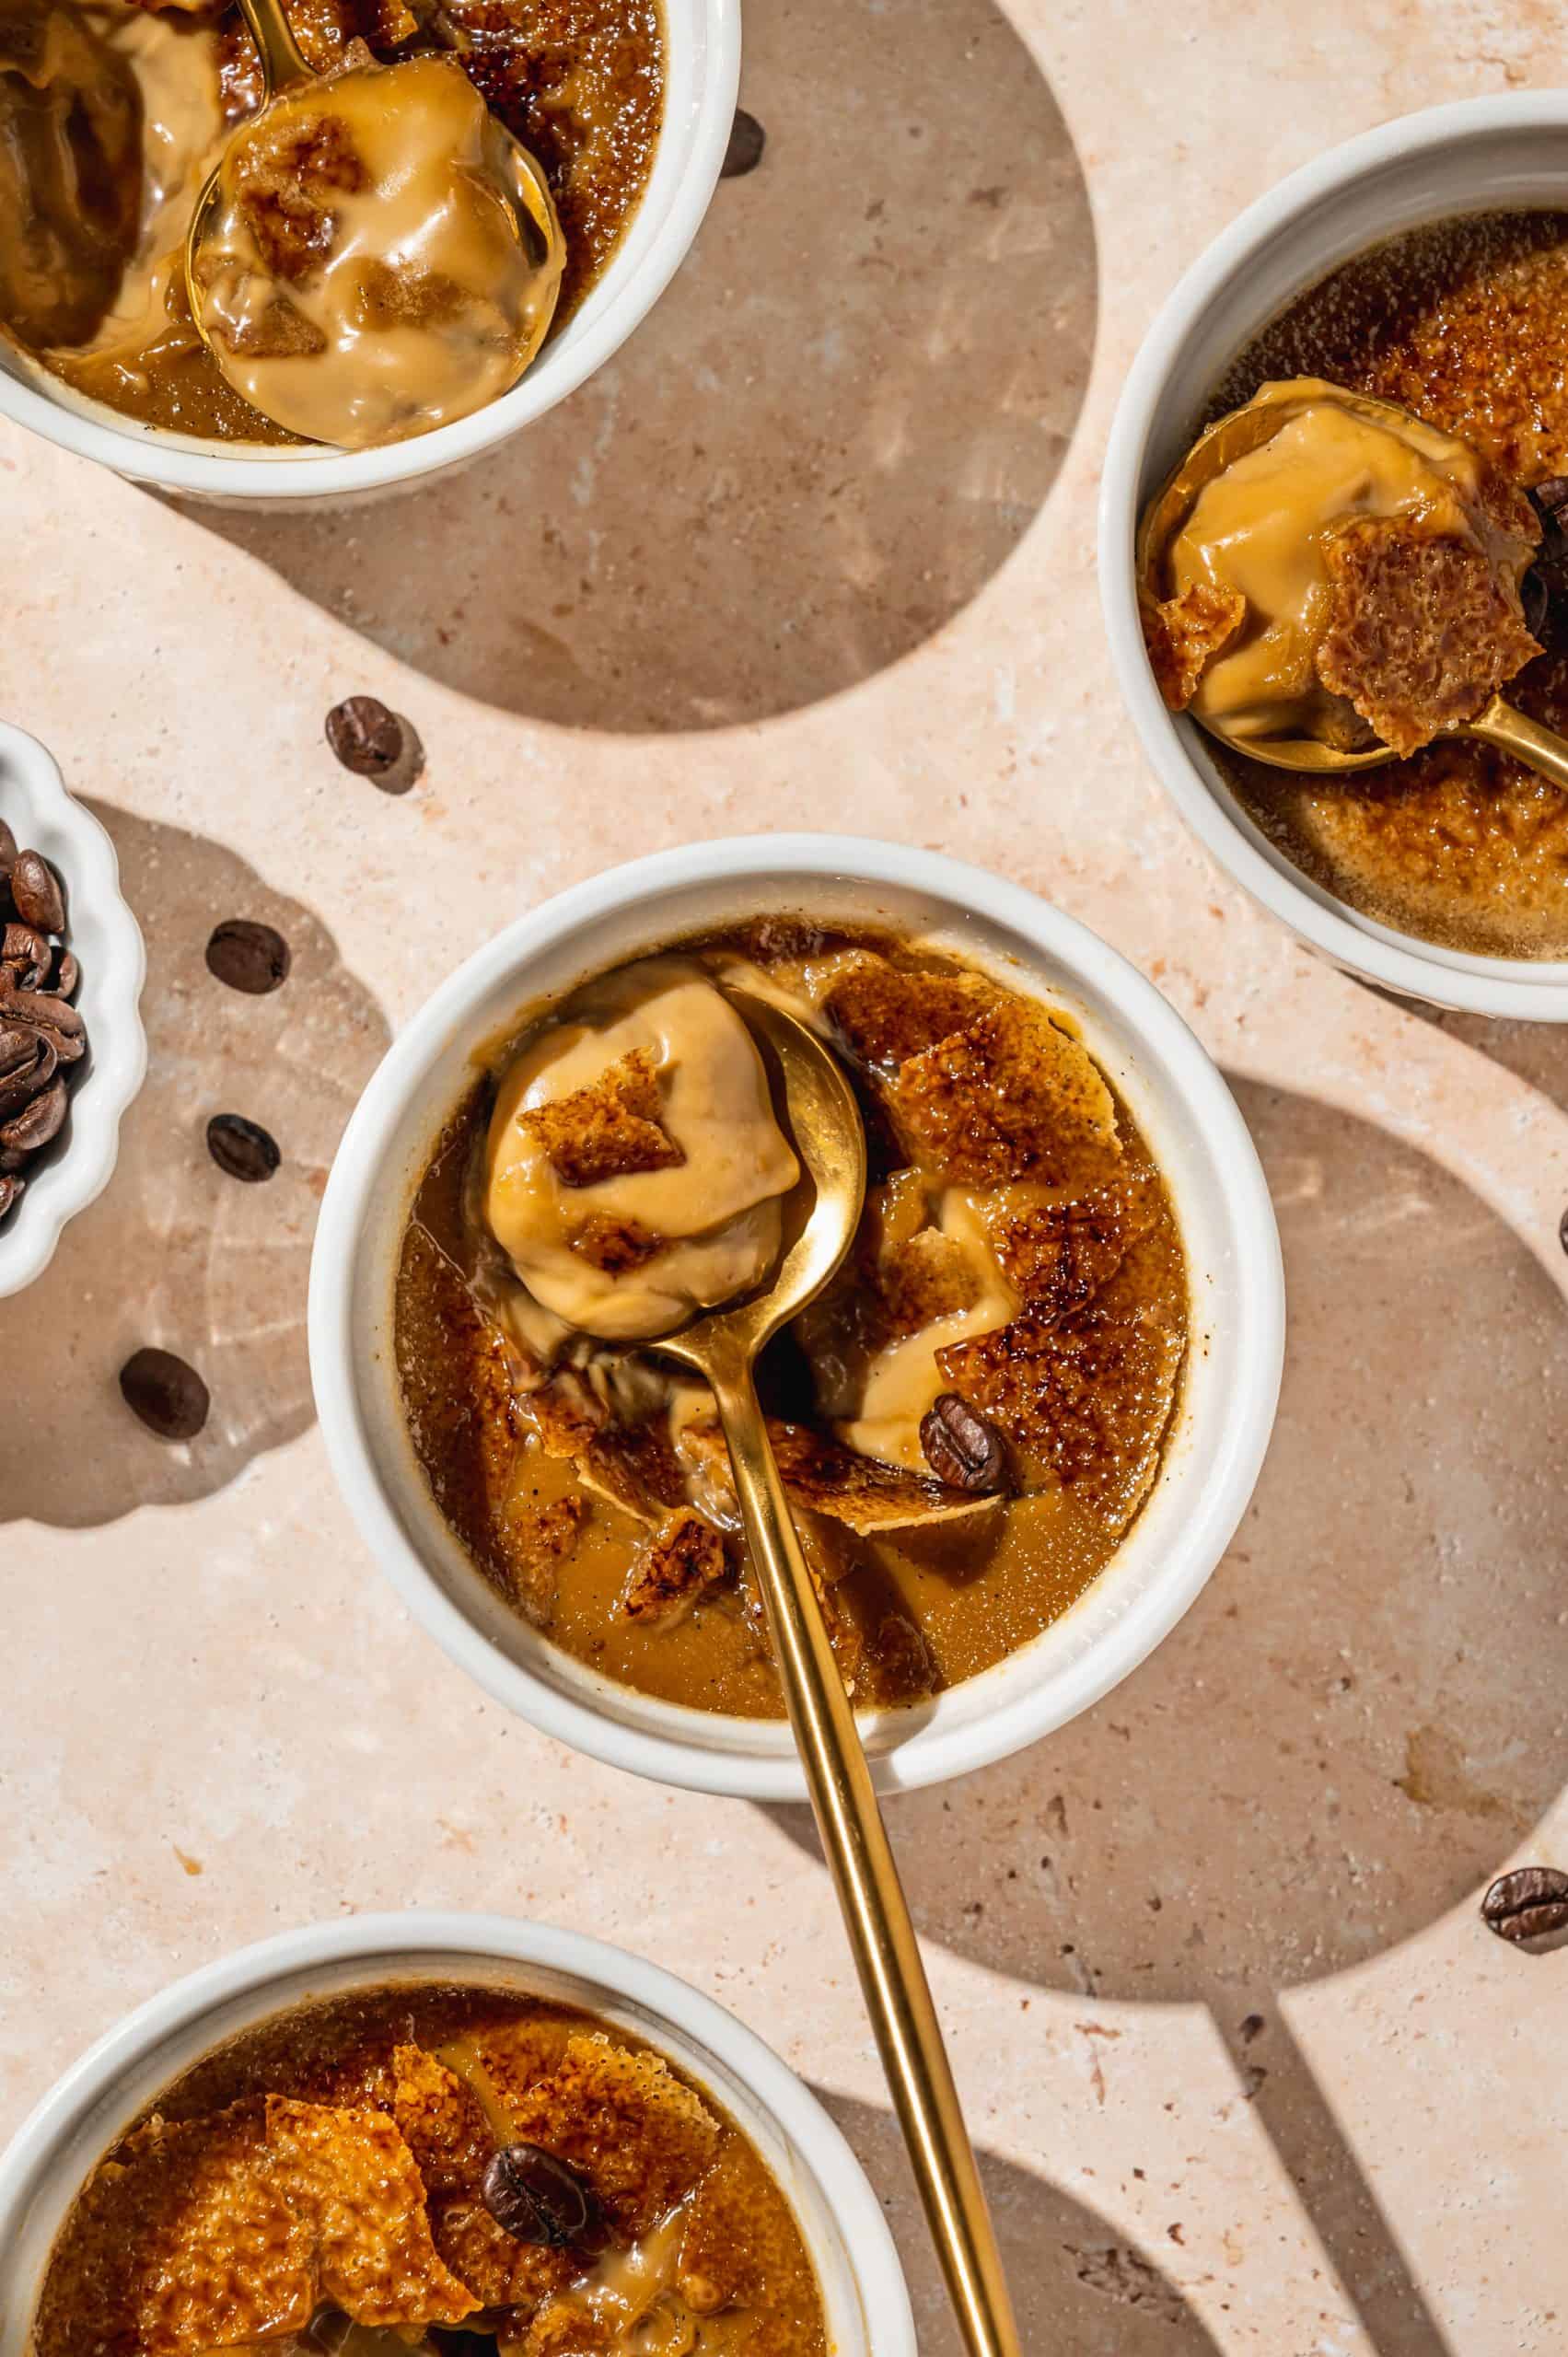
I know creme brulee sounds and looks pretty impressive, but I’m here to show you that even beginners can make perfect creme brulee. For real! Plain vanilla creme brulee requires only 5 ingredients to make, but you’ll need 6 ingredients for coffee creme brulee (it’s the same recipe, just add instant coffee or coffee beans!)
If you've already tried creme brulee and love it, you’ve got to try my creme brulee brownies! Or if you’re just here because you love torching things (I get it, me too) try making this Lemon Meringue Pie.
Jump to:
Why You'll Love This Recipe
- It’s easier to make than you might think! Especially since I take you step-by-step and go over common troubleshooting questions. I hope this blog post gives you the confidence to try it!
- It requires a small number of ingredients. You might even have everything to make it already at home, especially since a few ingredients can be easily substituted.
- Creme brulee is amazing, but coffee creme brulee is even better. Coffee flavor is the perfect complement to the caramelly browned sugar top!
What is Creme Brulee?
Creme brulee (pronounced krEHm broo-LAY) literally means “burnt sugar.” It’s a classic French dessert that starts with vanilla custard baked in individual-sized ramekins. Then, sugar is sprinkled on top and bruléed, or burned with a torch, to caramelize the sugars on top.
The custard itself is served chilled, and the burnt sugar layer hardens into a crisp caramel candy-like layer. It is seriously the most satisfying thing to break through the top layer to get to the creamy cool custard underneath!
Traditionally, creme brulee custard is flavored with vanilla bean. Sometimes you'll see a splash of brandy or orange liqueur added for extra flavor, but not always. I kept the vanilla bean in this recipe but also added coffee to the mix. That’s really the only change from the traditional recipe. The ratio of egg yolks to sugar to cream is typical to yield the optimal texture.
Ingredients
Here's everything you'll need to make coffee creme brulee:
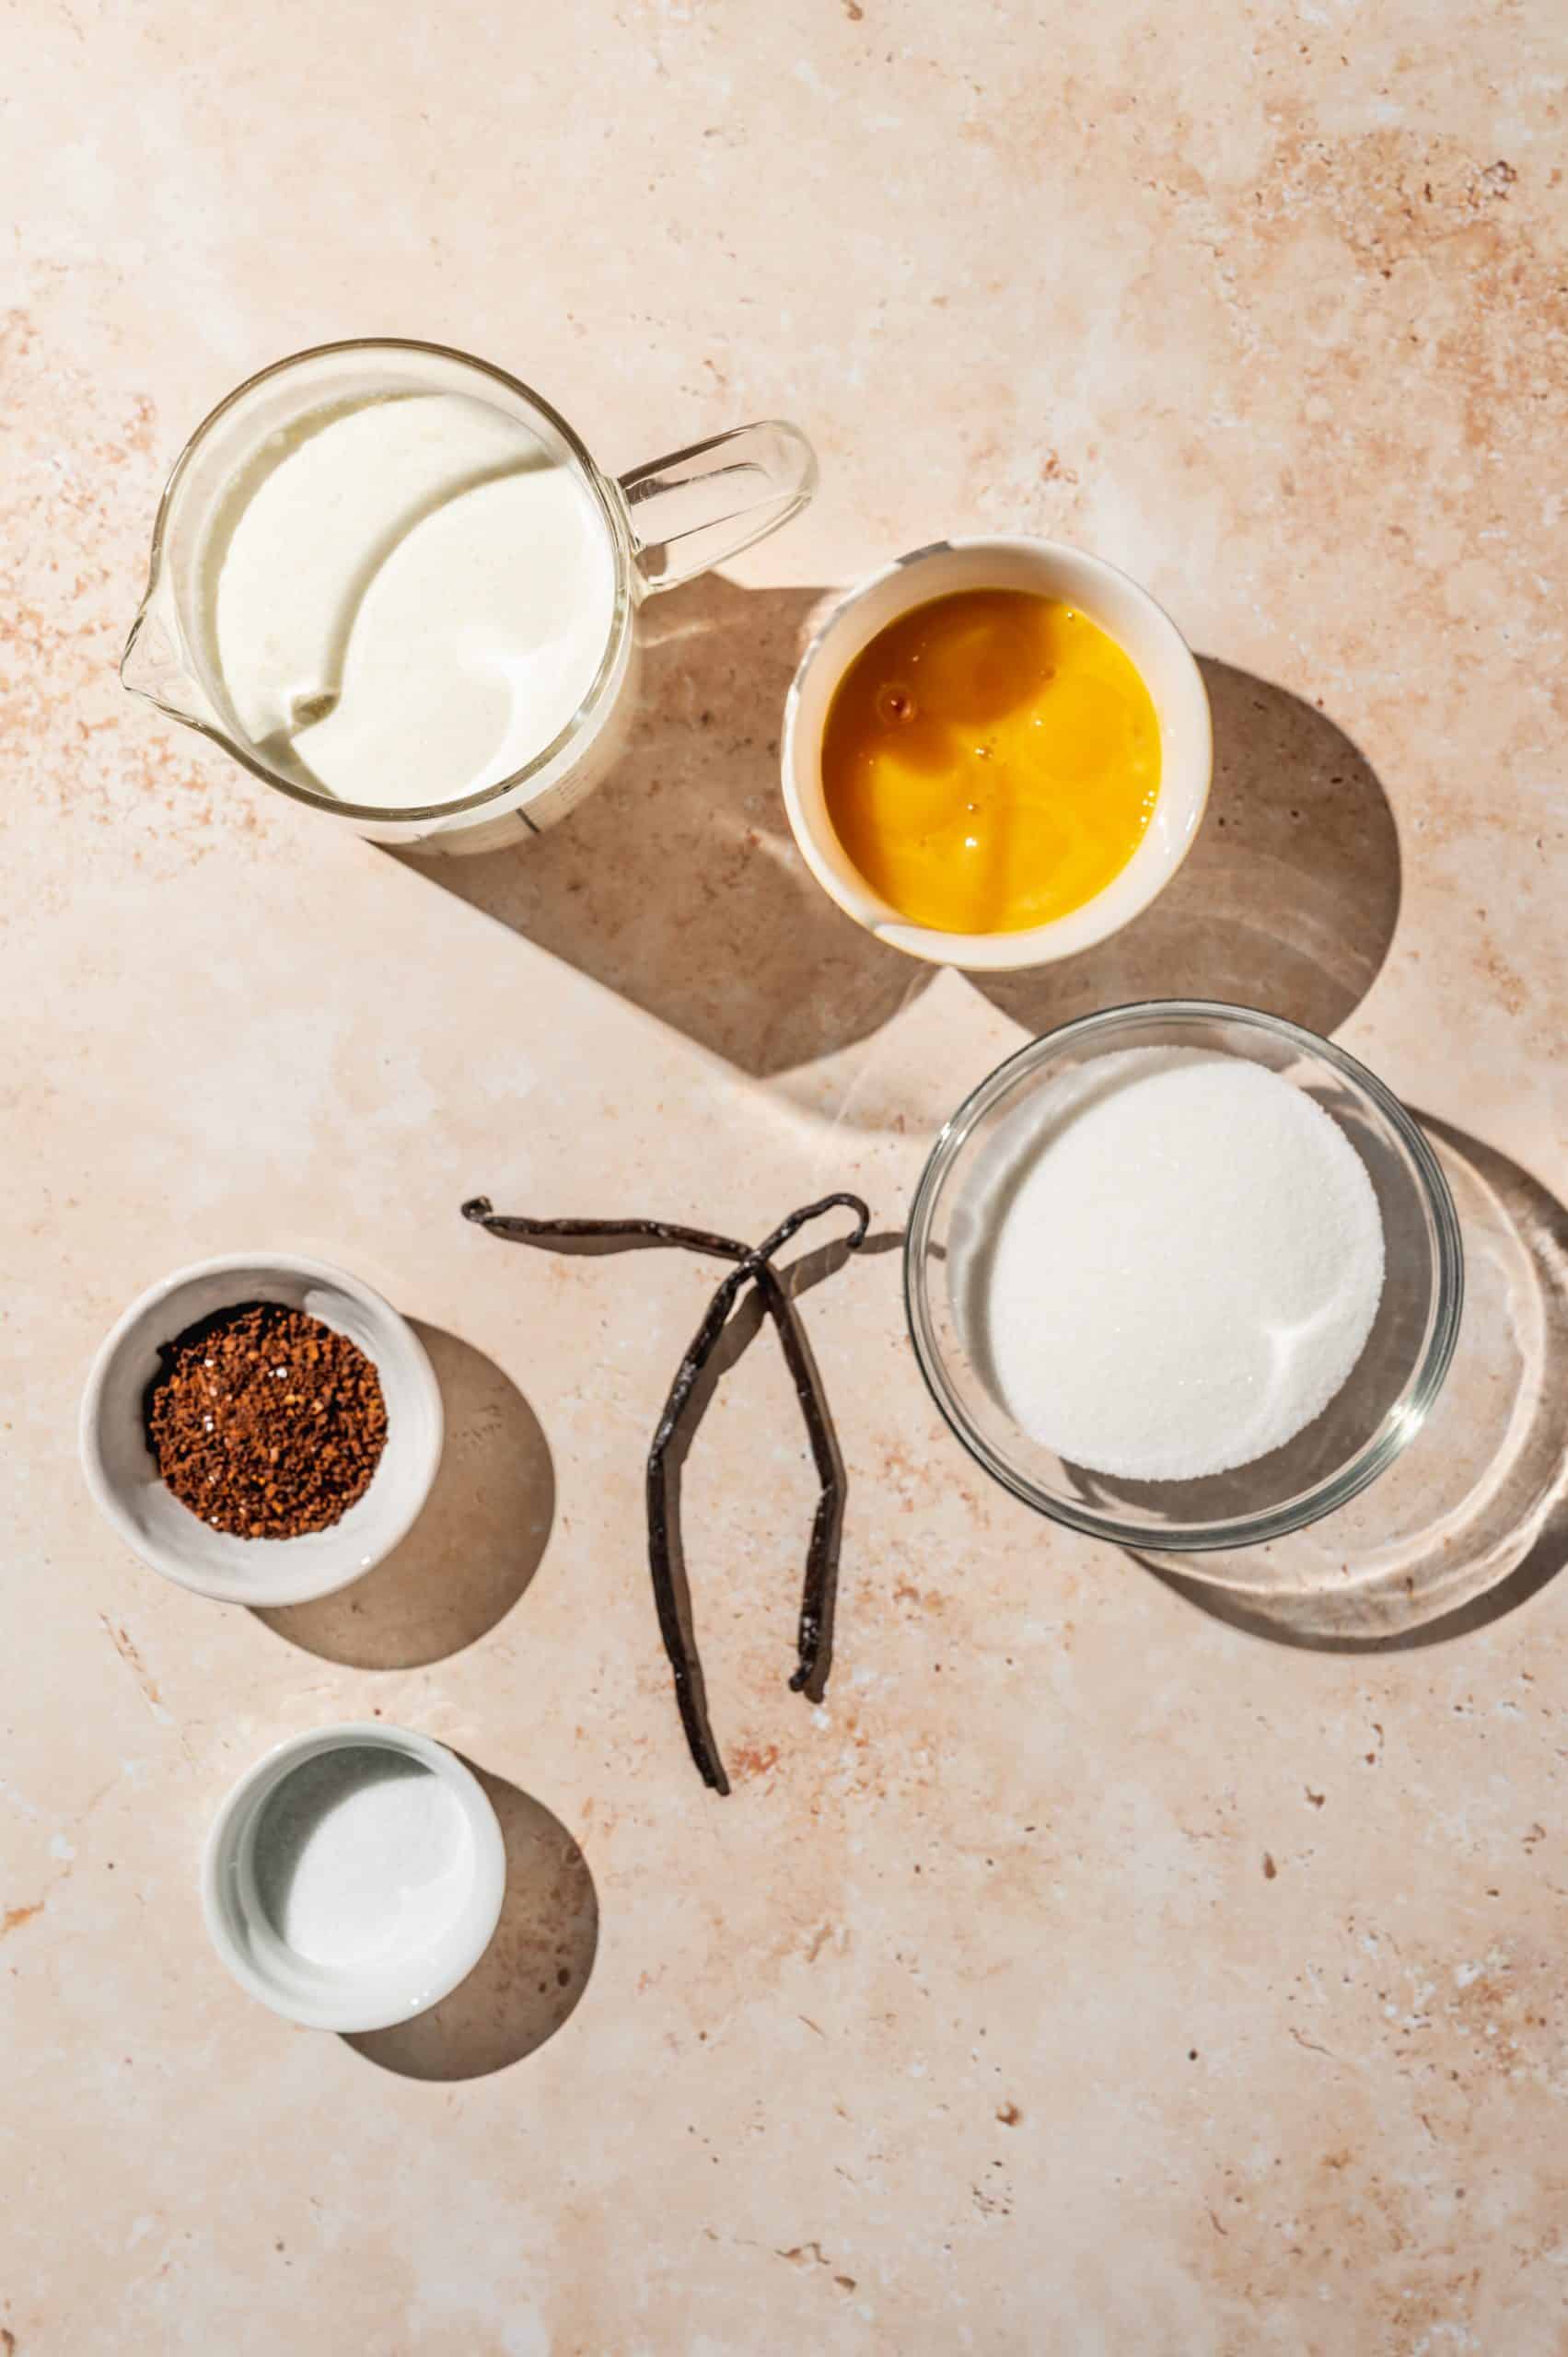
- Vanilla bean - or substitute 1-2 teaspoons of vanilla extract or vanilla bean paste. You'll need to slice open the vanilla bean to reveal all the vanilla beans inside of the pod (see how to split a vanilla bean step-by-step)
- Instant coffee or espresso powder - you could also use coffee beans and let it steep in the cream for 20-30 minutes to fully extract the flavor. Or, use ground coffee (even though it won't fully dissolve like instant coffee, the mixture gets strained which will remove the coffee grinds). I like my coffee pretty strong, so feel free to use less for a more mild coffee flavor. Or leave it out altogether for a delicious plain vanilla creme brulee!
- Egg yolks - use only the yolks for a rich and creamy pudding-like texture. For best results, try not to let any egg white get into the yolk mixture. There are a few ways of going about separating the yolks from whites. I like to crack the eggs on a flat surface (this way the shell cracks into fewer larger pieces, usually pretty much in half) then catch the yolk in half of the eggshell while letting the whites fall to a small bowl underneath. If that sounds too difficult, you can also crack the egg over your hand to catch the yolk (click here for a visual explanation!)
- Heavy cream - aka heavy whipping cream, which is the richest cream at the grocery store. Products labeled "heavy cream" or "heavy whipping cream" are 36-40% milkfat by law, which means it gives dishes the creamiest texture. Avoid "whipping cream" which will still work but is slightly less rich at 30-35% milk fat. (I know, it's confusing and annoying that they name it like this, but hopefully this explanation helps).
- Sugar - the best option for the caramel sugar topping is actually superfine sugar, not turbinado or brown sugar. Sugar with small crystals melts faster, which means the cream underneath will stay cold. Brown sugars have a higher moisture content which inhibits browning, so I'd typically avoid them for this recipe. Plus, it's hard to tell when the sugar is changing color. If you can't find superfine sugar, regular granulated sugar is the next best option, since it has a relatively fine texture too. Whichever type of sugar you use in the topping you can also use in the creme brulee custard itself (so you don't need to buy 2 different types of sugar).
- Salt - balances out the bitterness of coffee and burnt sugar.
- Espresso or coffee beans for garnish (optional) - I use 3 on each one for good luck, like with espresso martinis!
See recipe card for quantities.
How to Make Creme Brulee Custard
Here's how to make the baked coffee custard that is the base for coffee creme brulee. The method of baking creme brulee custard is exactly the same as vanilla creme brulee. The only difference is adding the coffee!
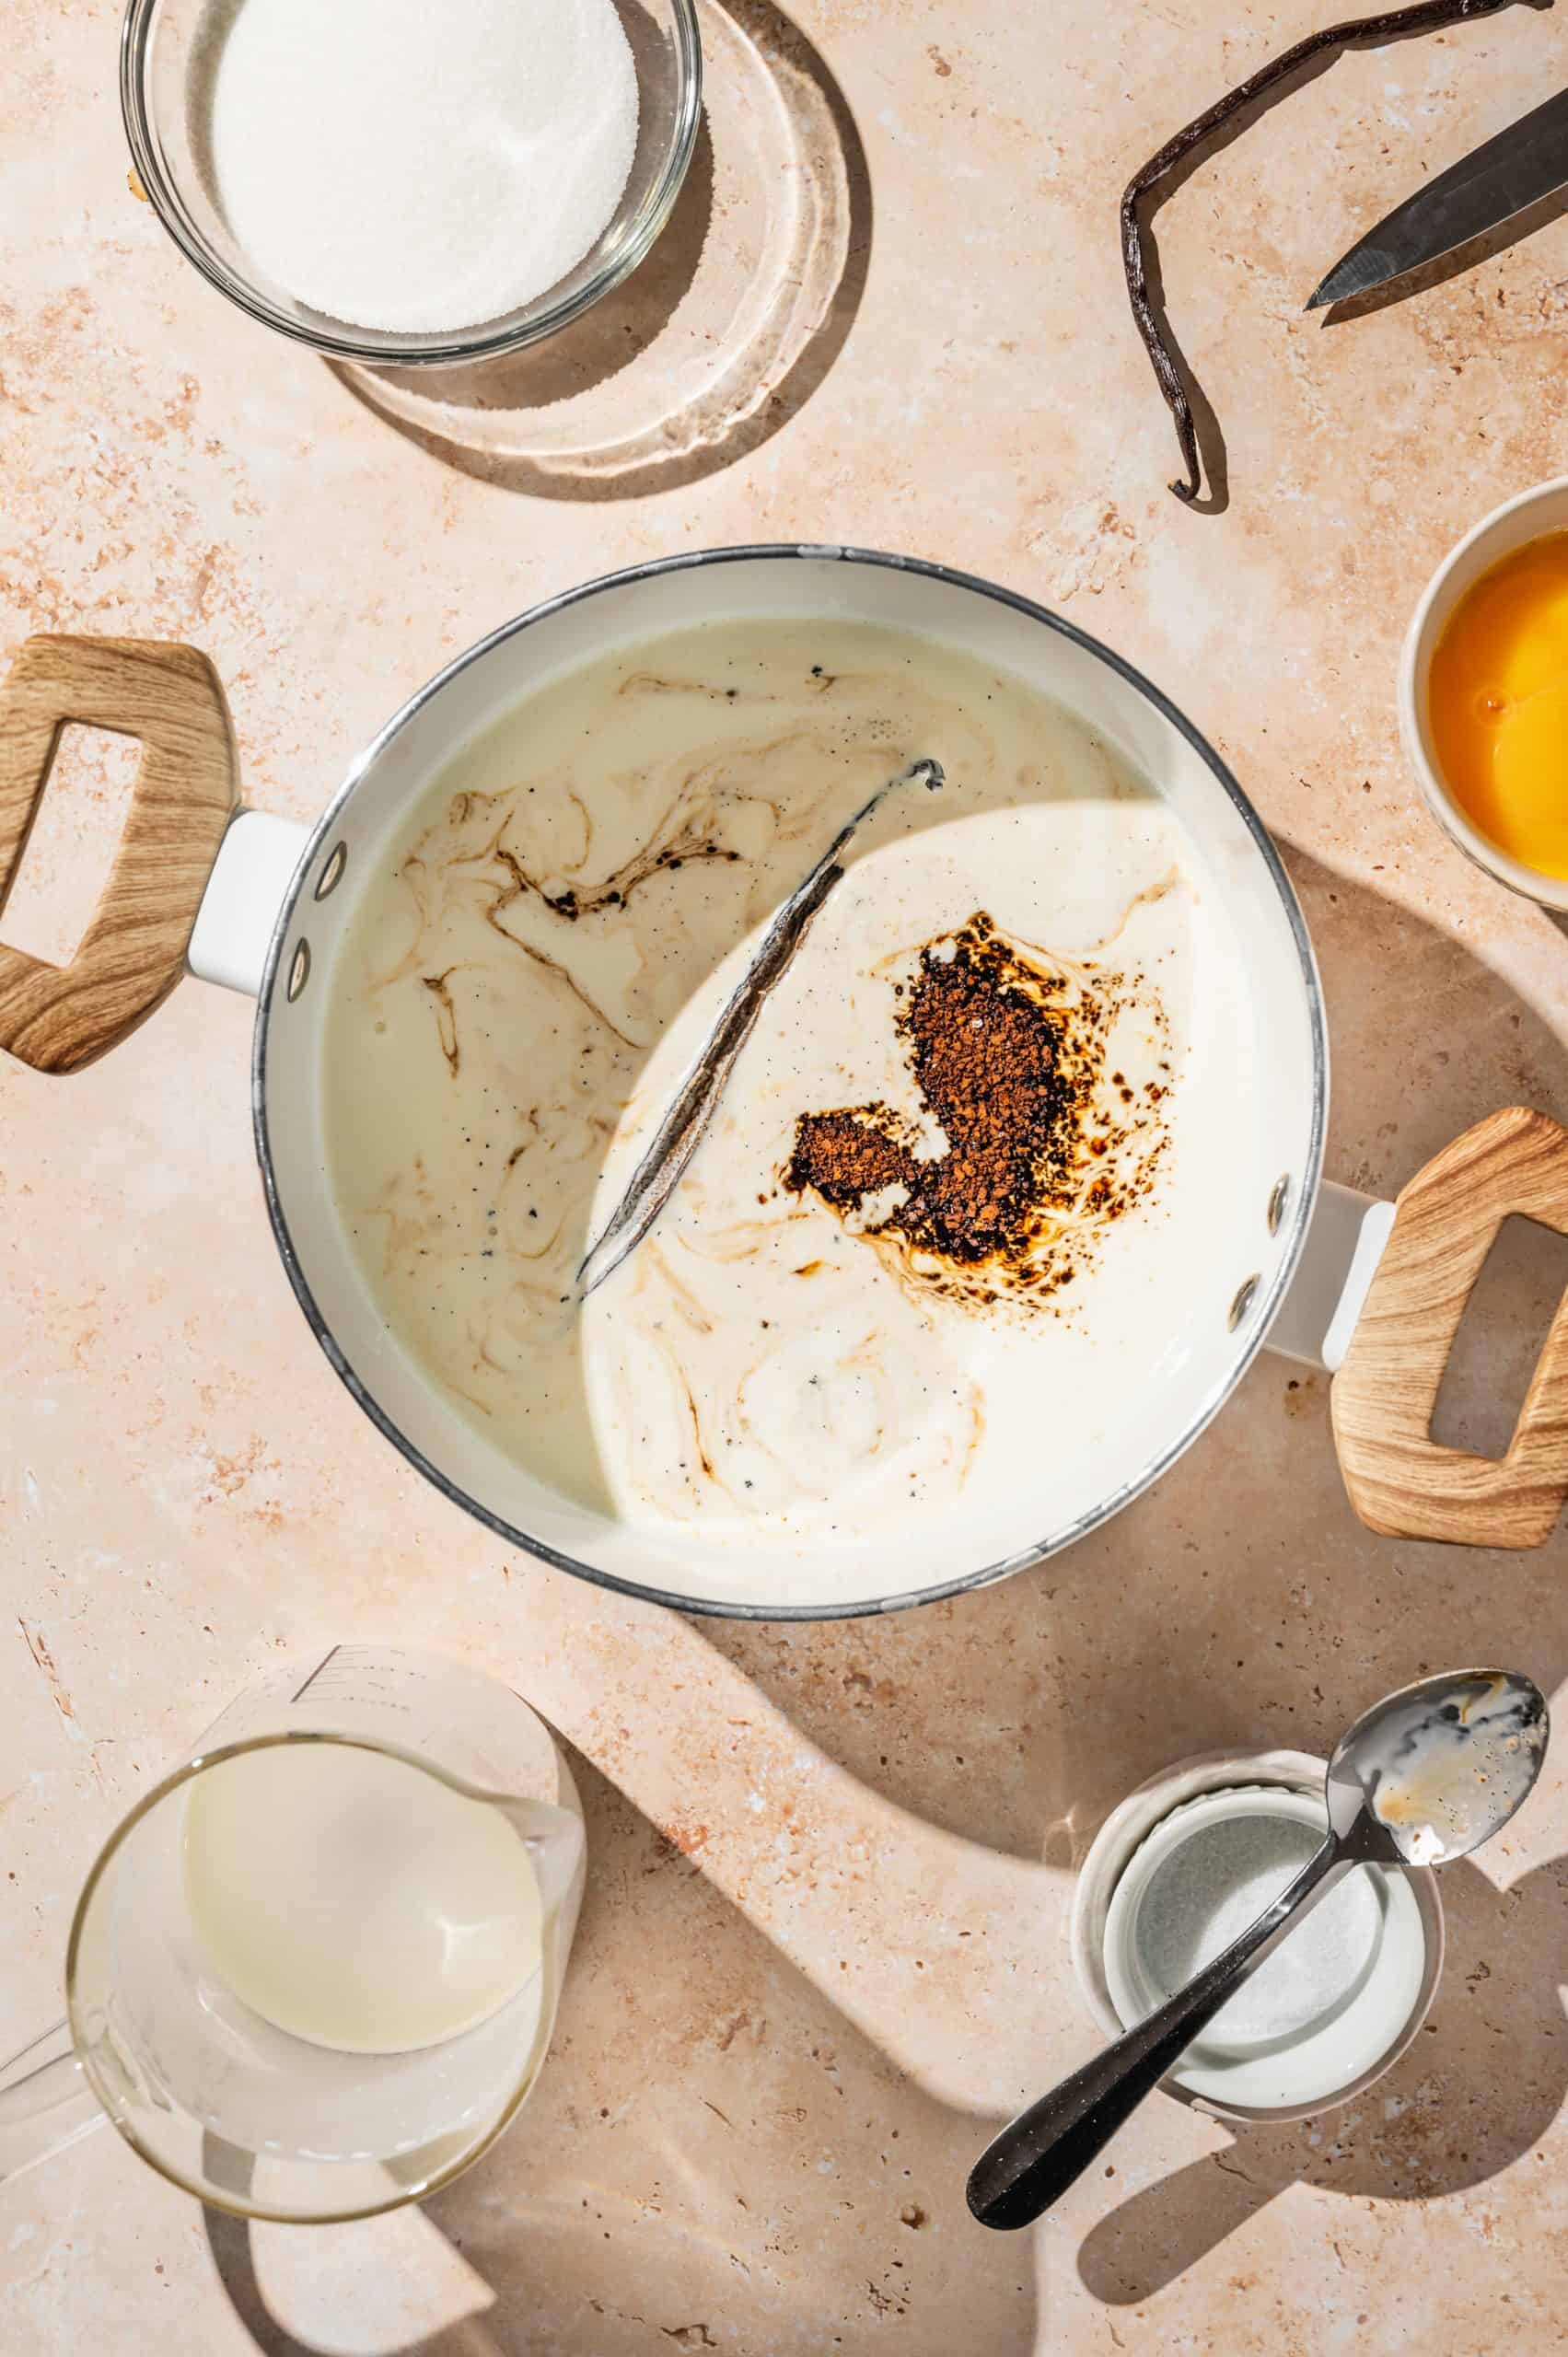
First, add cream and coffee to a pot and bring to a simmer. Add the vanilla bean seeds along with the seeded vanilla bean for maximum flavor. Once it's simmering, remove it from the heat.
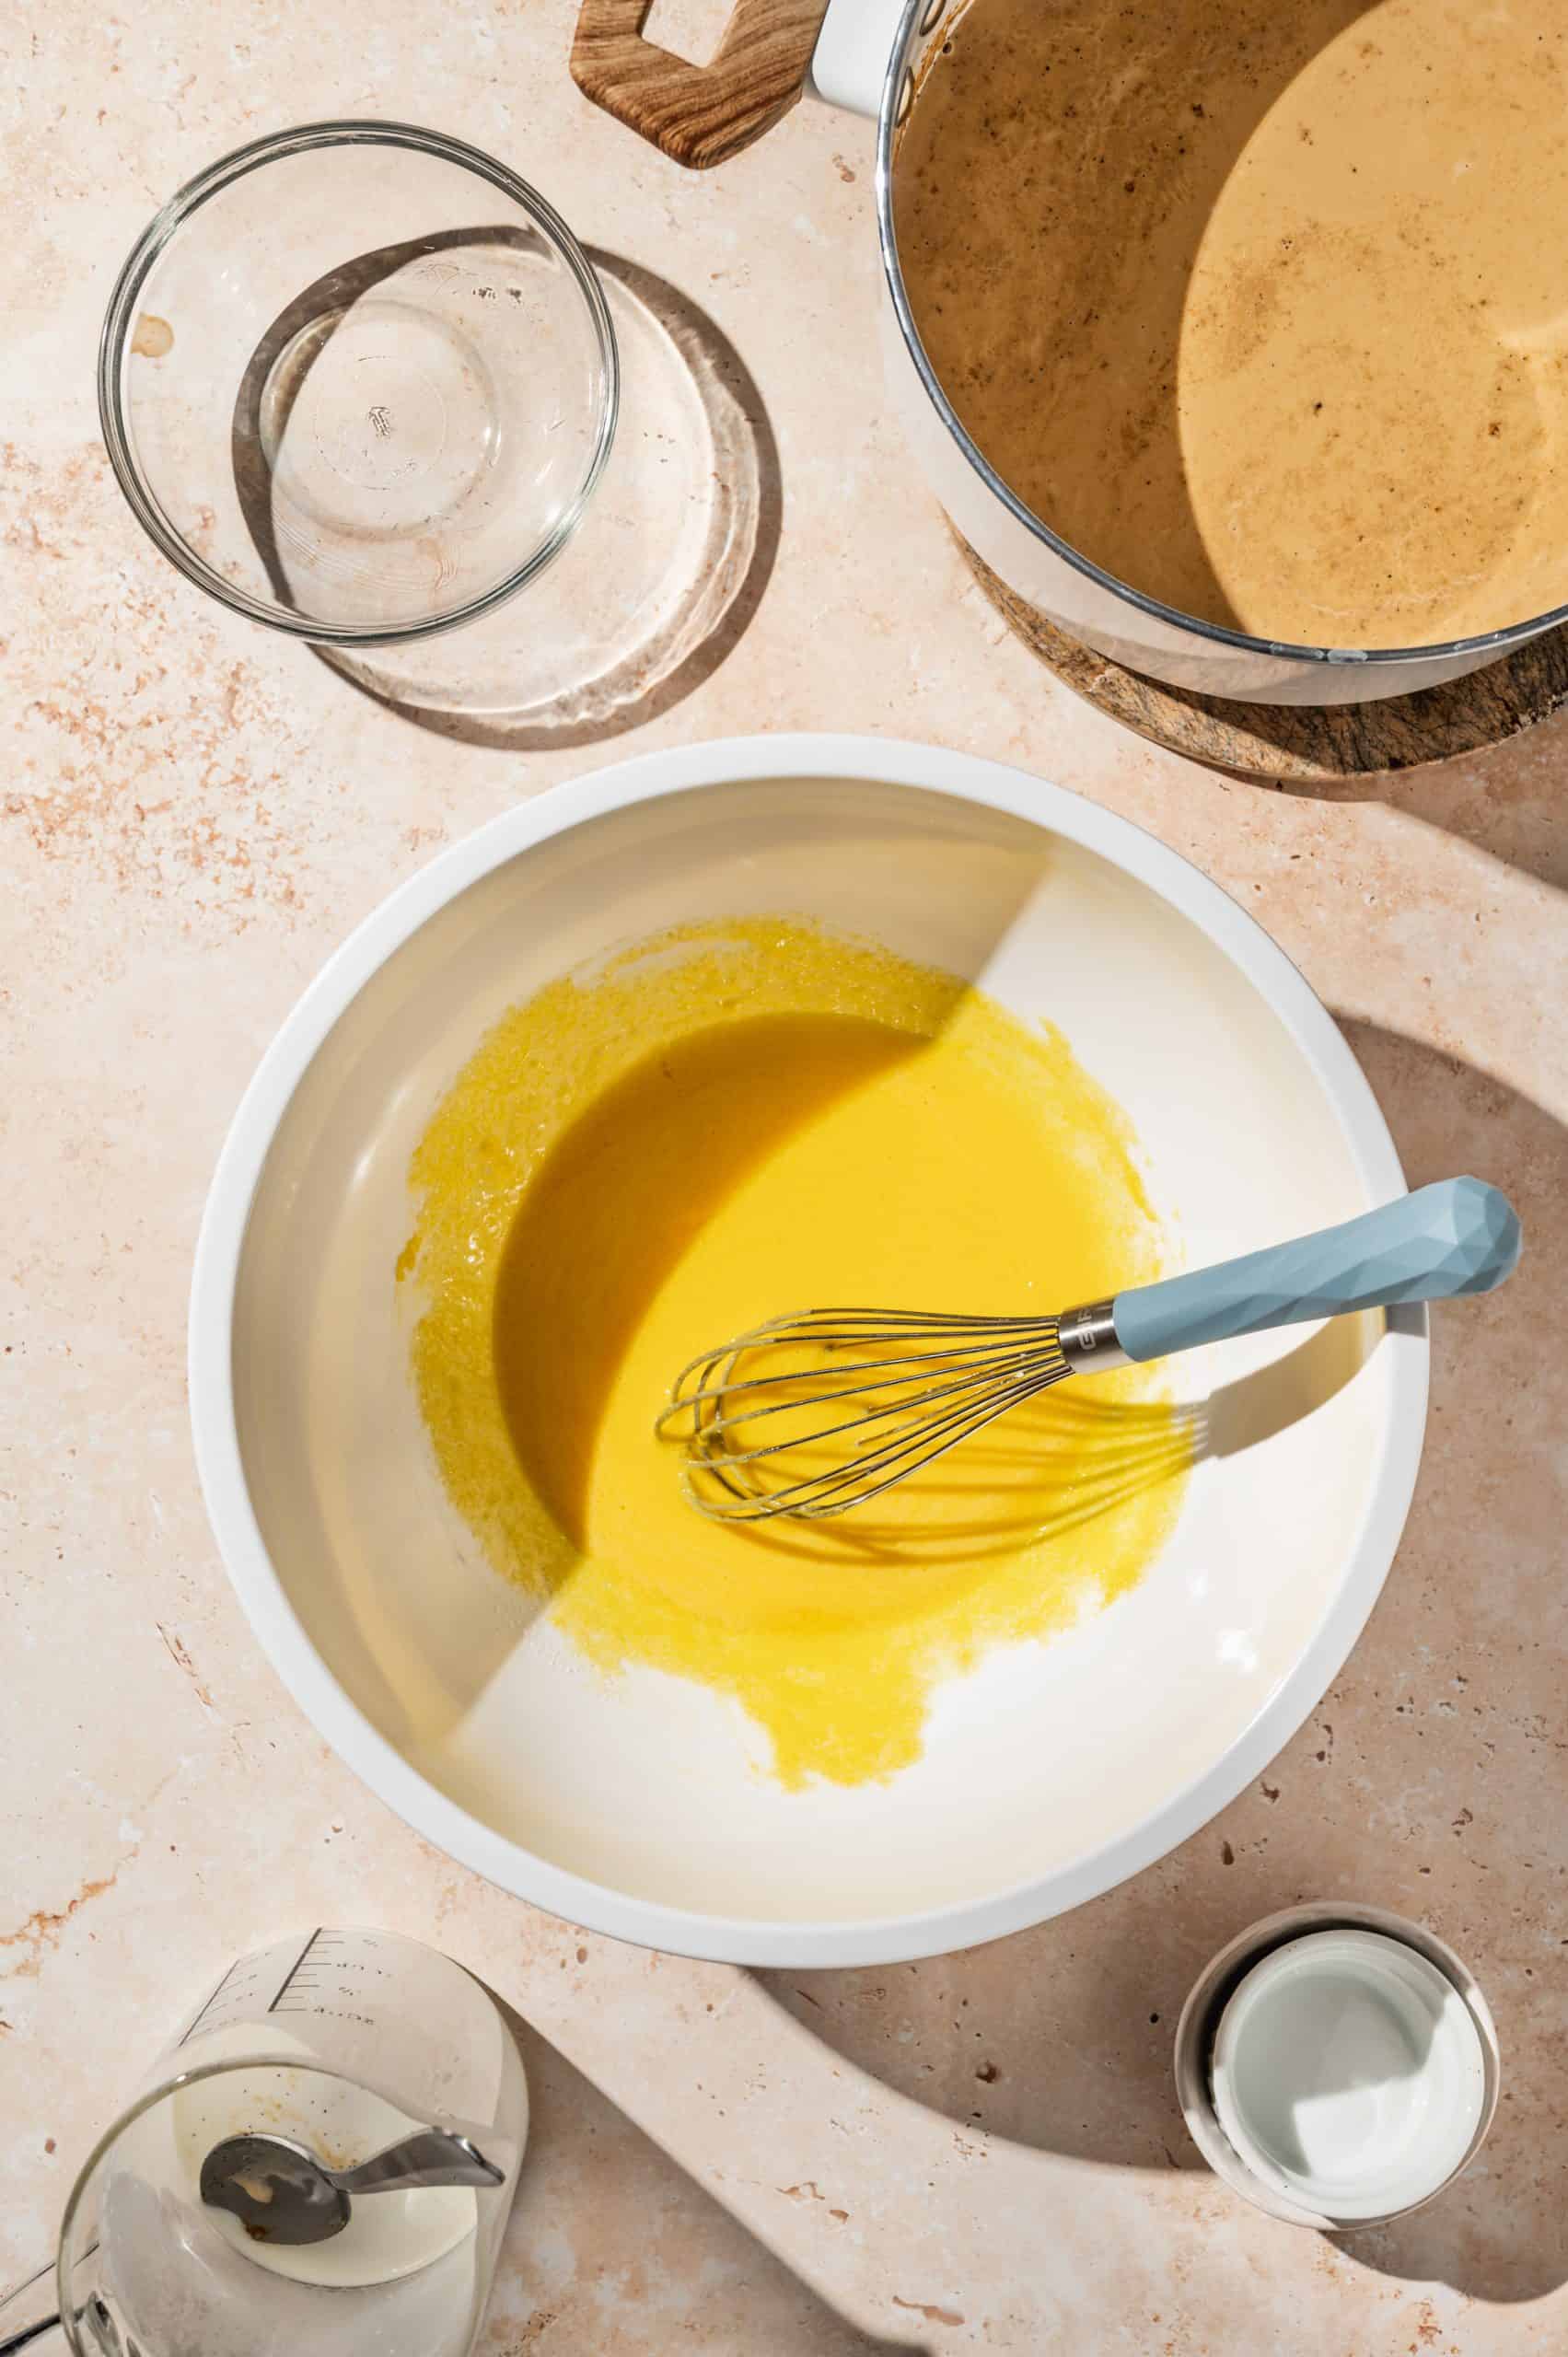
While the coffee-flavored cream mixture is steeping and cooling slightly, add the egg yolks, sugar, and salt, to a large mixing bowl. Whisk until totally smooth.
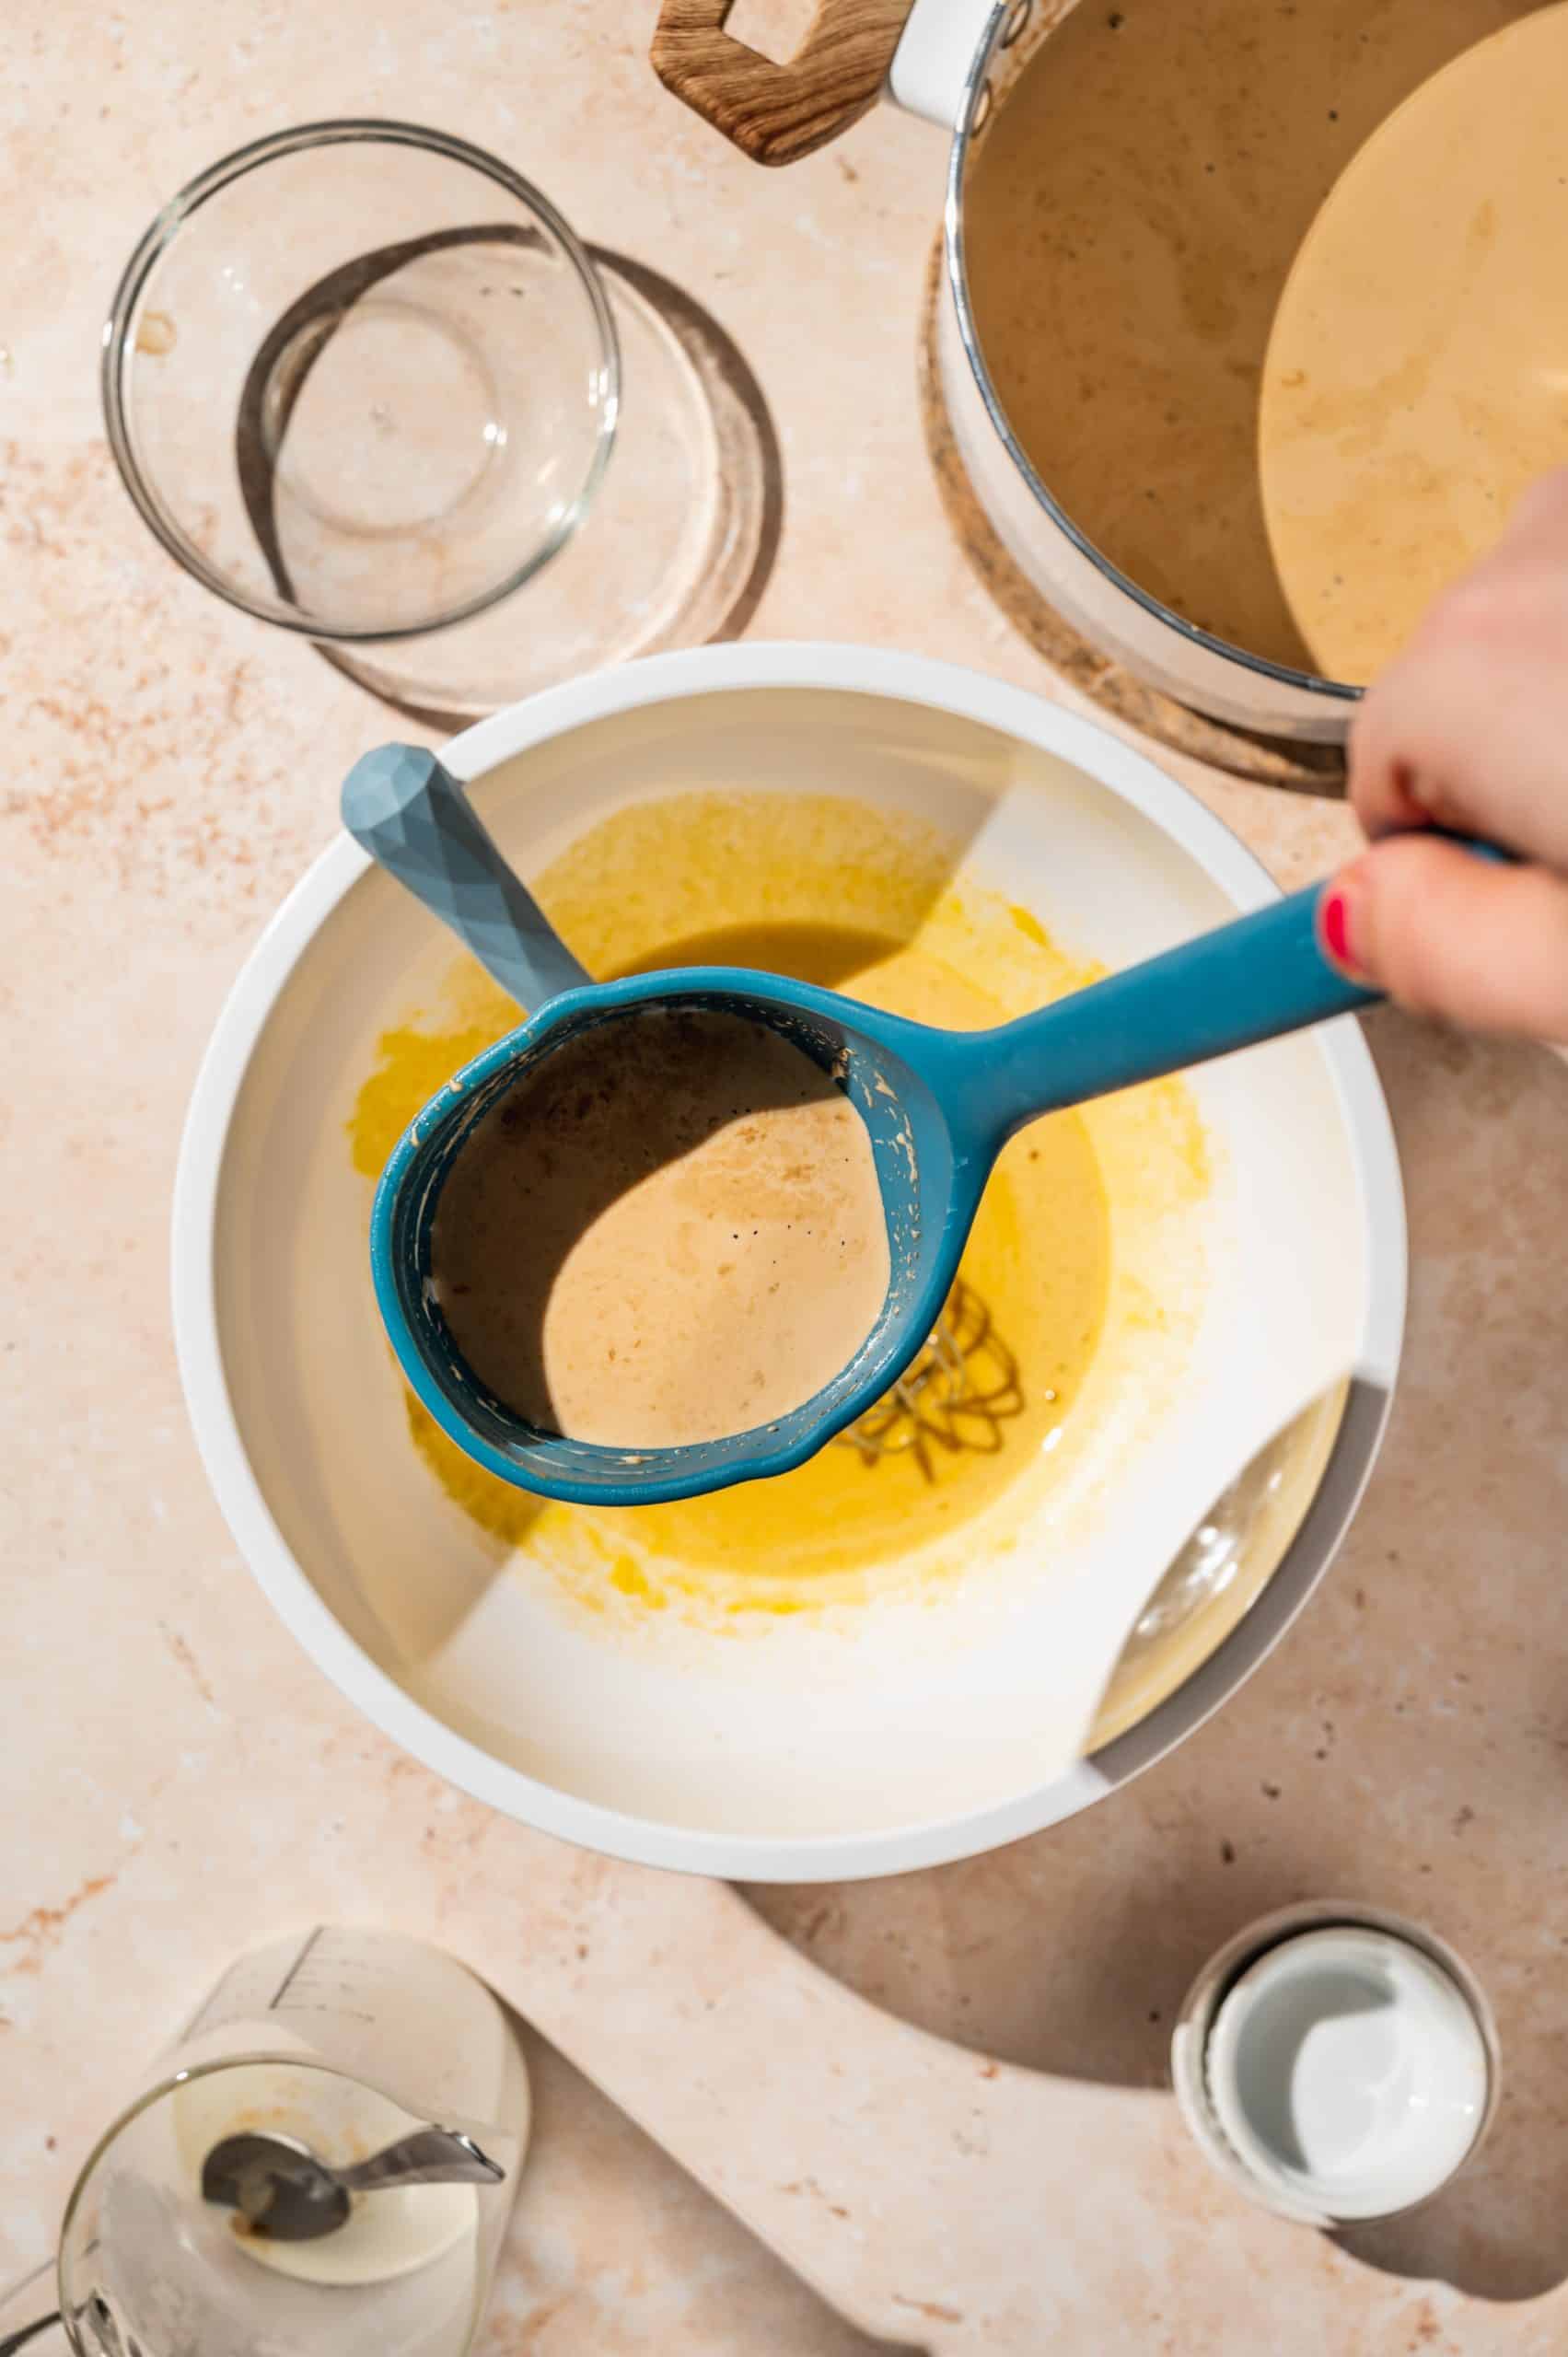
Now, SLOWLY add the warm coffee cream to the egg mixture. Add one ladle-full at a time while constantly whisking. This is called tempering eggs, so they don't overcook and coagulate.
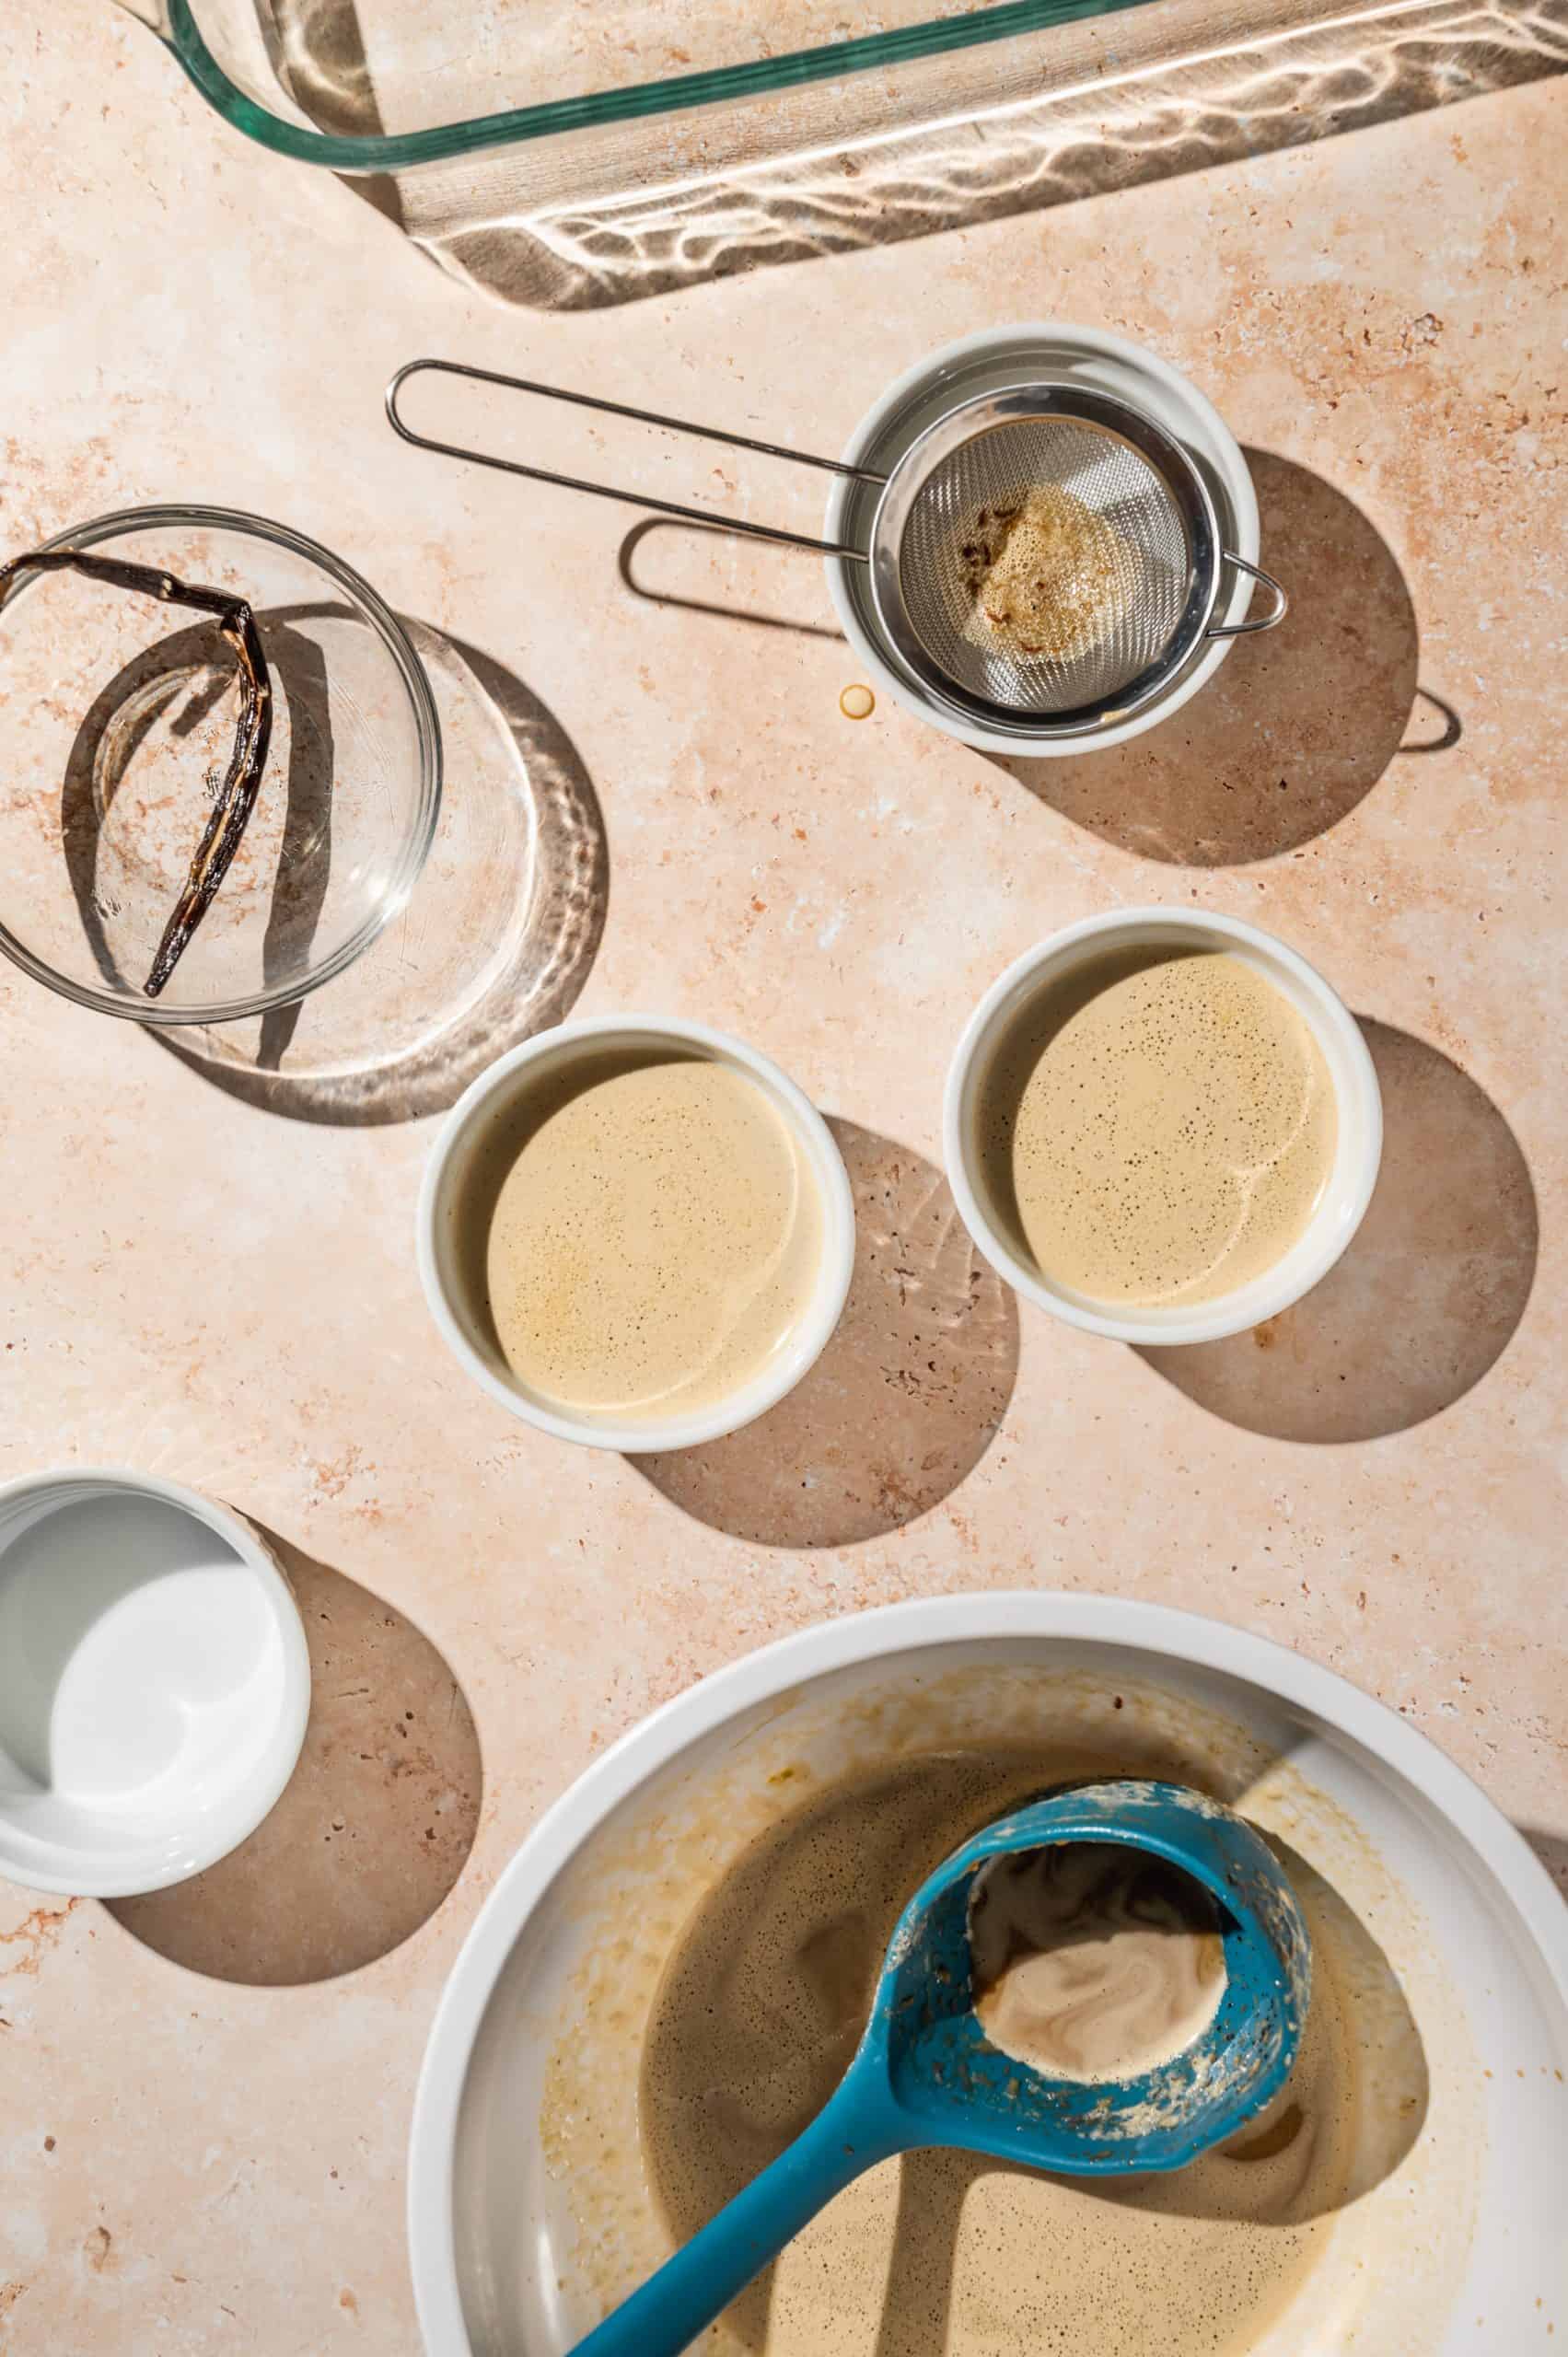
Now, fill the ramekins with the custard mixture, passing it through a small strainer to collect any impurities (i.e. egg pieces or coffee granules). This will result in super smooth and creamy custard with the best texture! Don't worry, the vanilla beans are small enough to pass through the mesh.
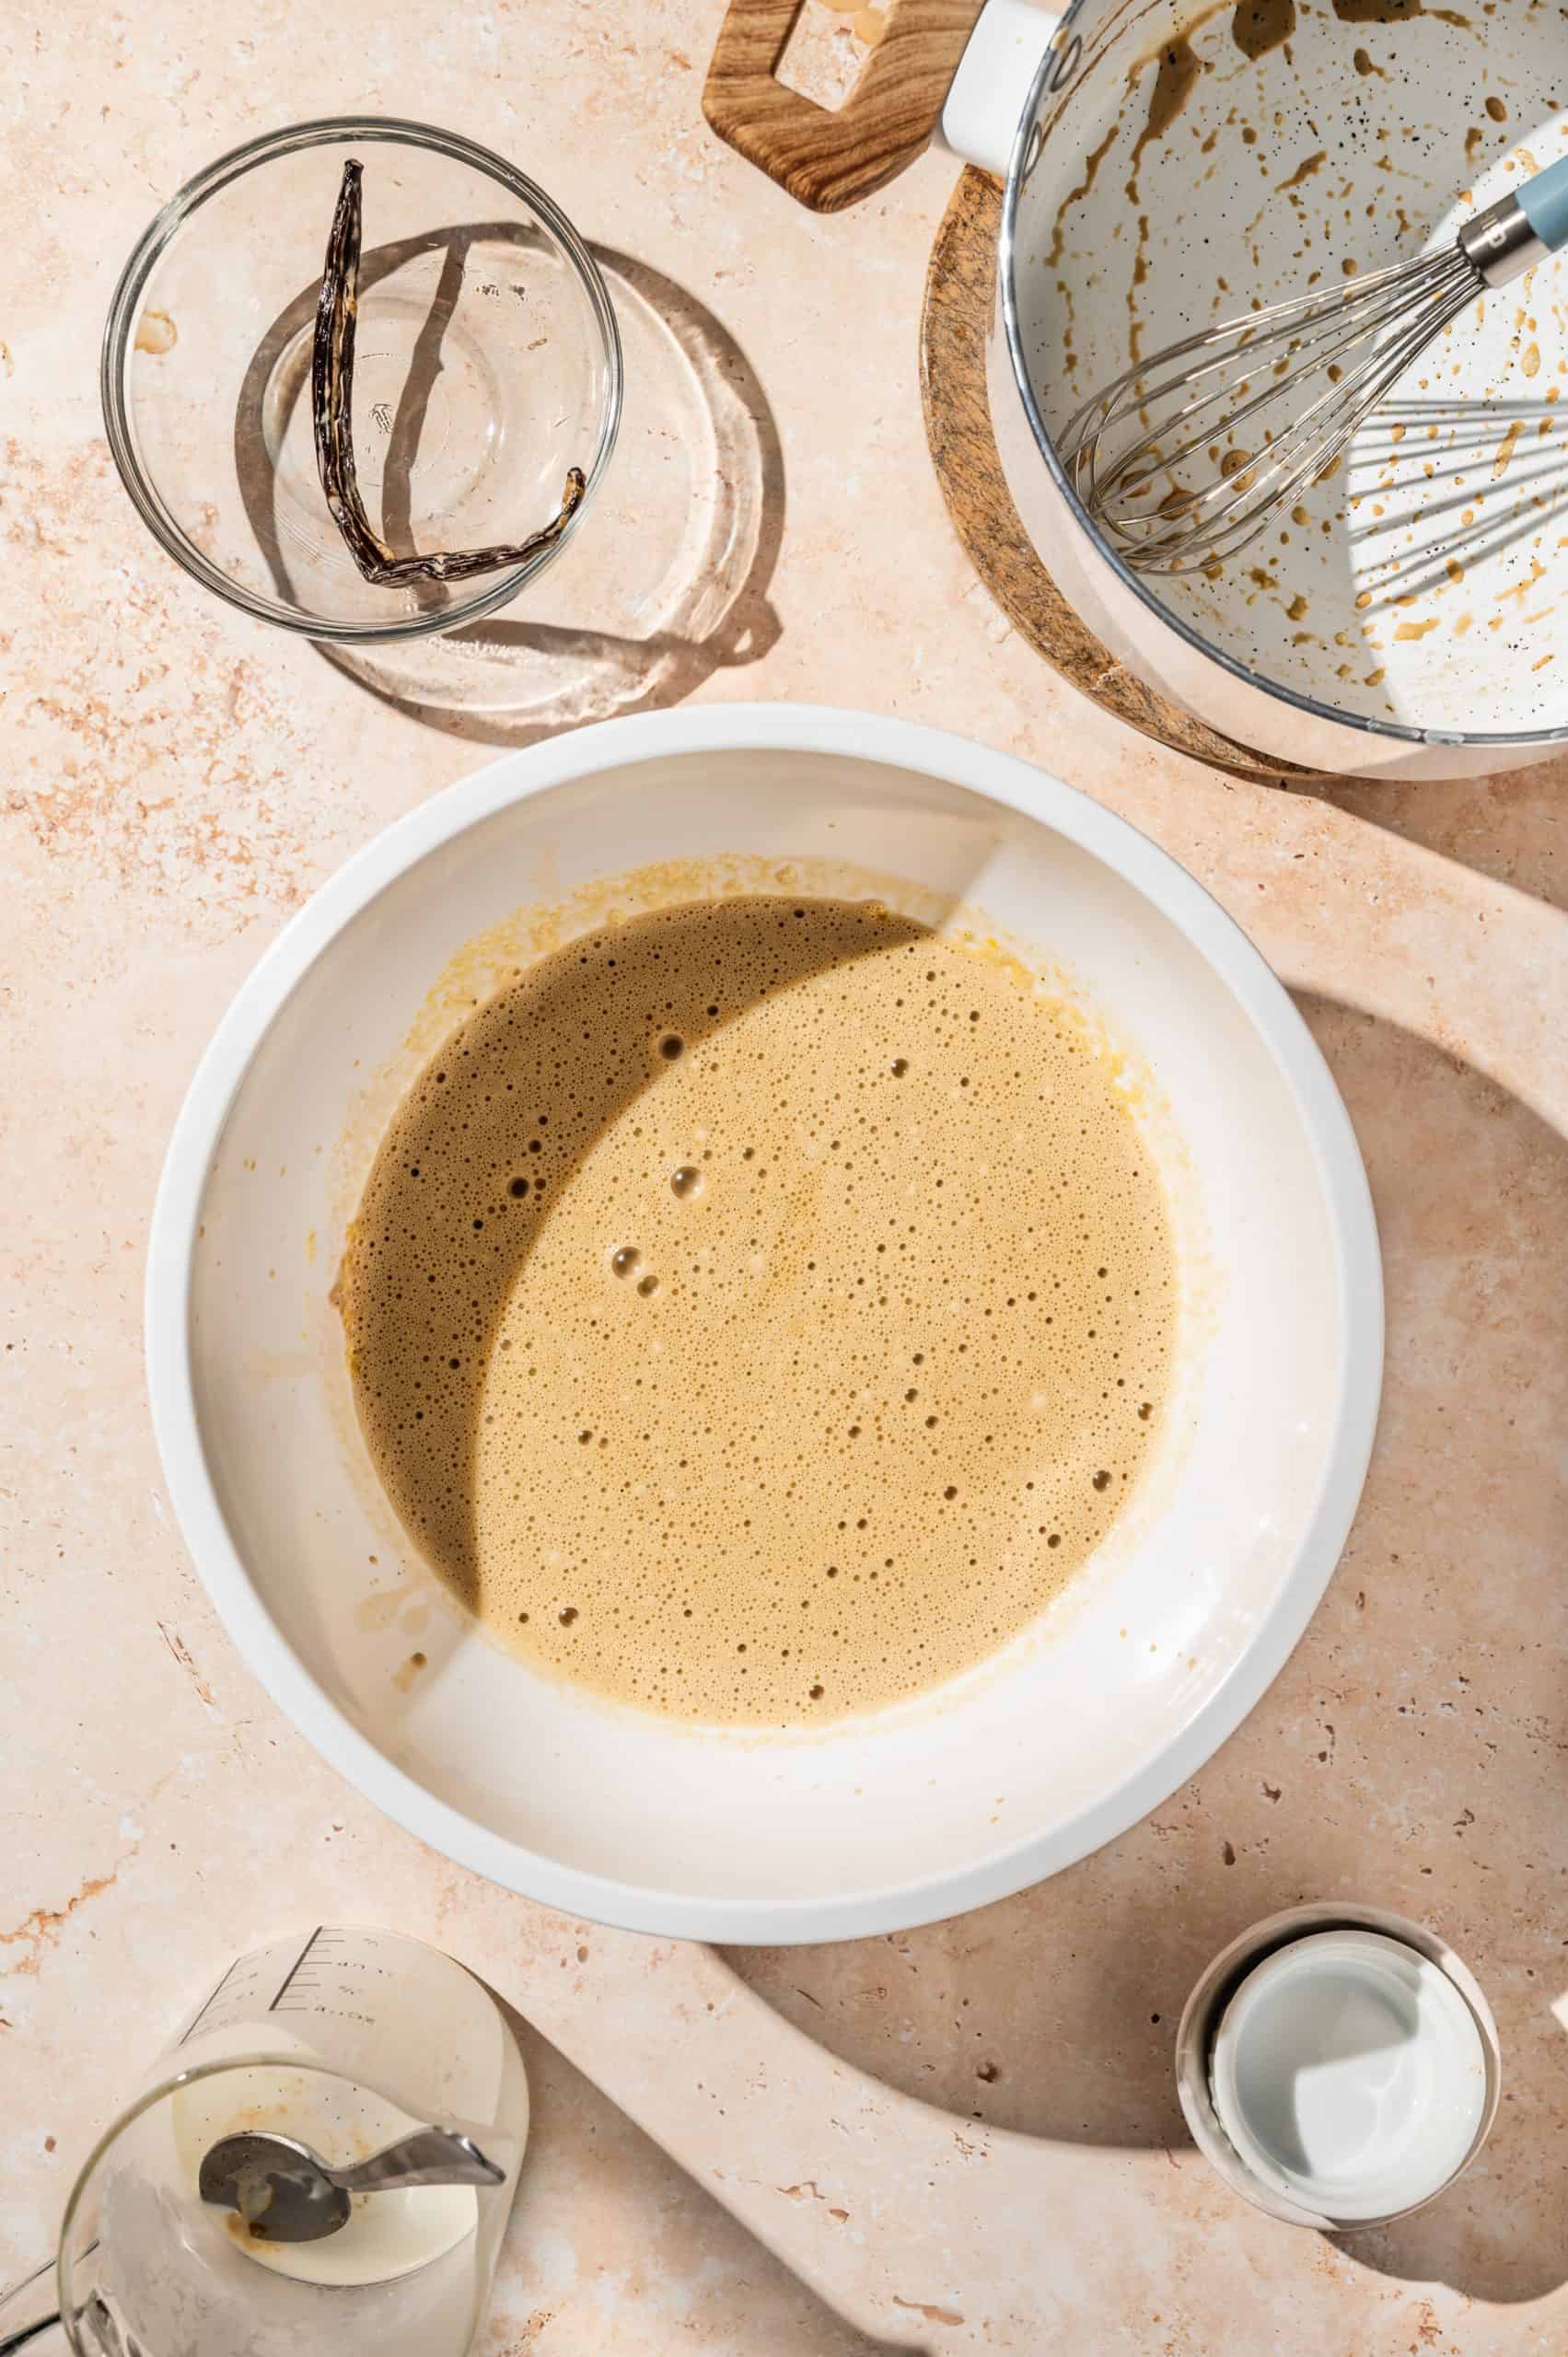
Continue to add the warm coffee cream to the eggs until it's all added. It's ok if you see a couple of small pieces of egg since they'll get strained out, but it should be mostly smooth.
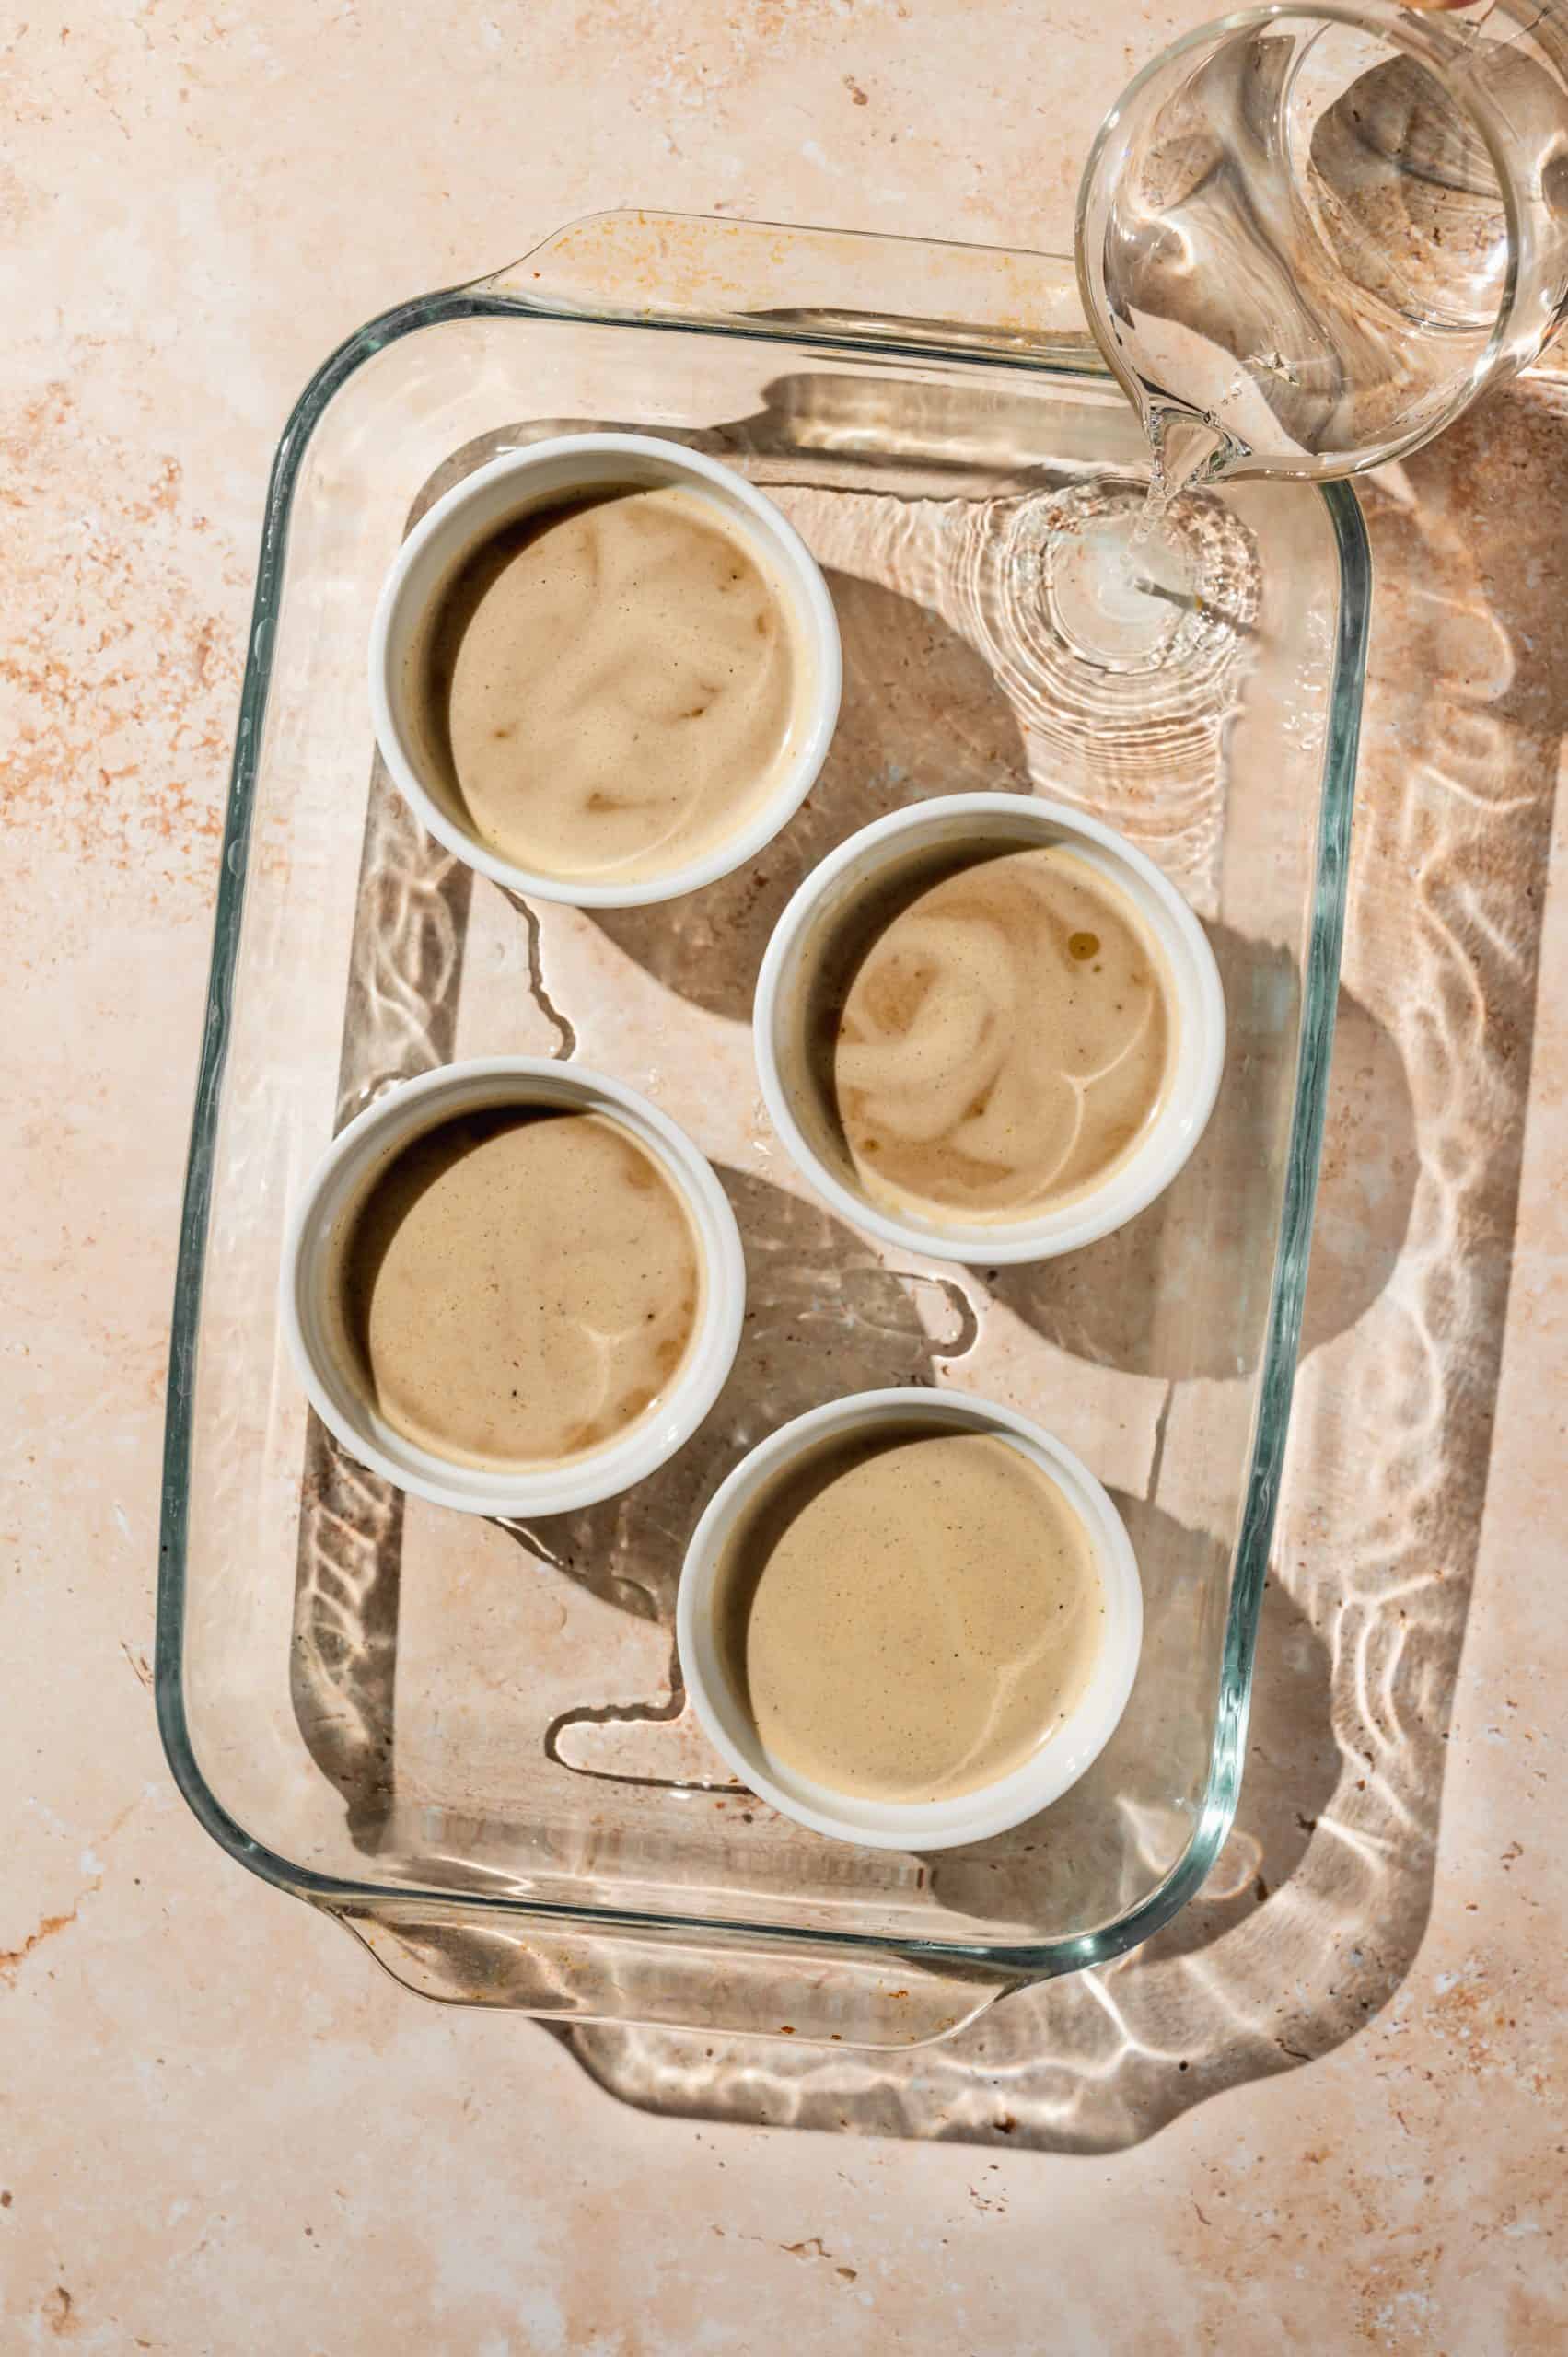
Place the ramekins into a glass baking pan and fill the pan with enough hot water so that it goes at least halfway up the sides of the ramekins. Be very careful not to splash water on the custard. Try this tip from Simply Delicious: keep the ramekins in place by placing a triple layer of paper towels underneath each one.
Now, place the pan in a preheated oven (again, be careful to keep it level to avoid the water splashing!) Bake the custards in the water bath until mostly firm, but slightly jiggly in the center.
One of the hardest parts of making creme brulee is knowing when it's done. Take it out too early and it will be thin and runny. Too late, and it will be too stiff, or worse, the eggs could curdle (it will look like scrambled eggs rather than smooth custard).
If you're not comfortable relying on visual cues, use a thermometer for peace of mind! The ideal temperature of properly baked creme brulee is 176 °F. You can stick the thermometer right into the top to check. Any blemishes in the surface will be covered up by the caramelized sugar layer ◡̈
Top tip: Use a Water Bath
The water bath step might seem a bit annoying, but it's crucial to make perfect creme brulee. Since water can't go above 212 °F (the boiling point) it moderates the temperature around the edges of the custard, preventing them from overcooking.
Or in other words, it slows down the cooking around the edges which allows the center and edges to cook at the same rate. This results in a super smooth and creamy texture throughout.
It also creates steam in the oven which further helps prevent overcooking. Just be careful to avoid getting water in the custard, which can negatively affect the texture.
How to Caramelize Creme Brulee
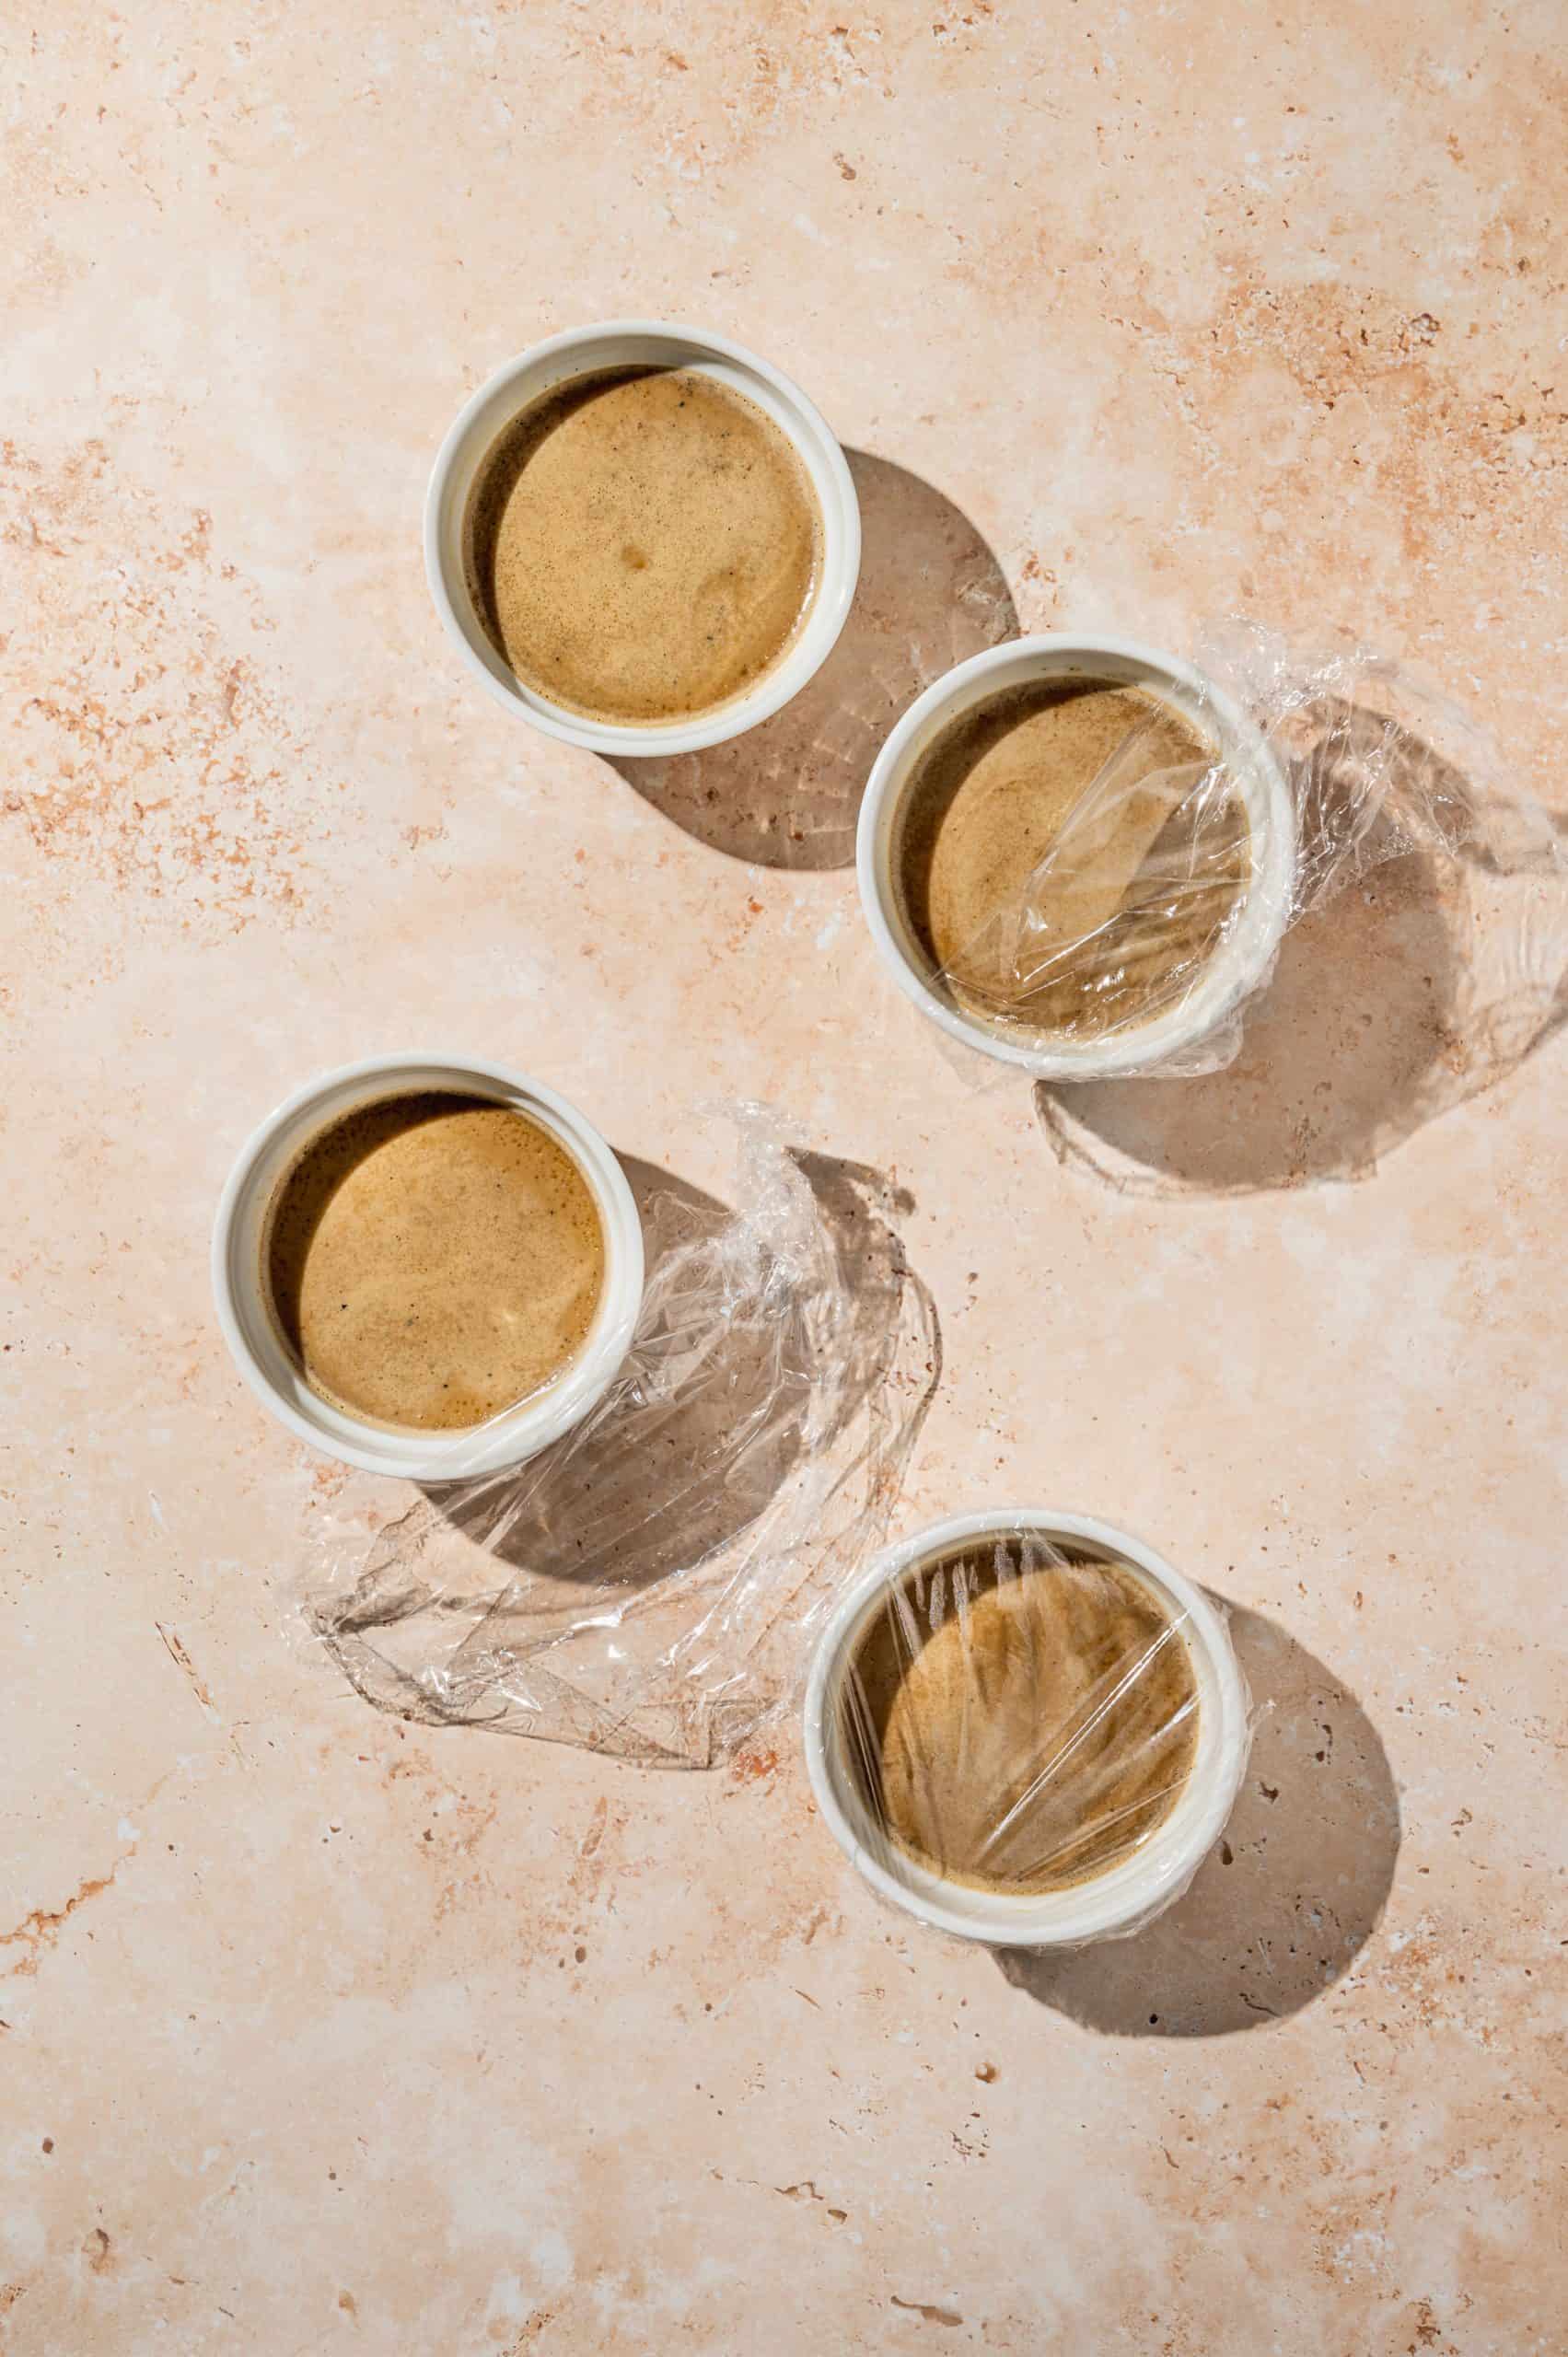
After the custards are baked, remove them from the water bath and let the ramekins cool to room temperature. Then, wrap each one in plastic wrap and refrigerate for at least 4 hours or overnight. The custards should be well chilled prior to caramelizing the tops and serving.
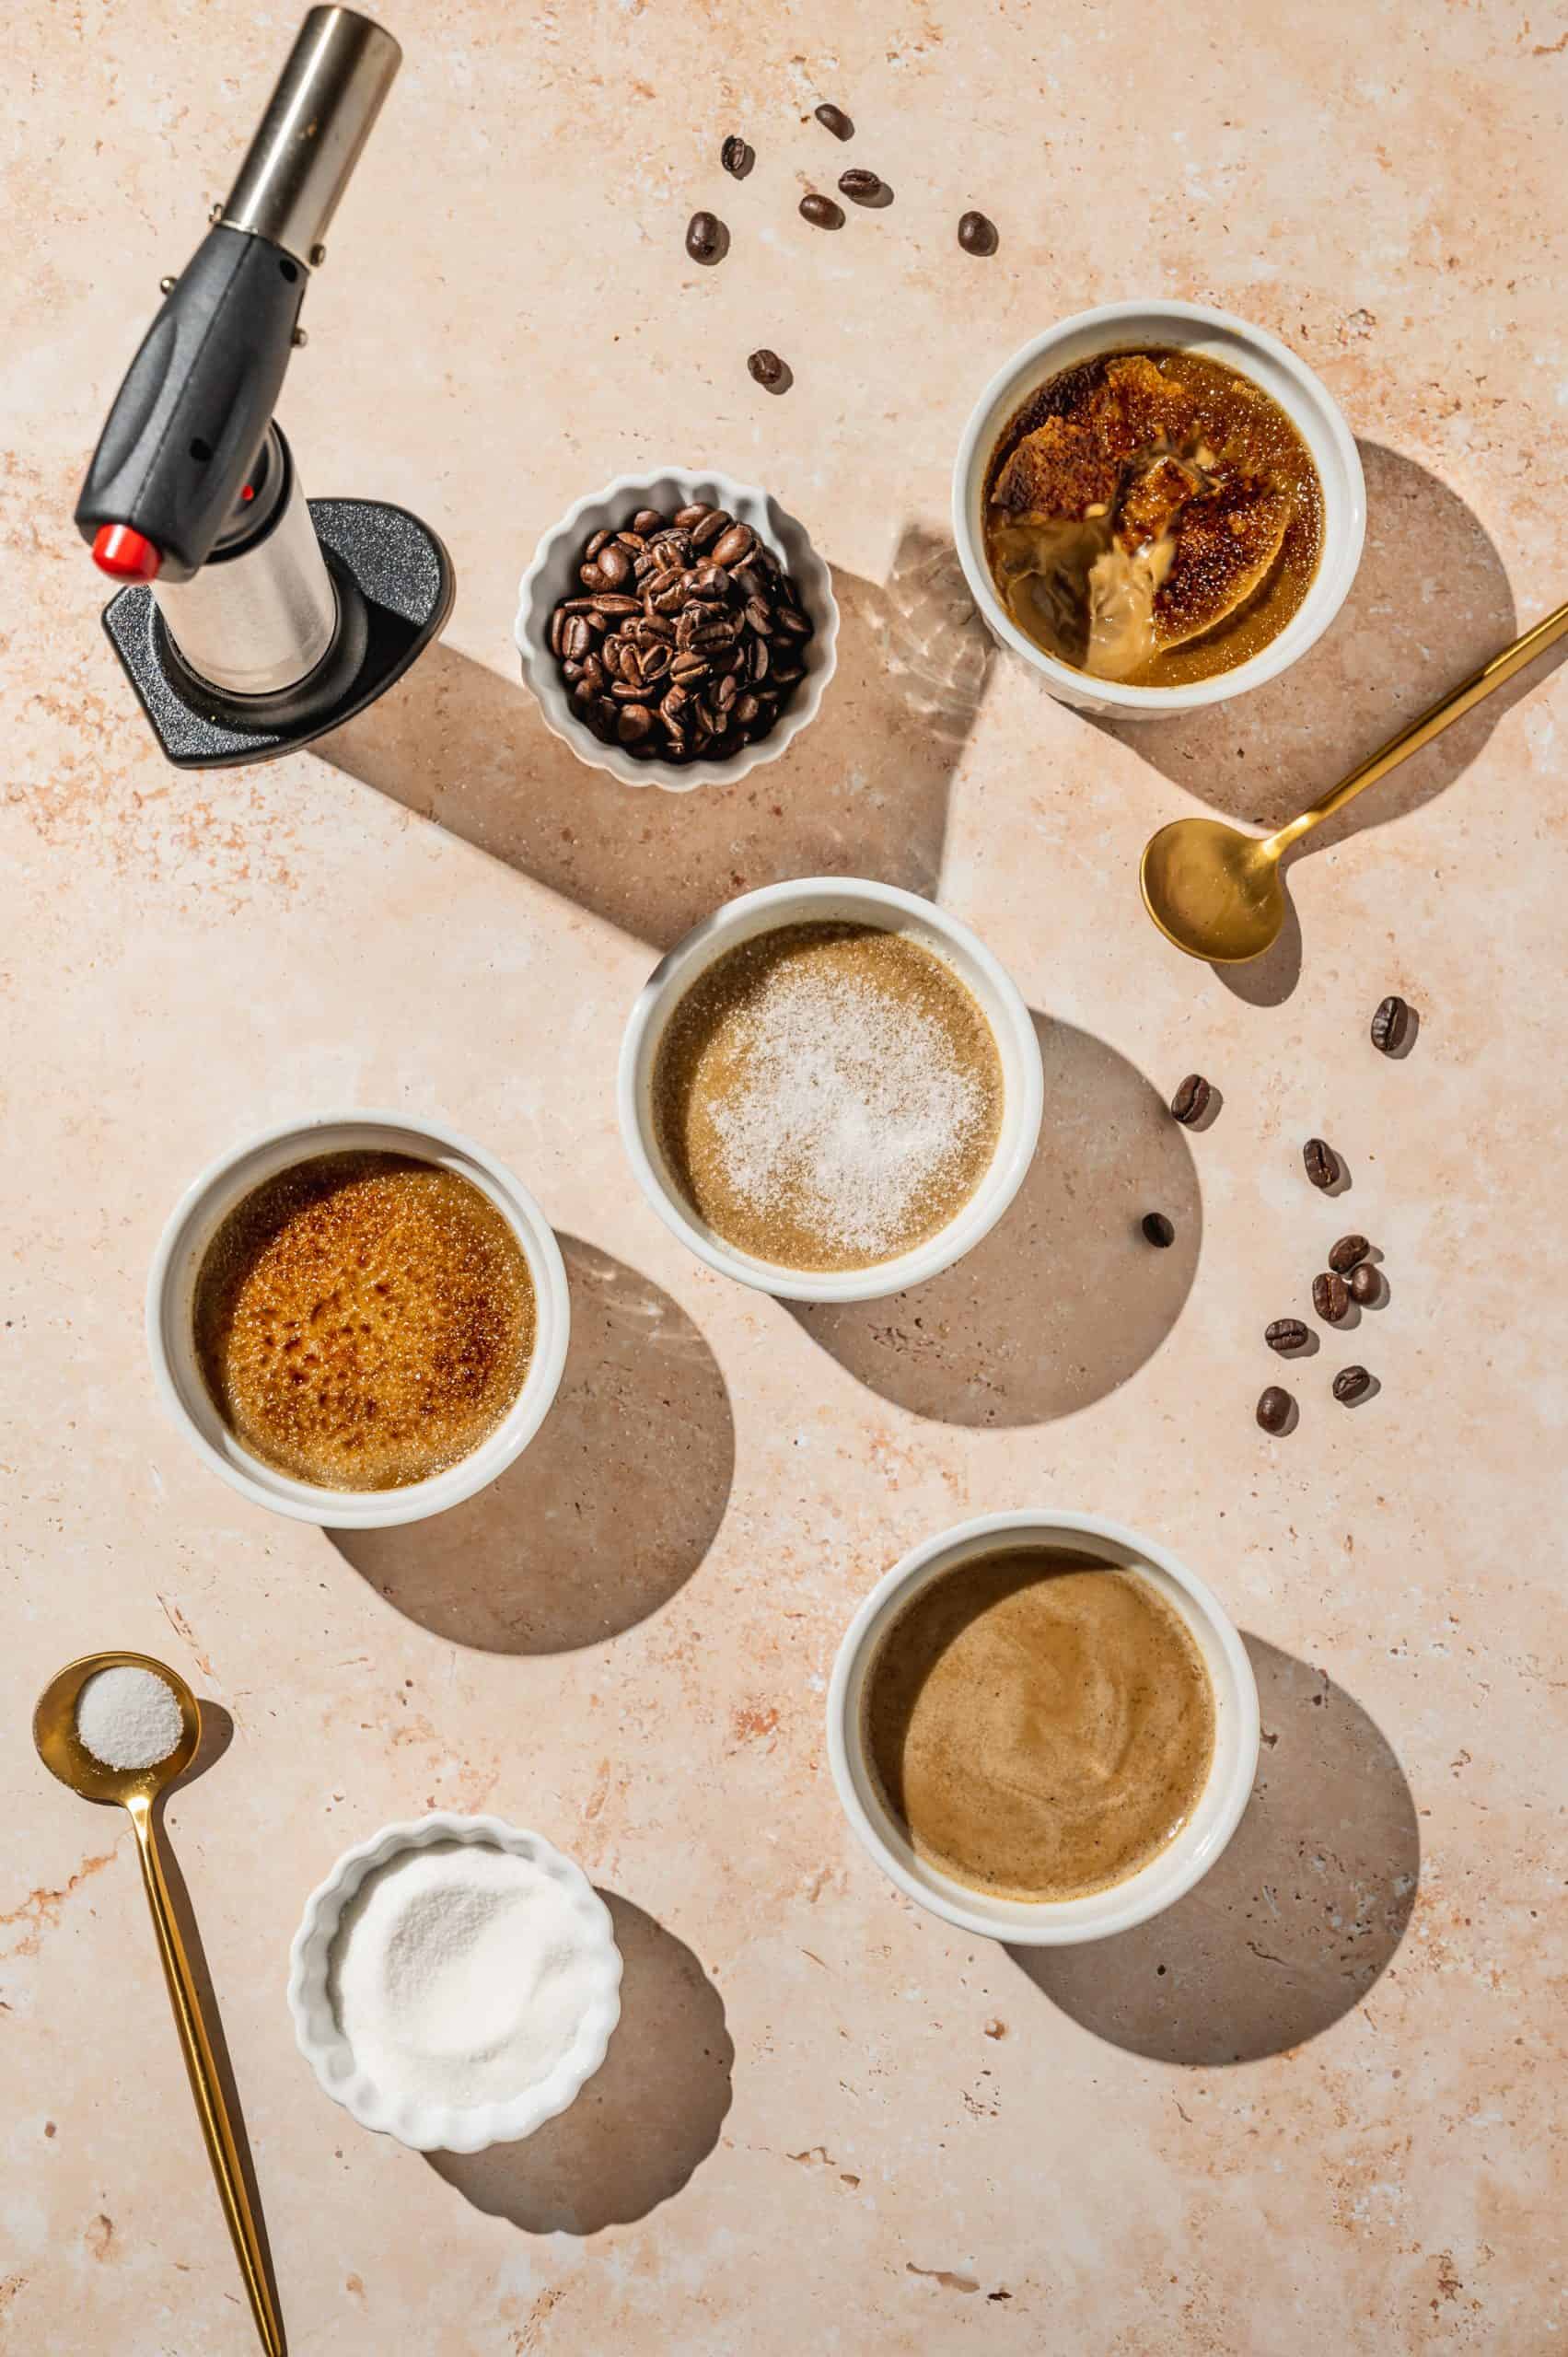
To caramelize, sprinkle a thin layer of sugar over the top of each coffee custard (about 2 teaspoons each). Then, hold a kitchen torch about 3-4 inches above the sugar at a 90-degree angle. Try to slowly and constantly move the flame back and forth in long motions to evenly brown the sugar.
The trick to getting an evenly golden brown surface is similar to roasting marshmallows. If you see one spot start to turn color, quickly move the flame to another spot before it burns.
Make sure you don't neglect the edges, the center usually gets more attention. And be careful when handling the ramekins after using the torch, the porcelain gets very hot!!
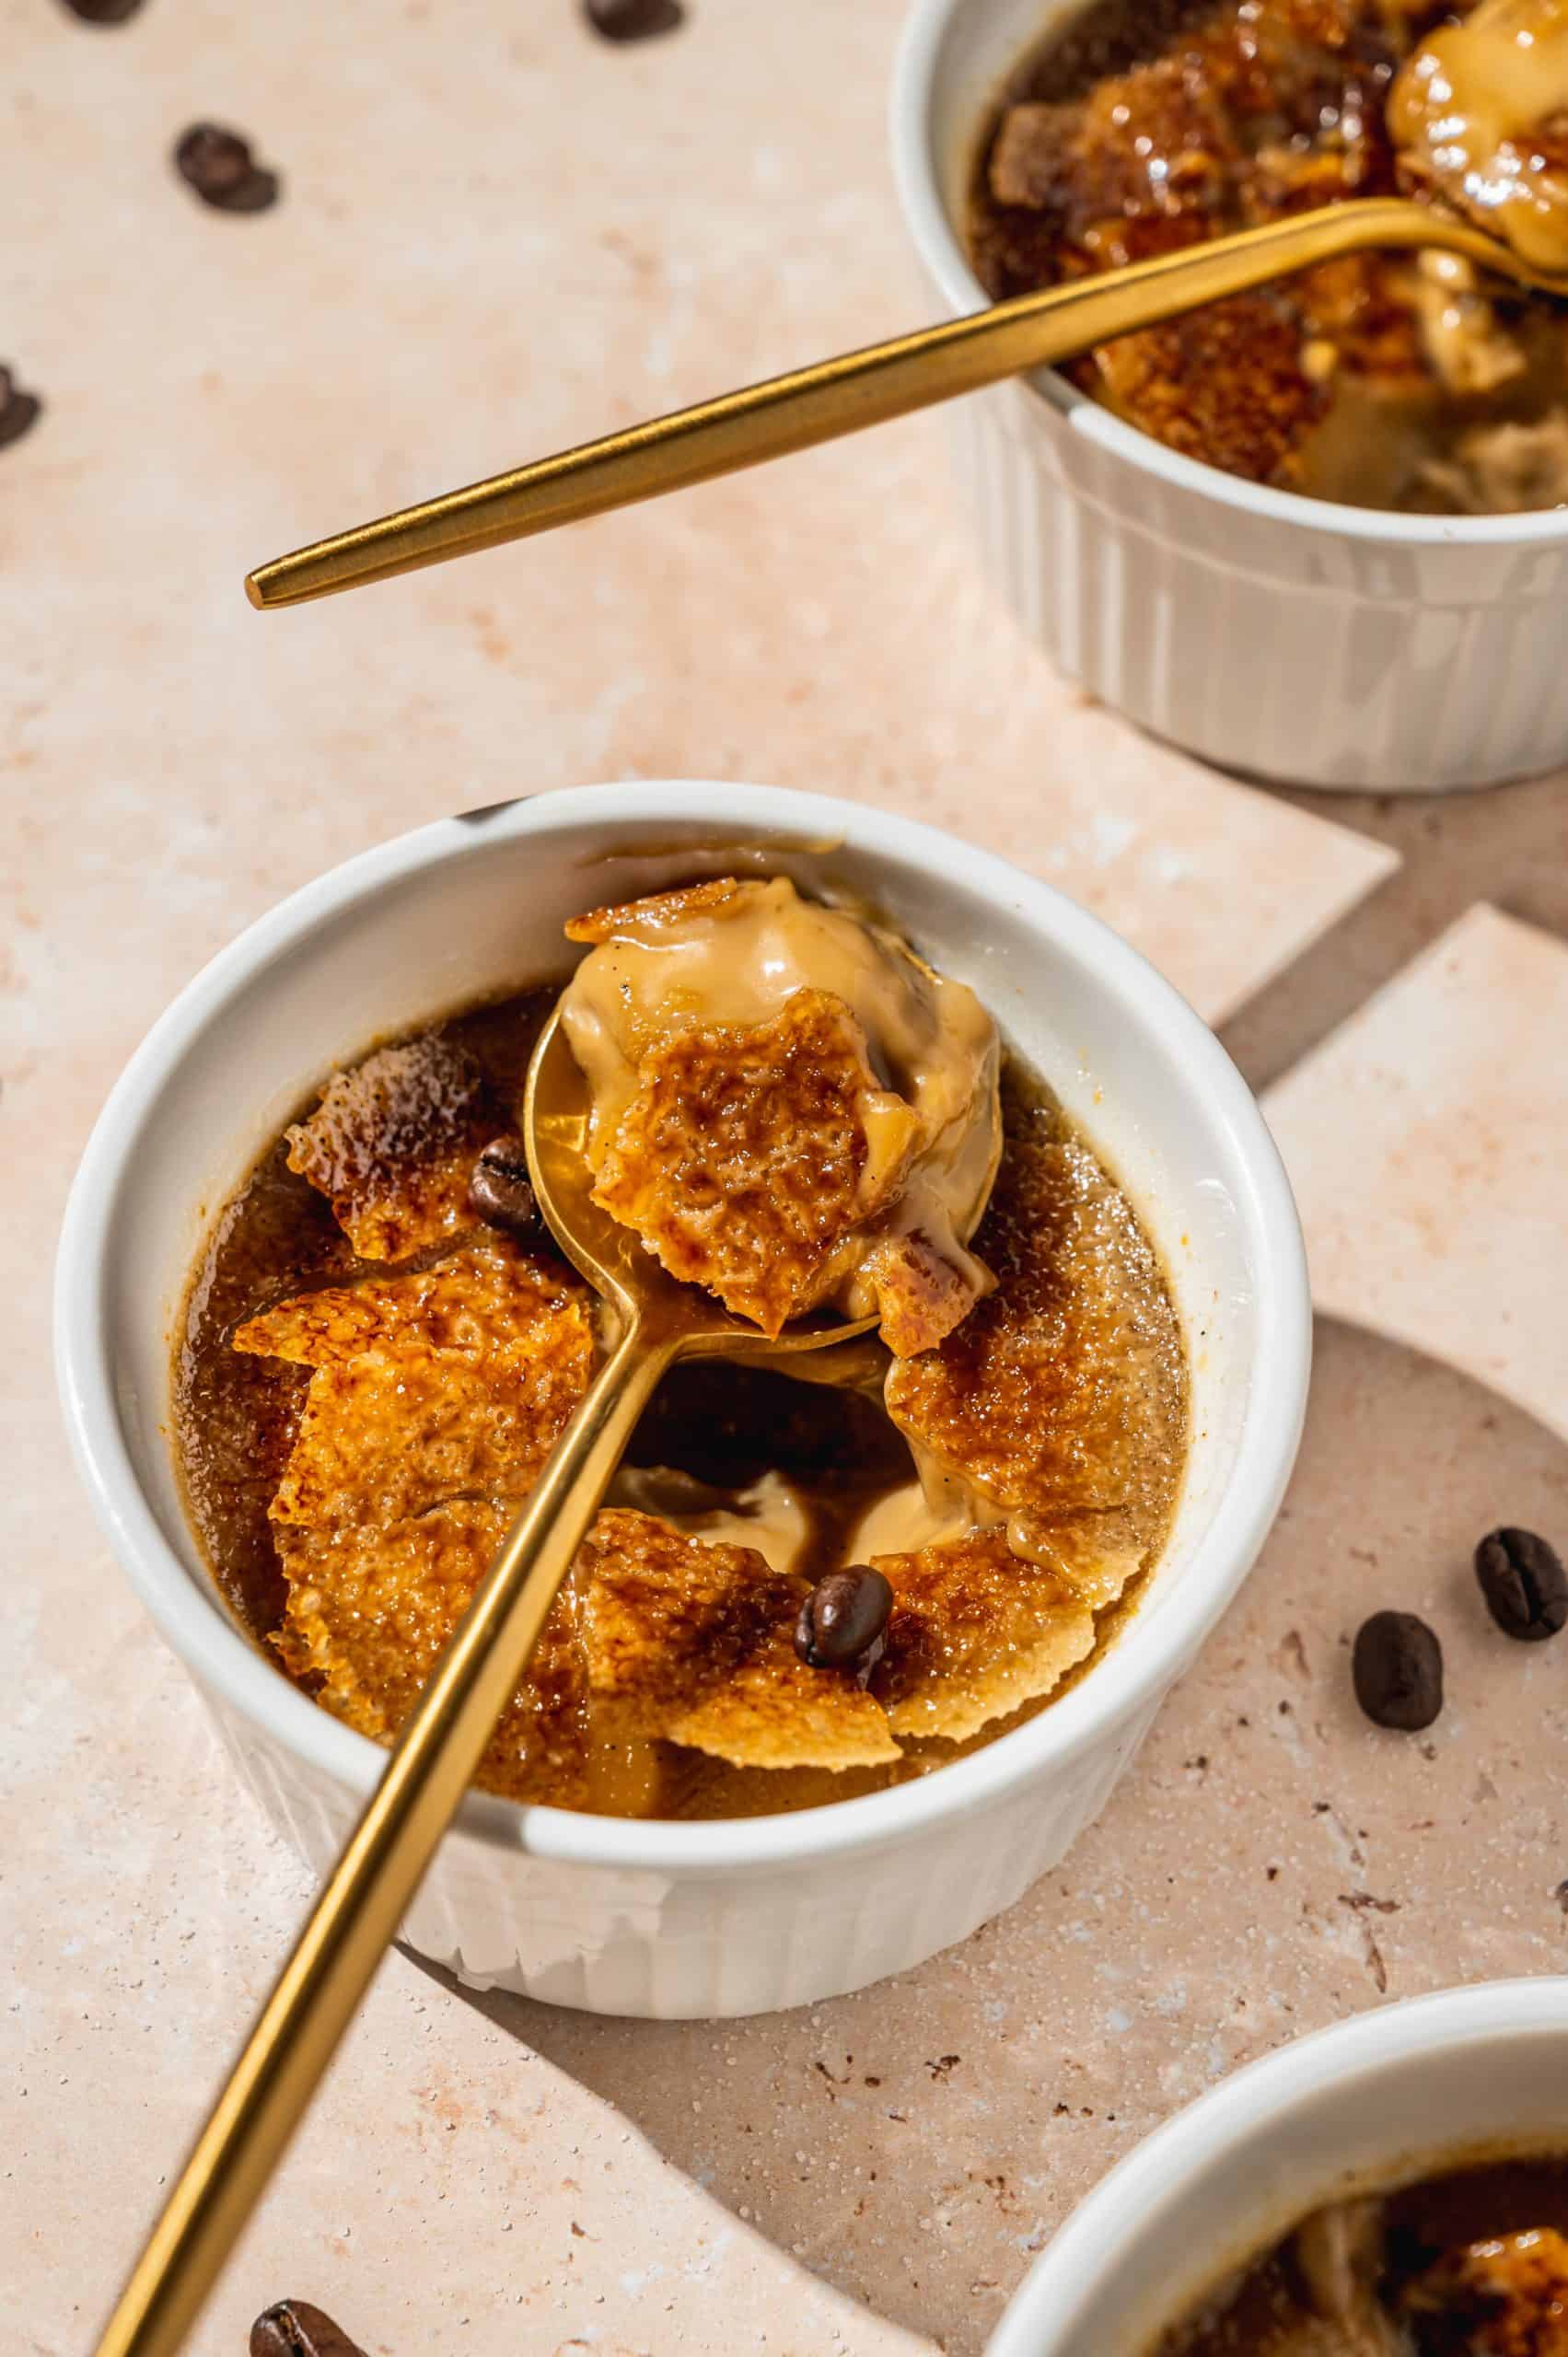
After caramelizing the sugar, let the ramekins sit for a couple of minutes before serving. Just 2-3 minutes should be enough time for the sugars to harden into that delicious caramel shell.
Variations
- Vanilla Creme Brulee - You can use this recipe to make traditional vanilla creme brulee too! The ingredients and method are exactly the same, simply omit the instant coffee. It's delicious!
- Coffee Custard - You can also make baked coffee custards without the caramelized topping. It’s like a delicious coffee pudding, best served chilled. If you’re nervous about the torching part, you can serve the coffee custard with some homemade toffee bits sprinkled over top for a similar taste and texture.
- Family Style Creme Brulee - if you don't have individual ramekins, you can make this recipe in a pie dish or any shallow ceramic dish. It should still be placed in a water bath to promote even cooking, and cooking times may vary so I'd recommend using a thermometer.
- Creme Brulee Brownies - another fun way to enjoy creme brulee! The top layer of my creme brulee brownies recipe is thickened with corn starch to make it a little more sliceable for brownies. But it's a similar recipe! You could even add coffee to it too ◡̈
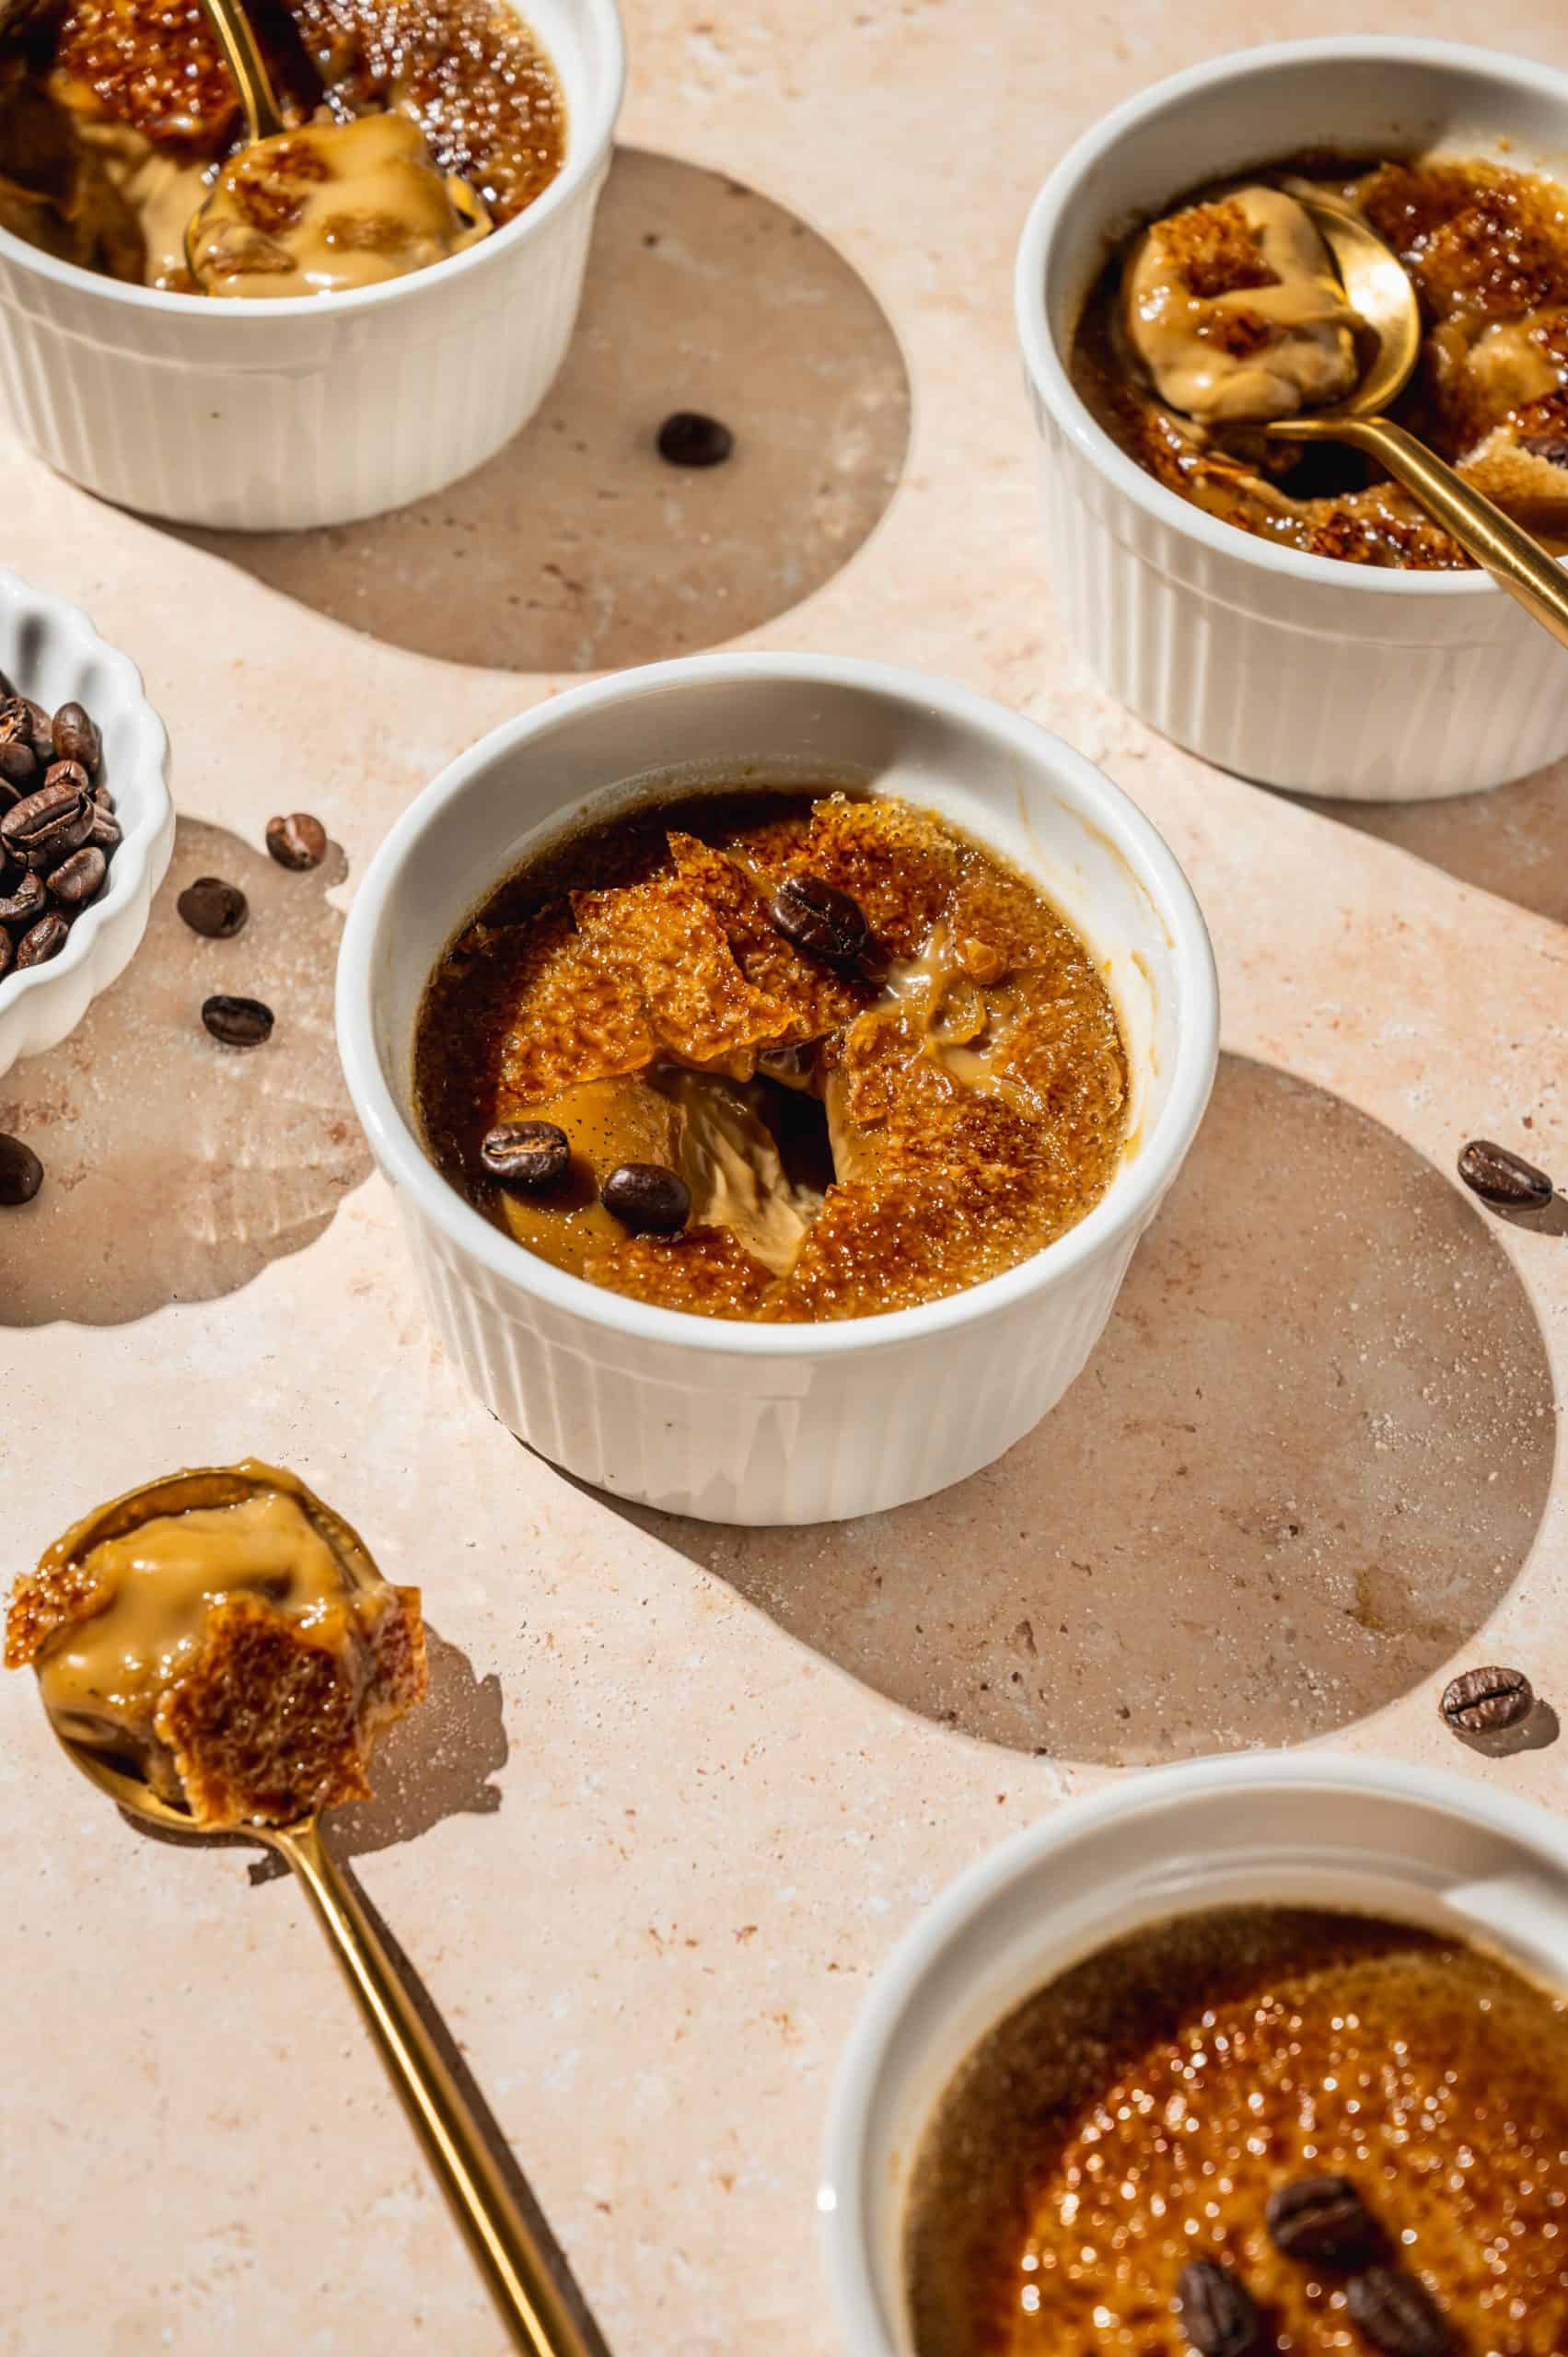
Equipment
Here's everything you'll need to make this coffee creme brulee recipe:
- Blow torch + butane fuel - they're actually so easy to use, small and easy to store, and relatively inexpensive! If you're an aspiring baker, I highly recommend getting one.
- Ramekins - or if you don’t have any ramekins, you could also make a large family-style creme brulee in a ceramic pie dish. Creme brulee ramekins are more shallow, which is great for the topping to custard ratio! But I just use all-purpose 6-8 oz. ramekins since you can use them for a lot of different things (like my molten lava cake recipe!)
- Mini strainer - if you only have a larger size, that will work too.
- Glass baking dish - it doesn't need to be glass, but I like that you can see the water level up the side. Makes it easier to not spill I think. This glass Pyrex has large handles which are also helpful!
- Liquid measuring cup - with a pour spout to carefully pour water into the pan without getting it on the custard.
- Thermometer - optional, but great for confidence, especially for beginner bakers!
- Ladle
- Whisk
- Medium Saucepan - a 2-quart pot (or similar) is perfect for heating the coffee cream mixture.
- Kettle (optional) - a traditional or electric kettle is great for heating the water for the water bath. You can use hot water from the tap, but the custard might take a little longer to cook this way.
- Mixing bowls - I love this set of mixing bowls with pour spouts. Especially for this recipe, it's so helpful for pouring the custard mixture neatly into the ramekins!
- Large tongs - to remove the ramekins from the water bath to cool. (Not 100% necessary, but it's what I use.)
- Plastic wrap
Storage & Make-Ahead Instructions
I love this recipe as a make-ahead dessert option! You can make the coffee custards up to 2-3 days ahead of serving. Wrap each one tightly with plastic wrap to prevent a film from forming on the top.
Then, when you’re ready to serve, sprinkle the tops with sugar and torch. You’ll have a restaurant-quality dish ready to go in minutes! I always do this for Thanksgiving with the fam, since you never know who’s going to be ready for dessert and when. You can make just a couple at a time for whoever's hungry.
FAQ
Crema Catalana is a traditional Spanish (or Catalan) dessert that's very similar to creme brulee. The main differences are that it's made with milk instead of cream and it usually contains more flavors like lemon or orange and cinnamon.
Cold! It really tastes so much better when it's cold in my opinion. Even though the top is a little warm from caramelizing the sugar layer just prior to serving, the custard underneath should be cold.
Yes, you can use your oven's broiler instead of a blow torch. However, I wouldn't recommend it. It's hard to get an evenly caramelized surface, you have way more control with a torch. Also, it takes 3-5 minutes, which warms the custard too much for my liking.
Not really, or I wouldn’t recommend it because it won’t cook evenly. Another method that really works well is sous vide, which is essentially a water bath, and is even more accurate than the water bath in the oven method. (If you’re interested in sous vide cooking, check out A Duck’s Oven!)
Smooth & Creamy Coffee Creme Brulee
With only 6 ingredients, you can make this smooth and creamy coffee creme brulee with caramelized sugar topping, the perfect dessert for coffee lovers!
- Prep Time: 15 minutes
- Chill Time: 4 hours
- Cook Time: 45 minutes
- Total Time: 5 hours
- Yield: 4 servings 1x
- Category: dessert
- Method: baked custard
- Cuisine: French, Spanish
Ingredients
- 2 cups (1-pint) heavy cream or heavy whipping cream
- 1 vanilla bean, split and seeded (reserve the seeds and vanilla bean)
- 1 tablespoon instant coffee or espresso powder (or sub. whole coffee beans*)
- 5 egg yolks
- ½ cup granulated sugar
- 3 tablespoons superfine sugar (or sub. granulated sugar)
- ¼ teaspoon salt
Instructions
- Preheat the oven to 300 °F.
- In a saucepan, combine the heavy cream, vanilla bean, and instant coffee. Bring to a simmer over medium heat. Then remove the pot from the heat and let it cool for about 5-10 minutes (This will allow the vanilla to steep and extract flavor and also bring down the temperature a bit.)
- In a medium mixing bowl, add the egg yolks, granulated sugar, and salt, and whisk until smooth. Then, slowly add the coffee cream mixture into the eggs, one ladle at a time while whisking constantly. Continue to do this until all of the coffee cream has been added.
- Pour the coffee custard mixture equally into 4 ramekins, passing through a small strainer to get out any impurities (i.e. pieces of egg, film on cream, coffee particles). Place the ramekins into a glass baking dish and skim the bubbles off the top of each custard. Then, carefully add hot water to the baking dish, careful not to get any water in the ramekins. The water should come at least halfway up the sides of the ramekins.
- Carefully place the baking dish in the oven and bake for about 40-45 minutes (or to an internal temperature of approximately 176 °F). Remove the ramekins from the water bath, let the custards cool to room temp, then wrap them in plastic wrap and refrigerate for at least 4 hours or overnight.
- Place an even layer of superfine or granulated sugar on top of each chilled custard (about 2 teaspoons each, or enough to fully cover the top in a thin layer). Using a kitchen torch, run the flame over the sugar in sweeping motions until the sugar begins to turn golden brown.* Let sit for about 2 minutes before serving to allow to sugars to cool and create the crackly hard shell on top. Then serve!
Notes
- If using whole coffee beans, allow the beans to steep longer (about 30 minutes) to fully extract the coffee flavor.
- For tips on how to caramelize the top layer with a blow torch, see the "How to Caramelize Creme Brulee" section above.
- You can use the same recipe to make vanilla creme brulee, simply leave out the coffee. The method and other ingredients are all exactly the same.


Katrina L. says
OMG this is my new favorite recipe. I wasn't that confident going in but it turned out AMAZING!!! Thank you for sharing!