

Have you heard of the new Girl Scout cookie, Raspberry Rally? It’s an online exclusive cookie that was released in 2023, but it sold out quickly, so a lot of people haven’t had the chance to try them (me included!)
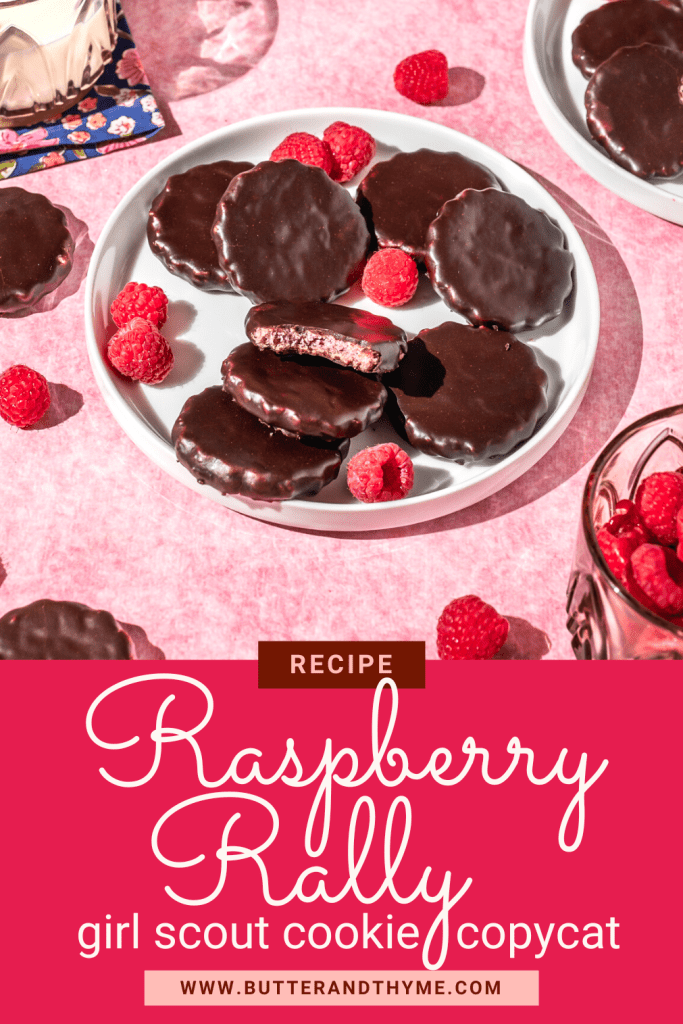
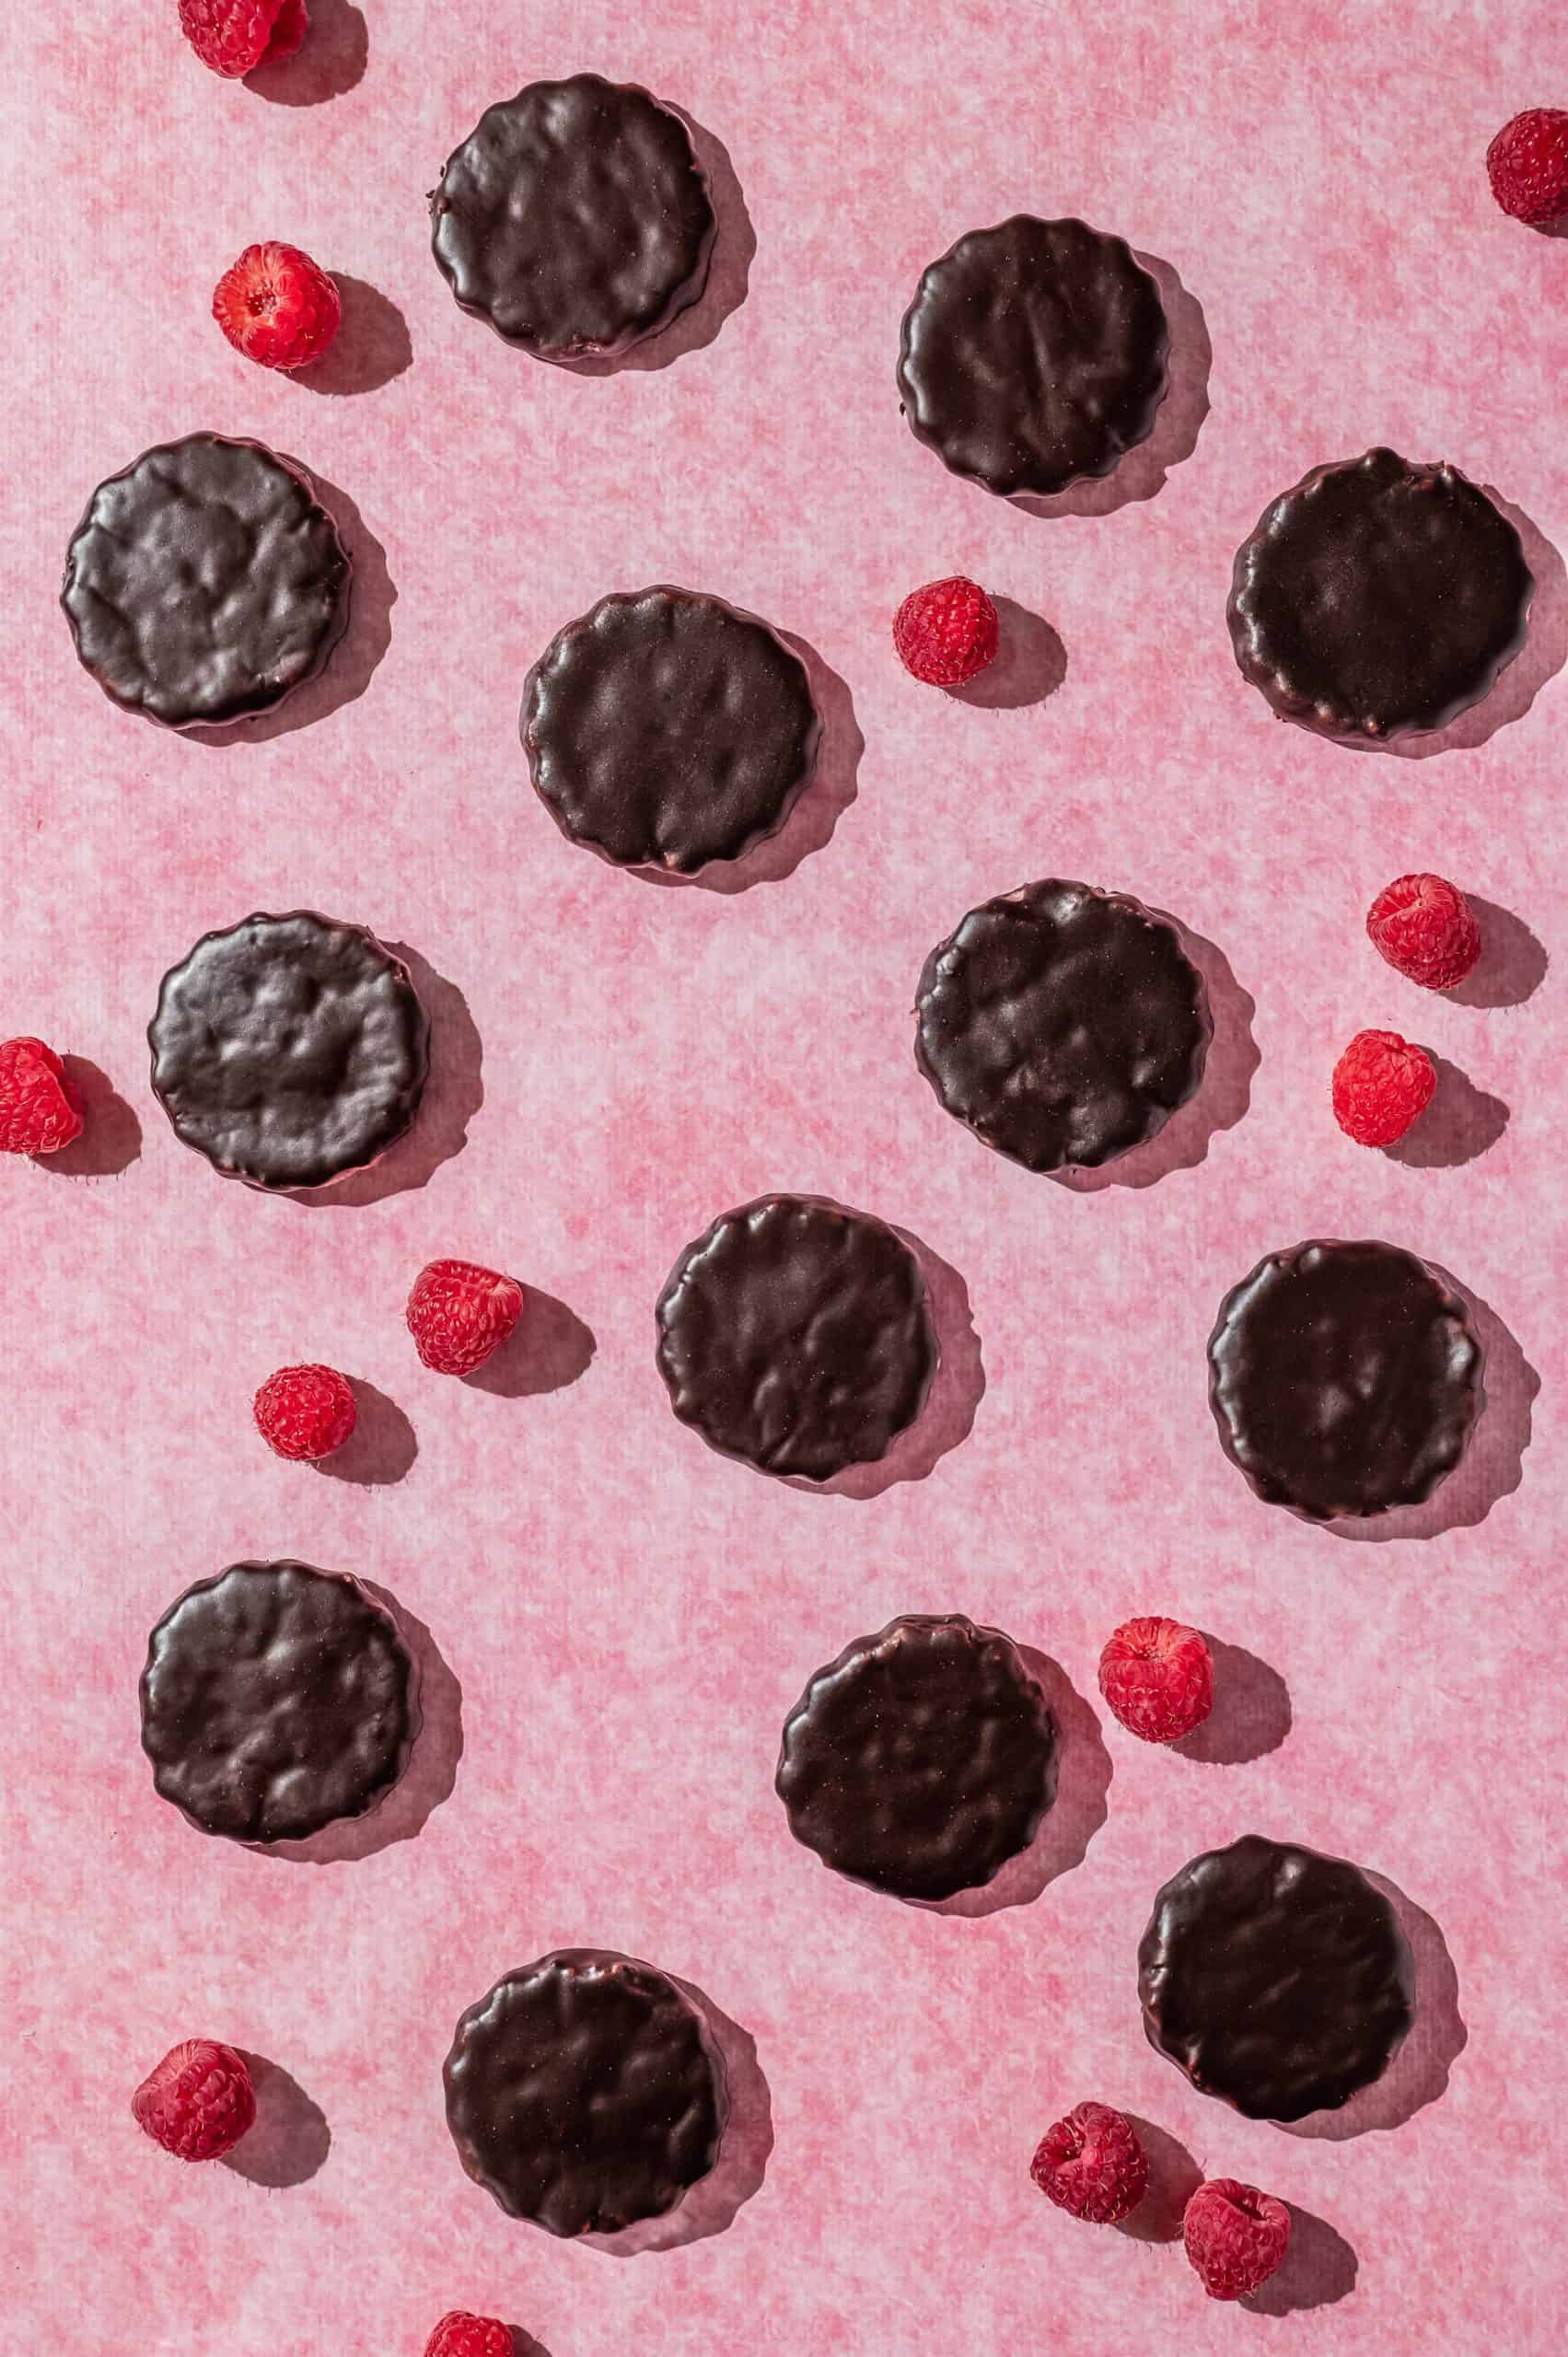
Raspberry Rally cookies are the “sister cookie” to Thin Mints. Instead of a chocolate-mint cookie, it’s a raspberry-flavored cookie with a similar crisp texture. But they're also dipped in a chocolate coating, so the two look pretty identical from the outside.

I think the Girl Scouts are onto something here… chocolate + raspberry is one of my favorite flavor combinations! If you also love chocolate and raspberries, try my molten lava cake recipe too. Both recipes are perfect for Valentine's Day!
This recipe is based on my Thin Mint cookie recipe, with a few small changes to replace the mint flavor with raspberry flavor.
Jump to:
Why You'll Love This Recipe
- If you haven't had the opportunity to try the sold-out Raspberry Rally, here's your chance to make your own! While it’s not exactly the same, you’ll still get your chocolate raspberry cookie fix.
- They have the same familiar crisp-melt-in-your-mouth texture as Thin Mints. So if you love Thin Mints, and you like raspberry, you’re practically guaranteed to love them ◡̈
Ingredients
Here's what you need to make homemade Raspberry Rally cookies:
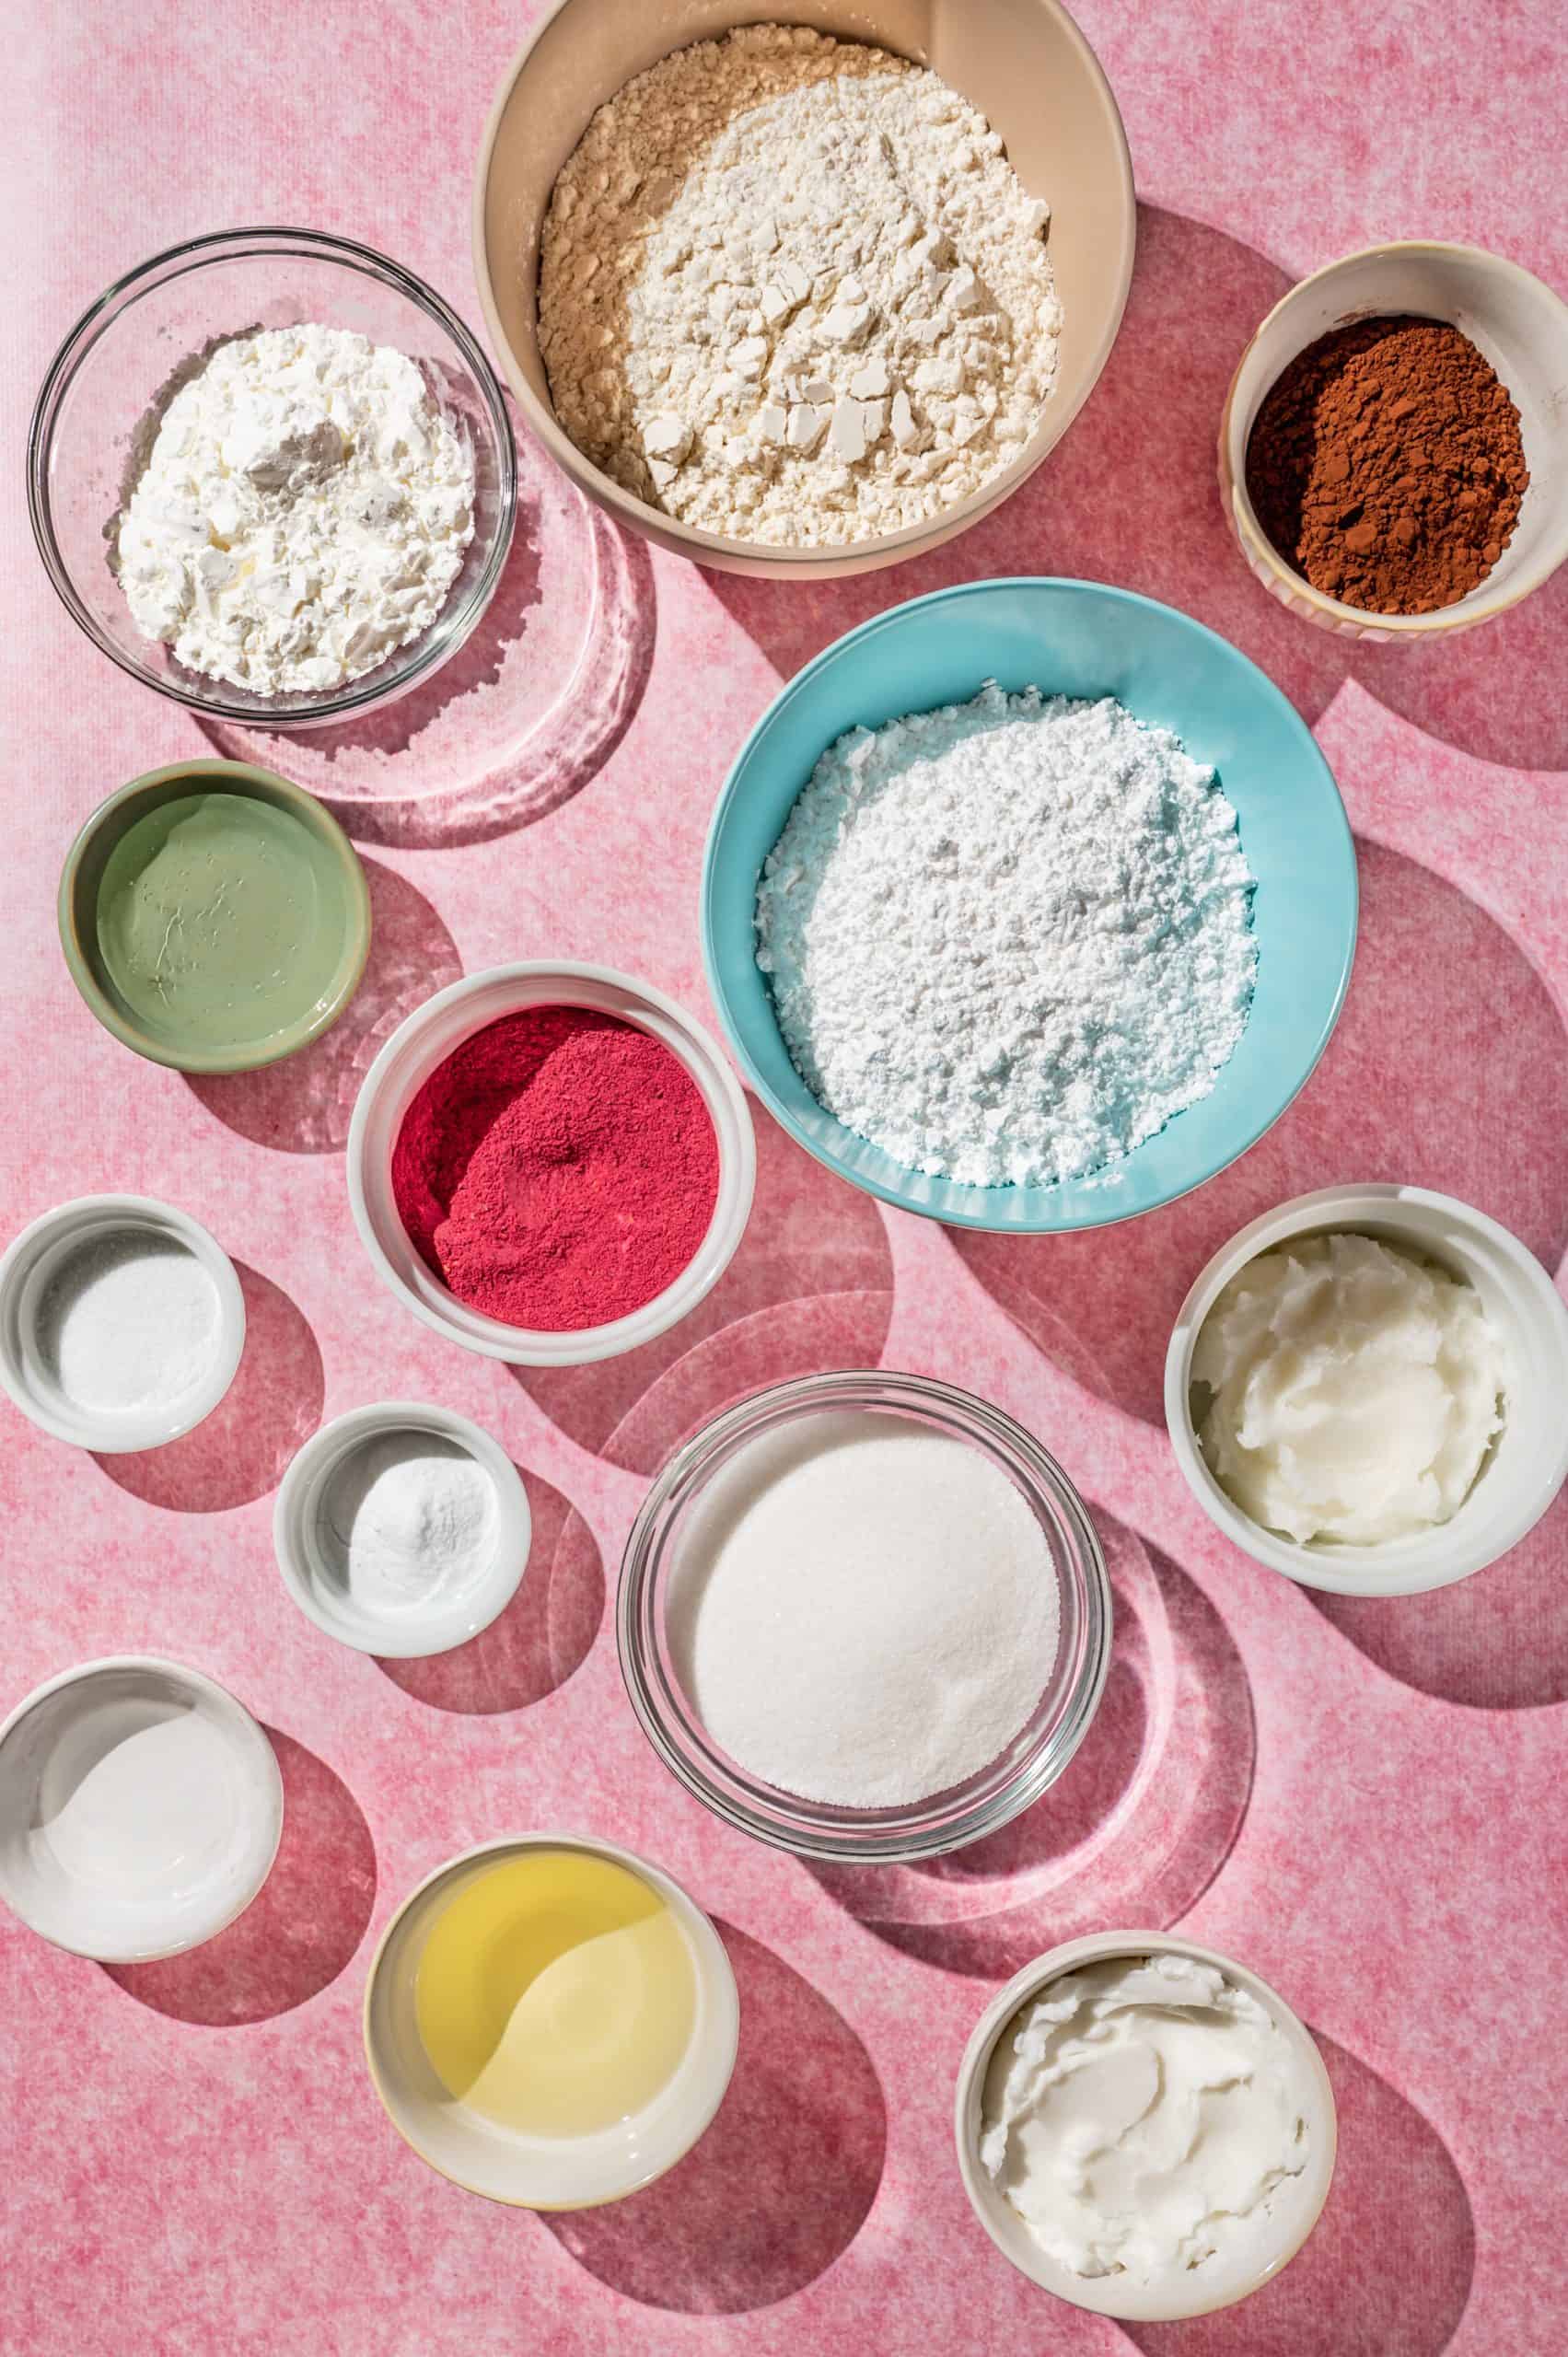
- Vegetable shortening - i.e. Crisco. You can substitute butter, but it will affect the texture a bit.
- Sugar - granulated
- Vegetable oil - or substitute any neutral cooking oil.
- Corn syrup
- Dehydrated raspberry powder - or freeze-dried raspberries pulverized to a powder. If you buy whole dehydrated raspberries and process them in a food processor like I did, you’ll have seeds. But you can always sift the seeds out if they bother you (I didn't worry about it TBH). The raspberry powder is what makes the cookies pink without using any food coloring!
- Raspberry extract - even though you get some raspberry flavor from the fruit powder, I added some raspberry extract for an extra tart fruity flavor that stands up to the chocolate. You can substitute lemon or strawberry extract to have the same effect.
- Flour
- Baking soda
- Cornstarch - this is what gives the cookies a soft, crumbly texture.
- Salt
- Cocoa powder - look for alkalized or Dutch-processed cocoa, which has a less acidic/ bitter flavor and a deeper brown color than natural cocoa powder.
- Refined coconut oil - since it’s refined, it has a neutral taste (it won’t taste or smell like coconut at all). This is used in the coating since coconut oil is solid at room temp, it helps the chocolate layer to solidify.
- Powdered sugar - aka. confectioner's sugar
You might have noticed there’s no melted chocolate in the recipe. That's because tempering chocolate, which is necessary for creating a hard shiny chocolate shell around candy and cookies, is a pretty advanced skill to master. If you don’t temper the chocolate properly, it may turn out dull and easily melt in your hands.
That’s why there’s no need to temper chocolate in this beginner-friendly recipe! Instead, I use a chocolate glaze that’s similar to royal icing texture (but also way easier to make).
How to Make Raspberry Rally Cookies
To make this homemade version of the Girl Scout Raspberry Rally, start by making the cookie dough:
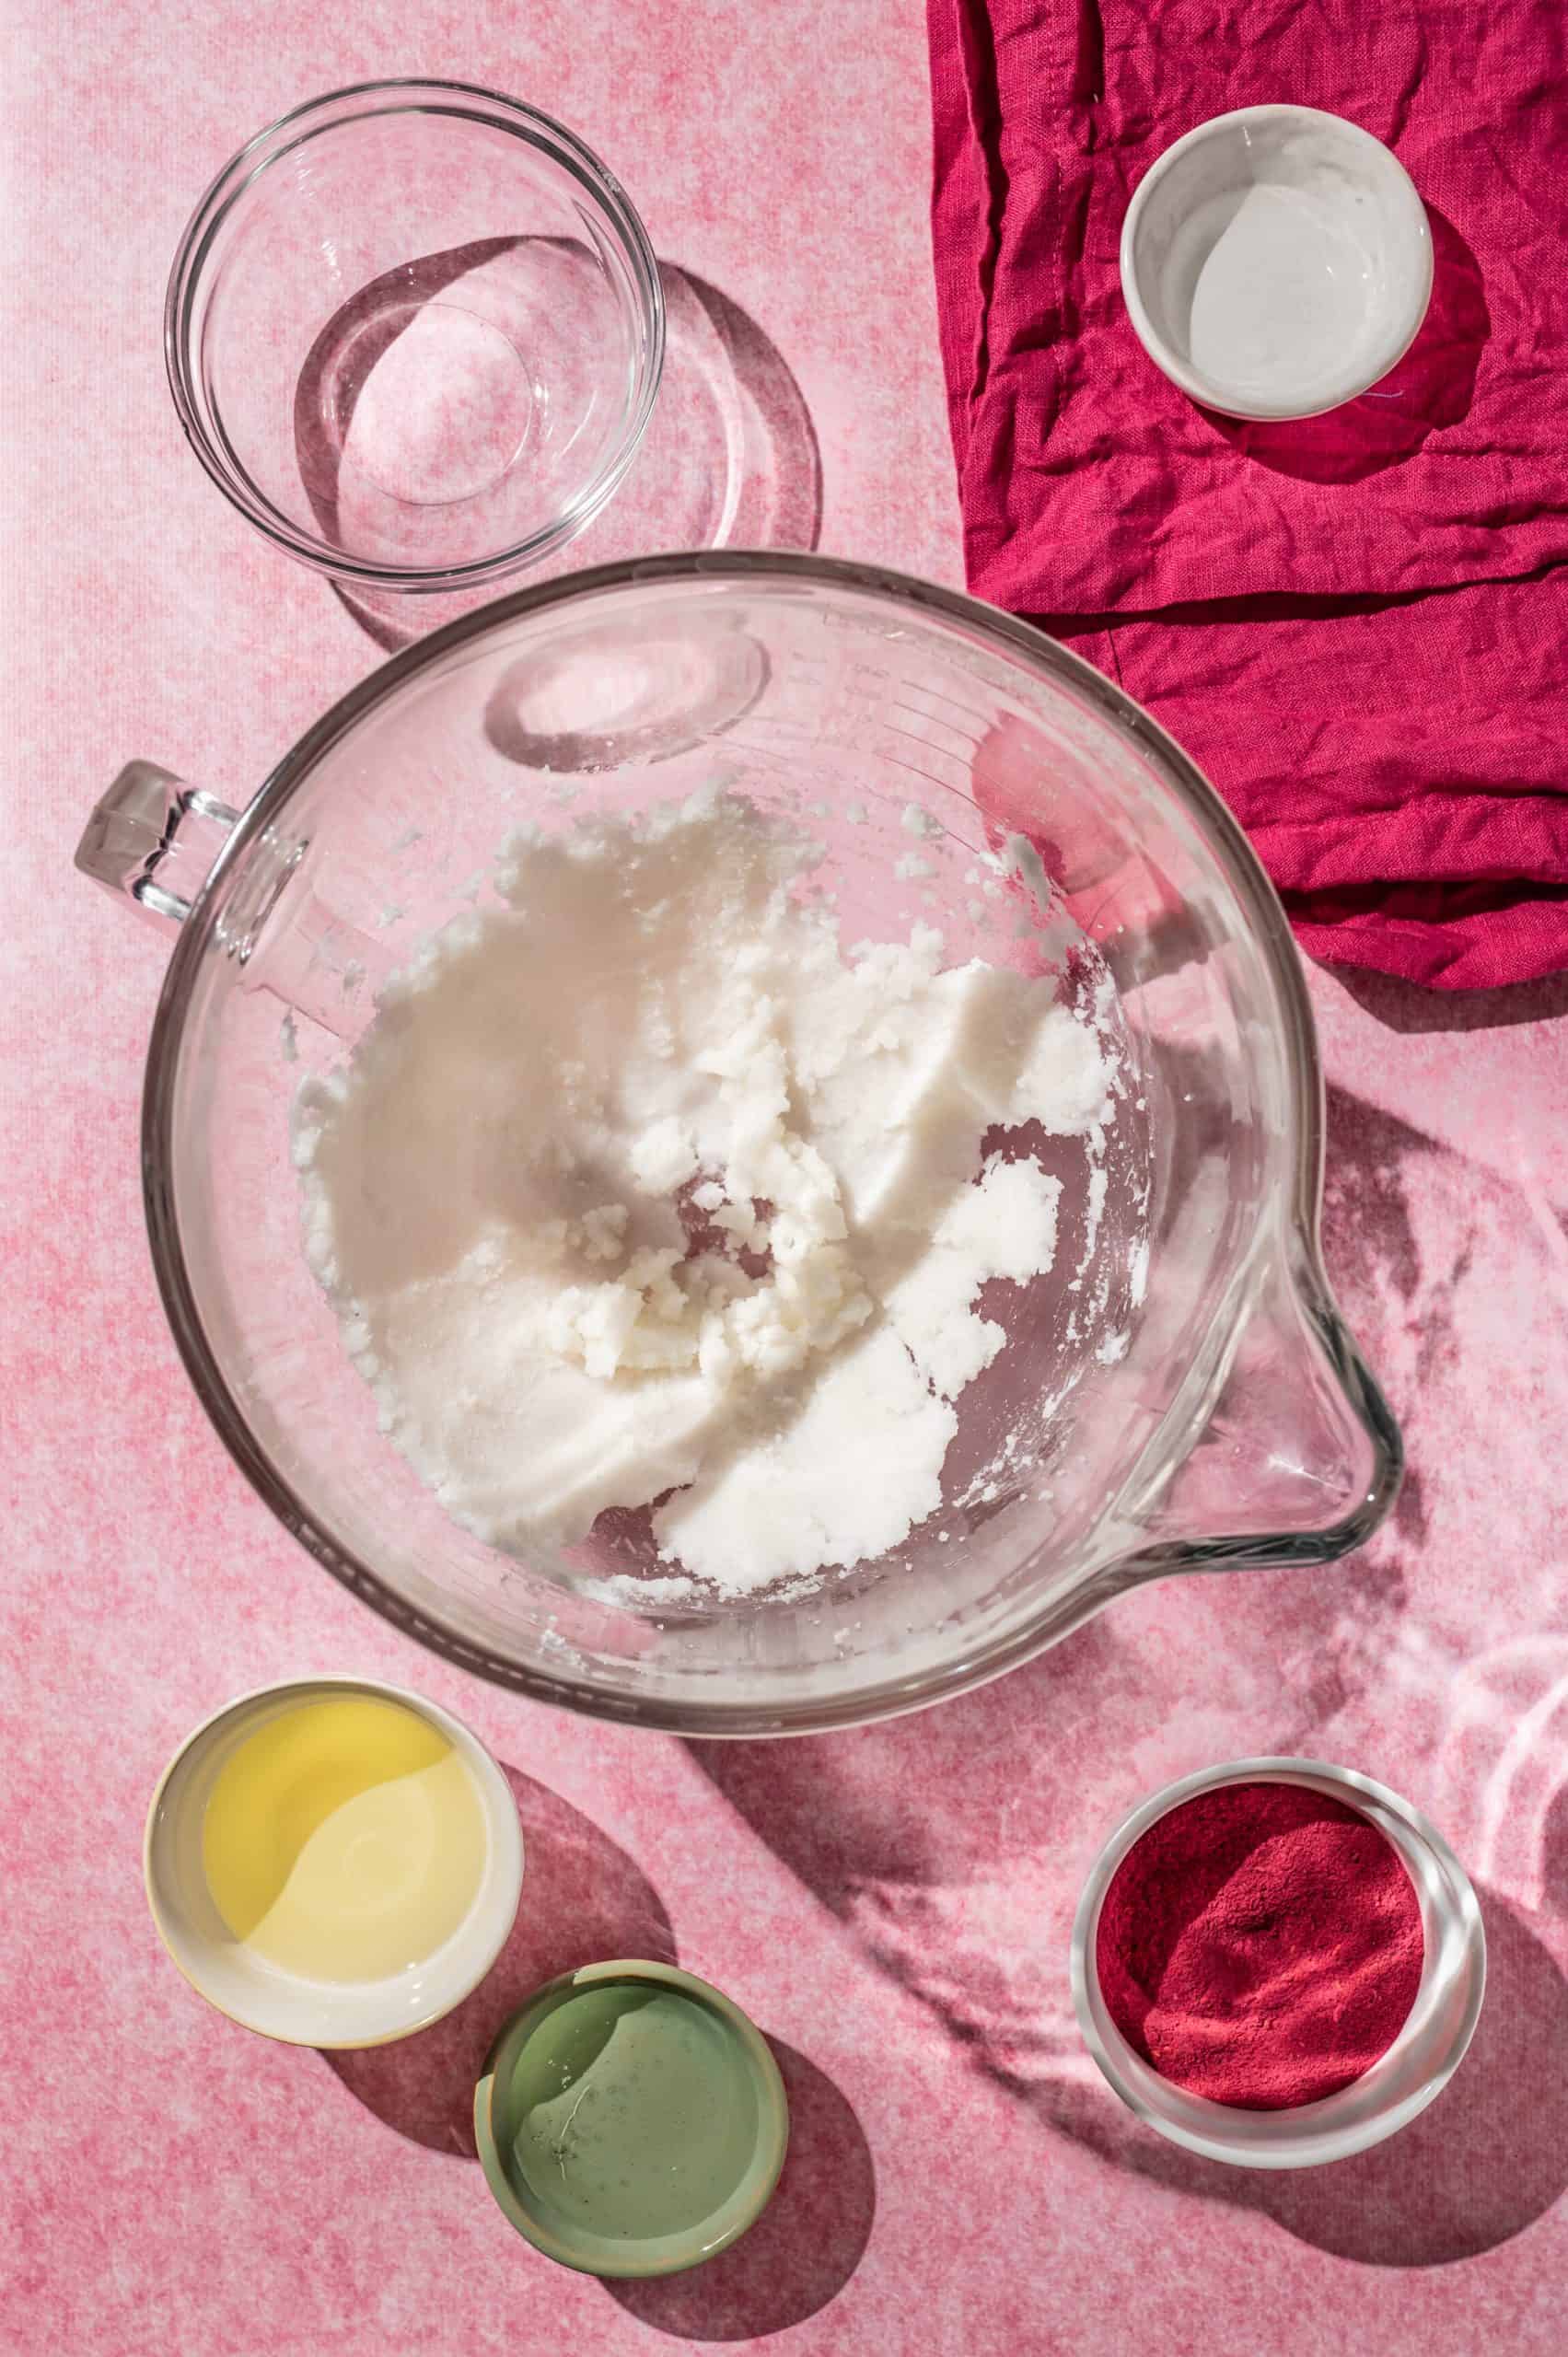
First, add shortening and sugar to a large mixing bowl and cream until light and fluffy.
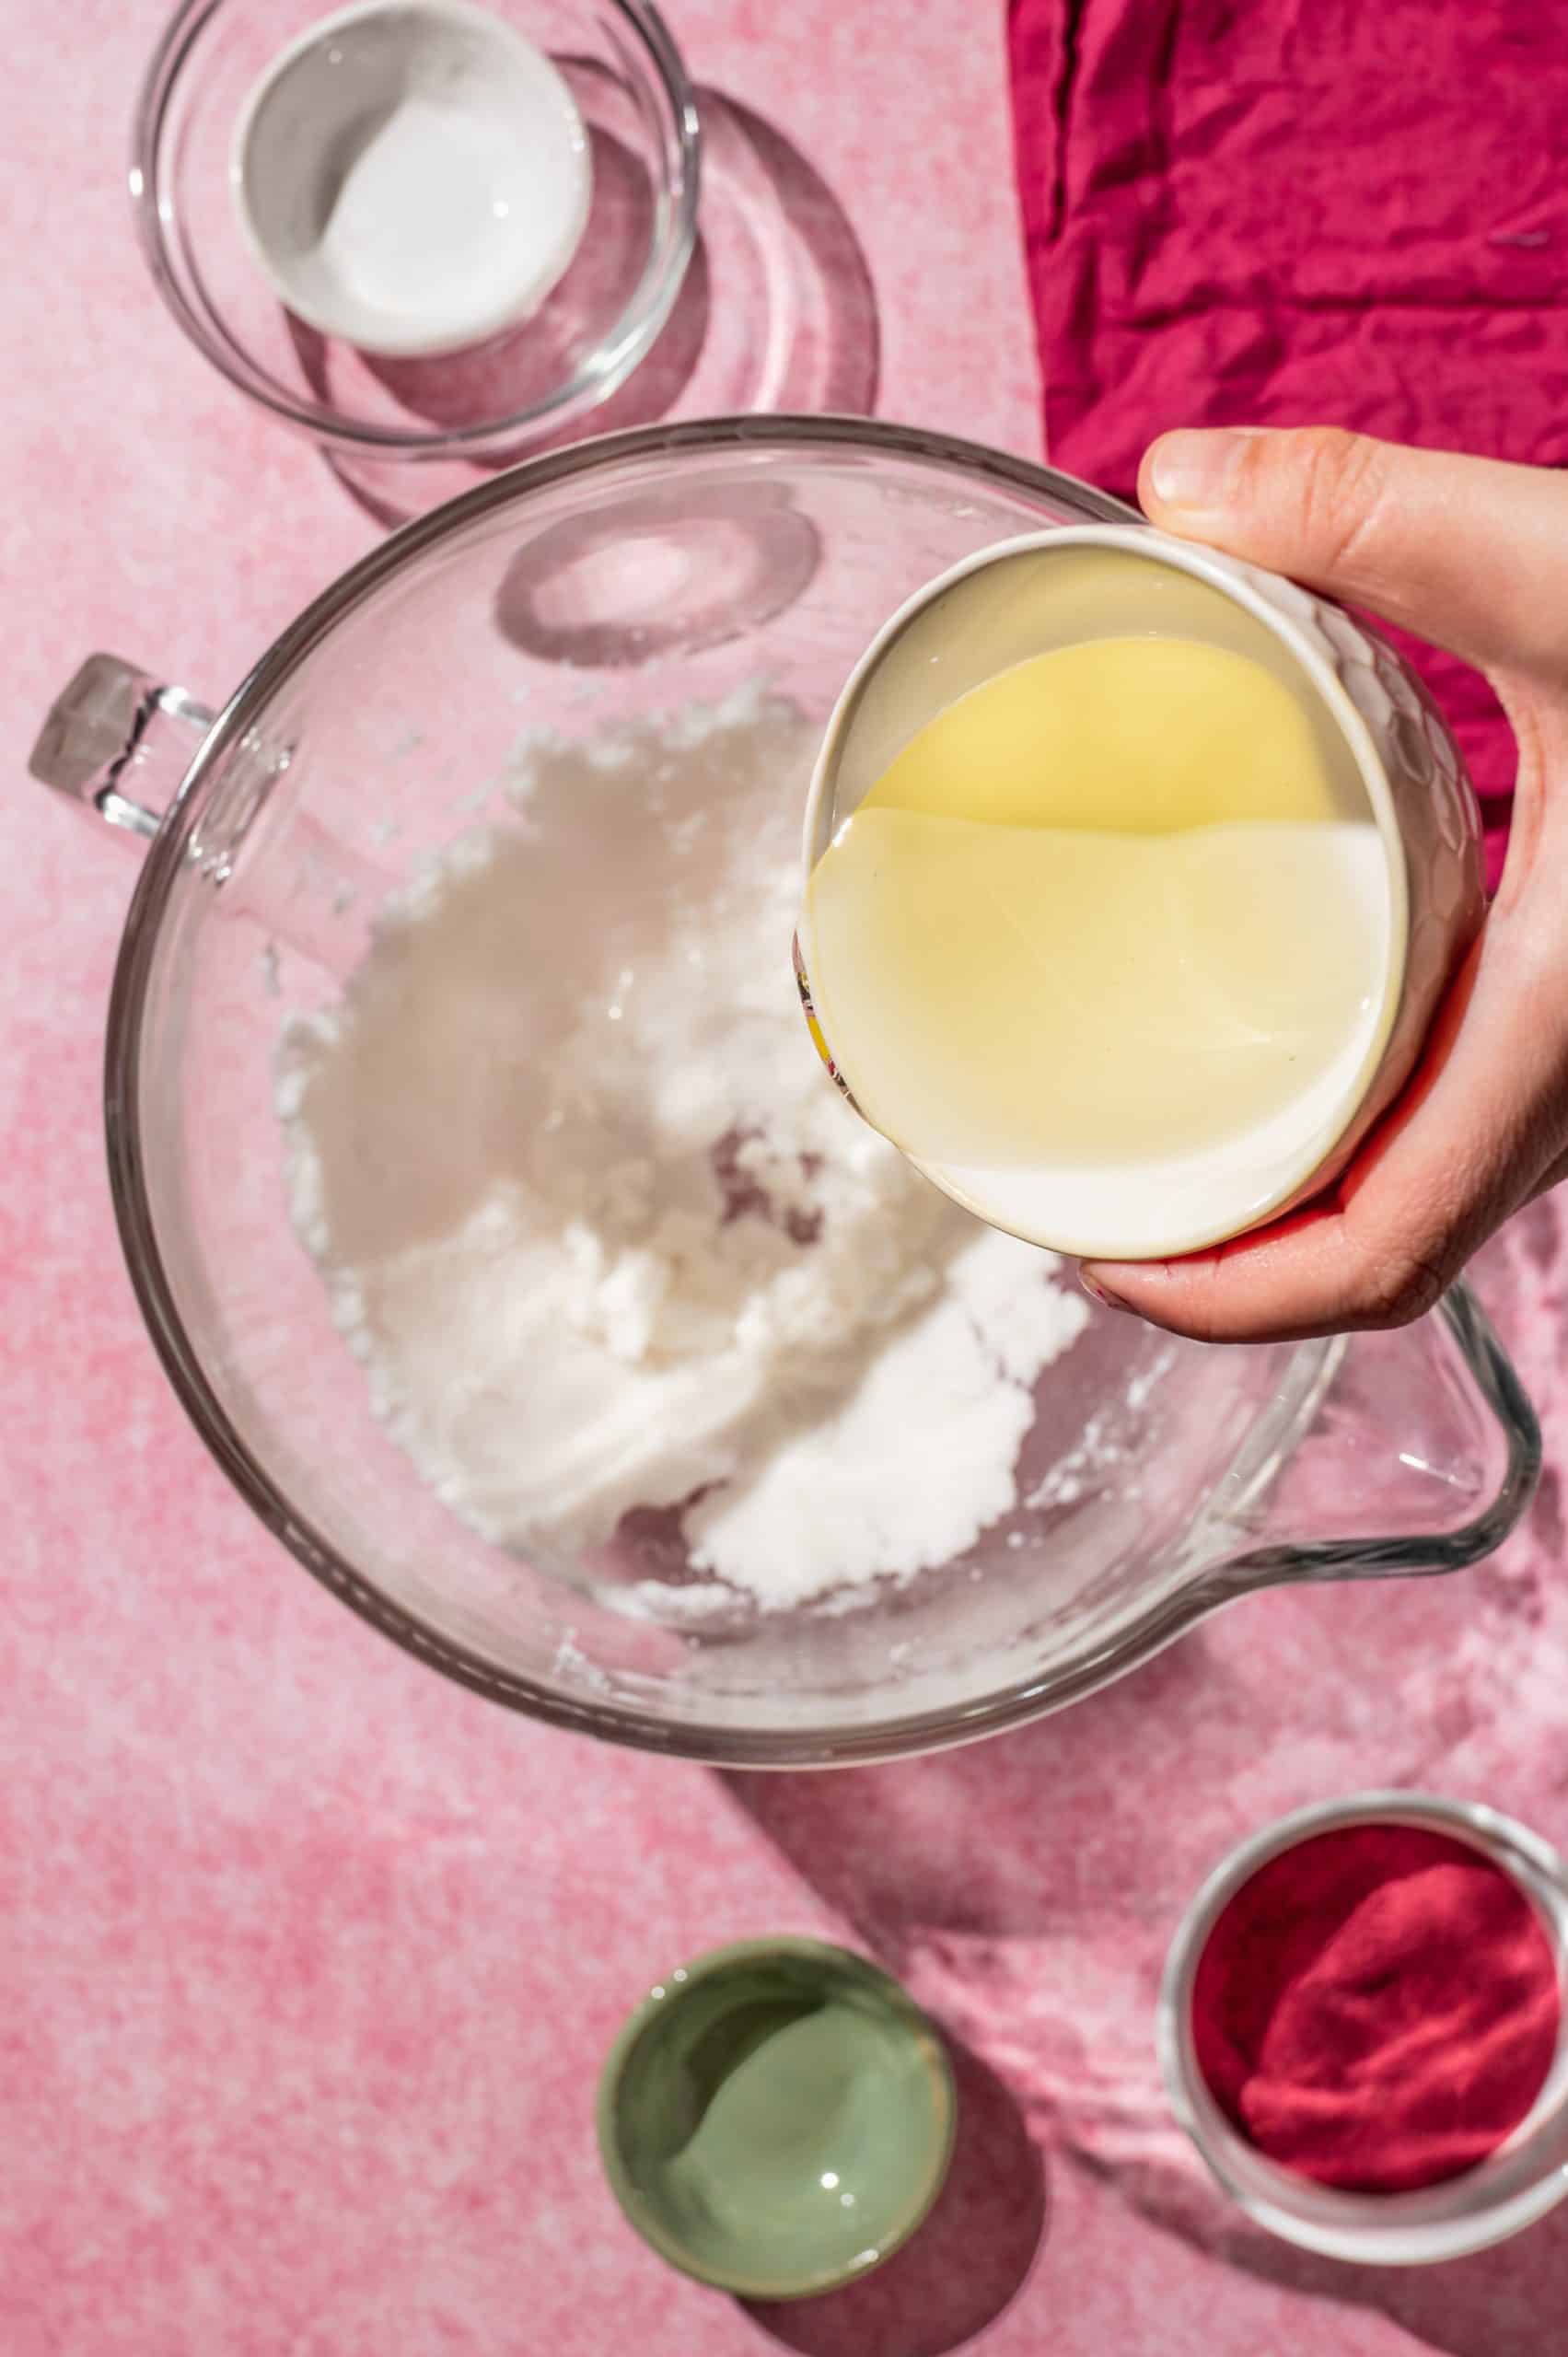
Then, add the vegetable oil, corn syrup, and raspberry extract, and mix until combined.
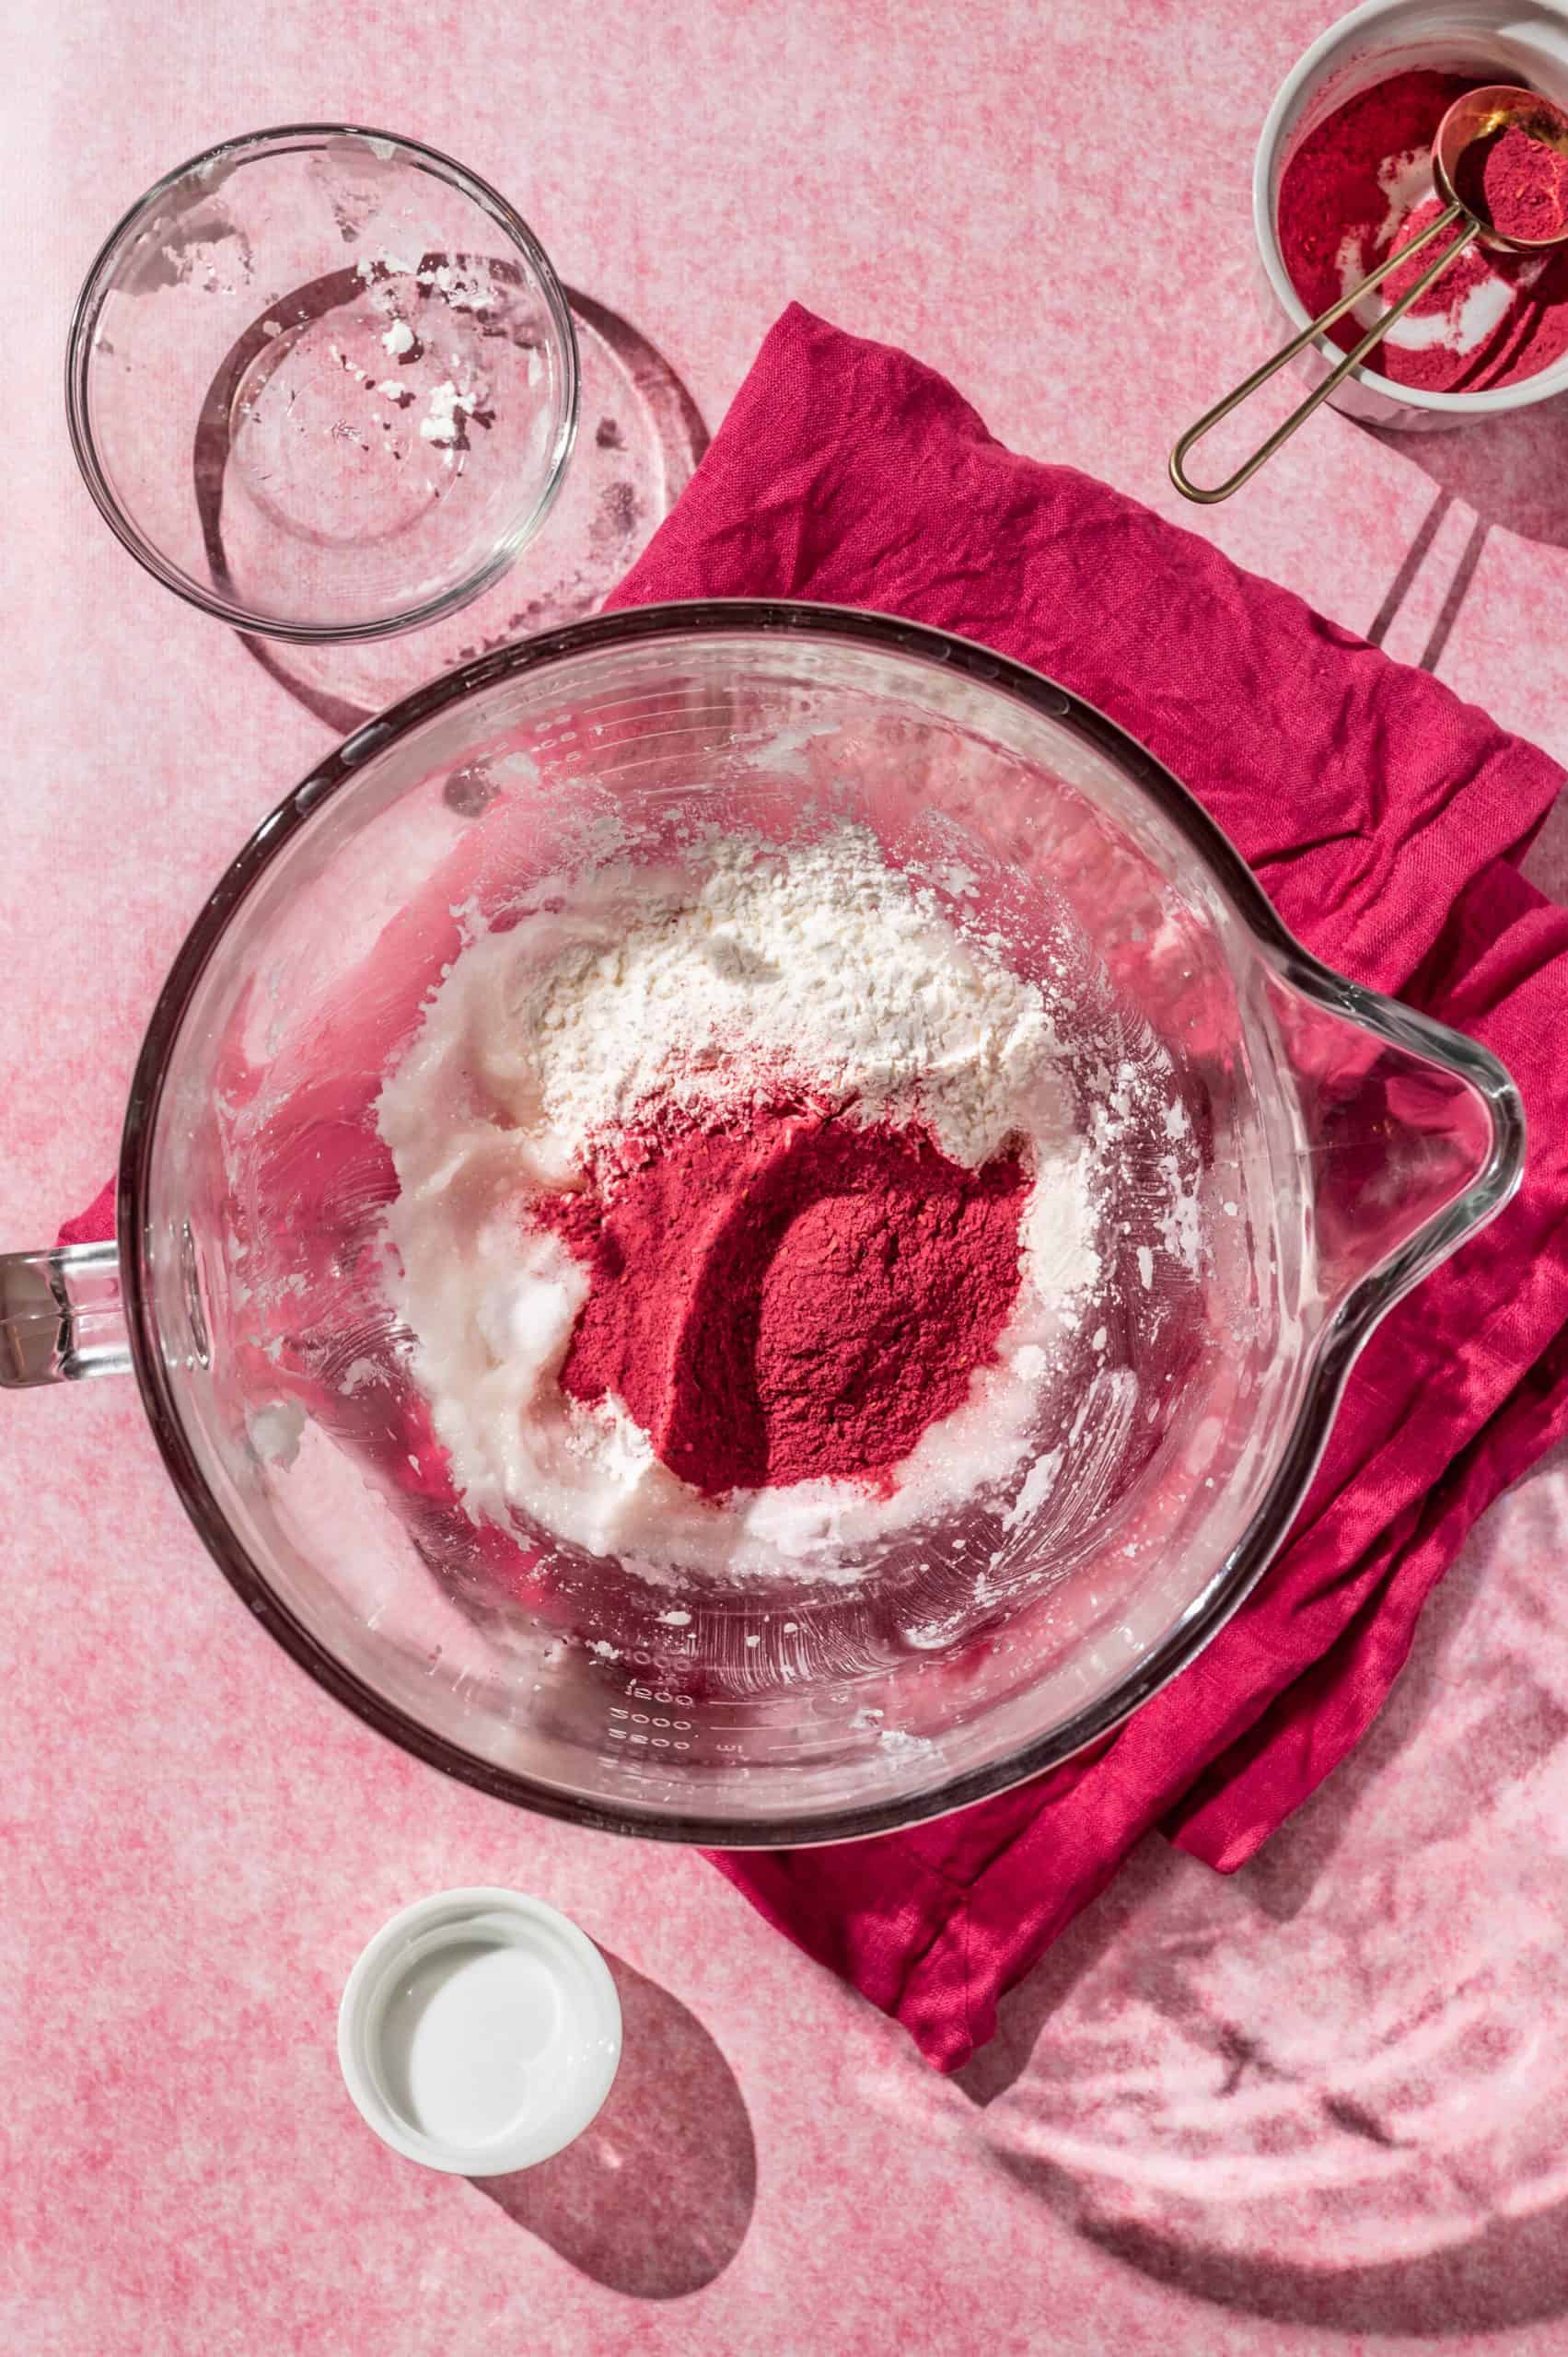
Now add the raspberry powder, baking soda, cornstarch, and salt to the mixing bowl.
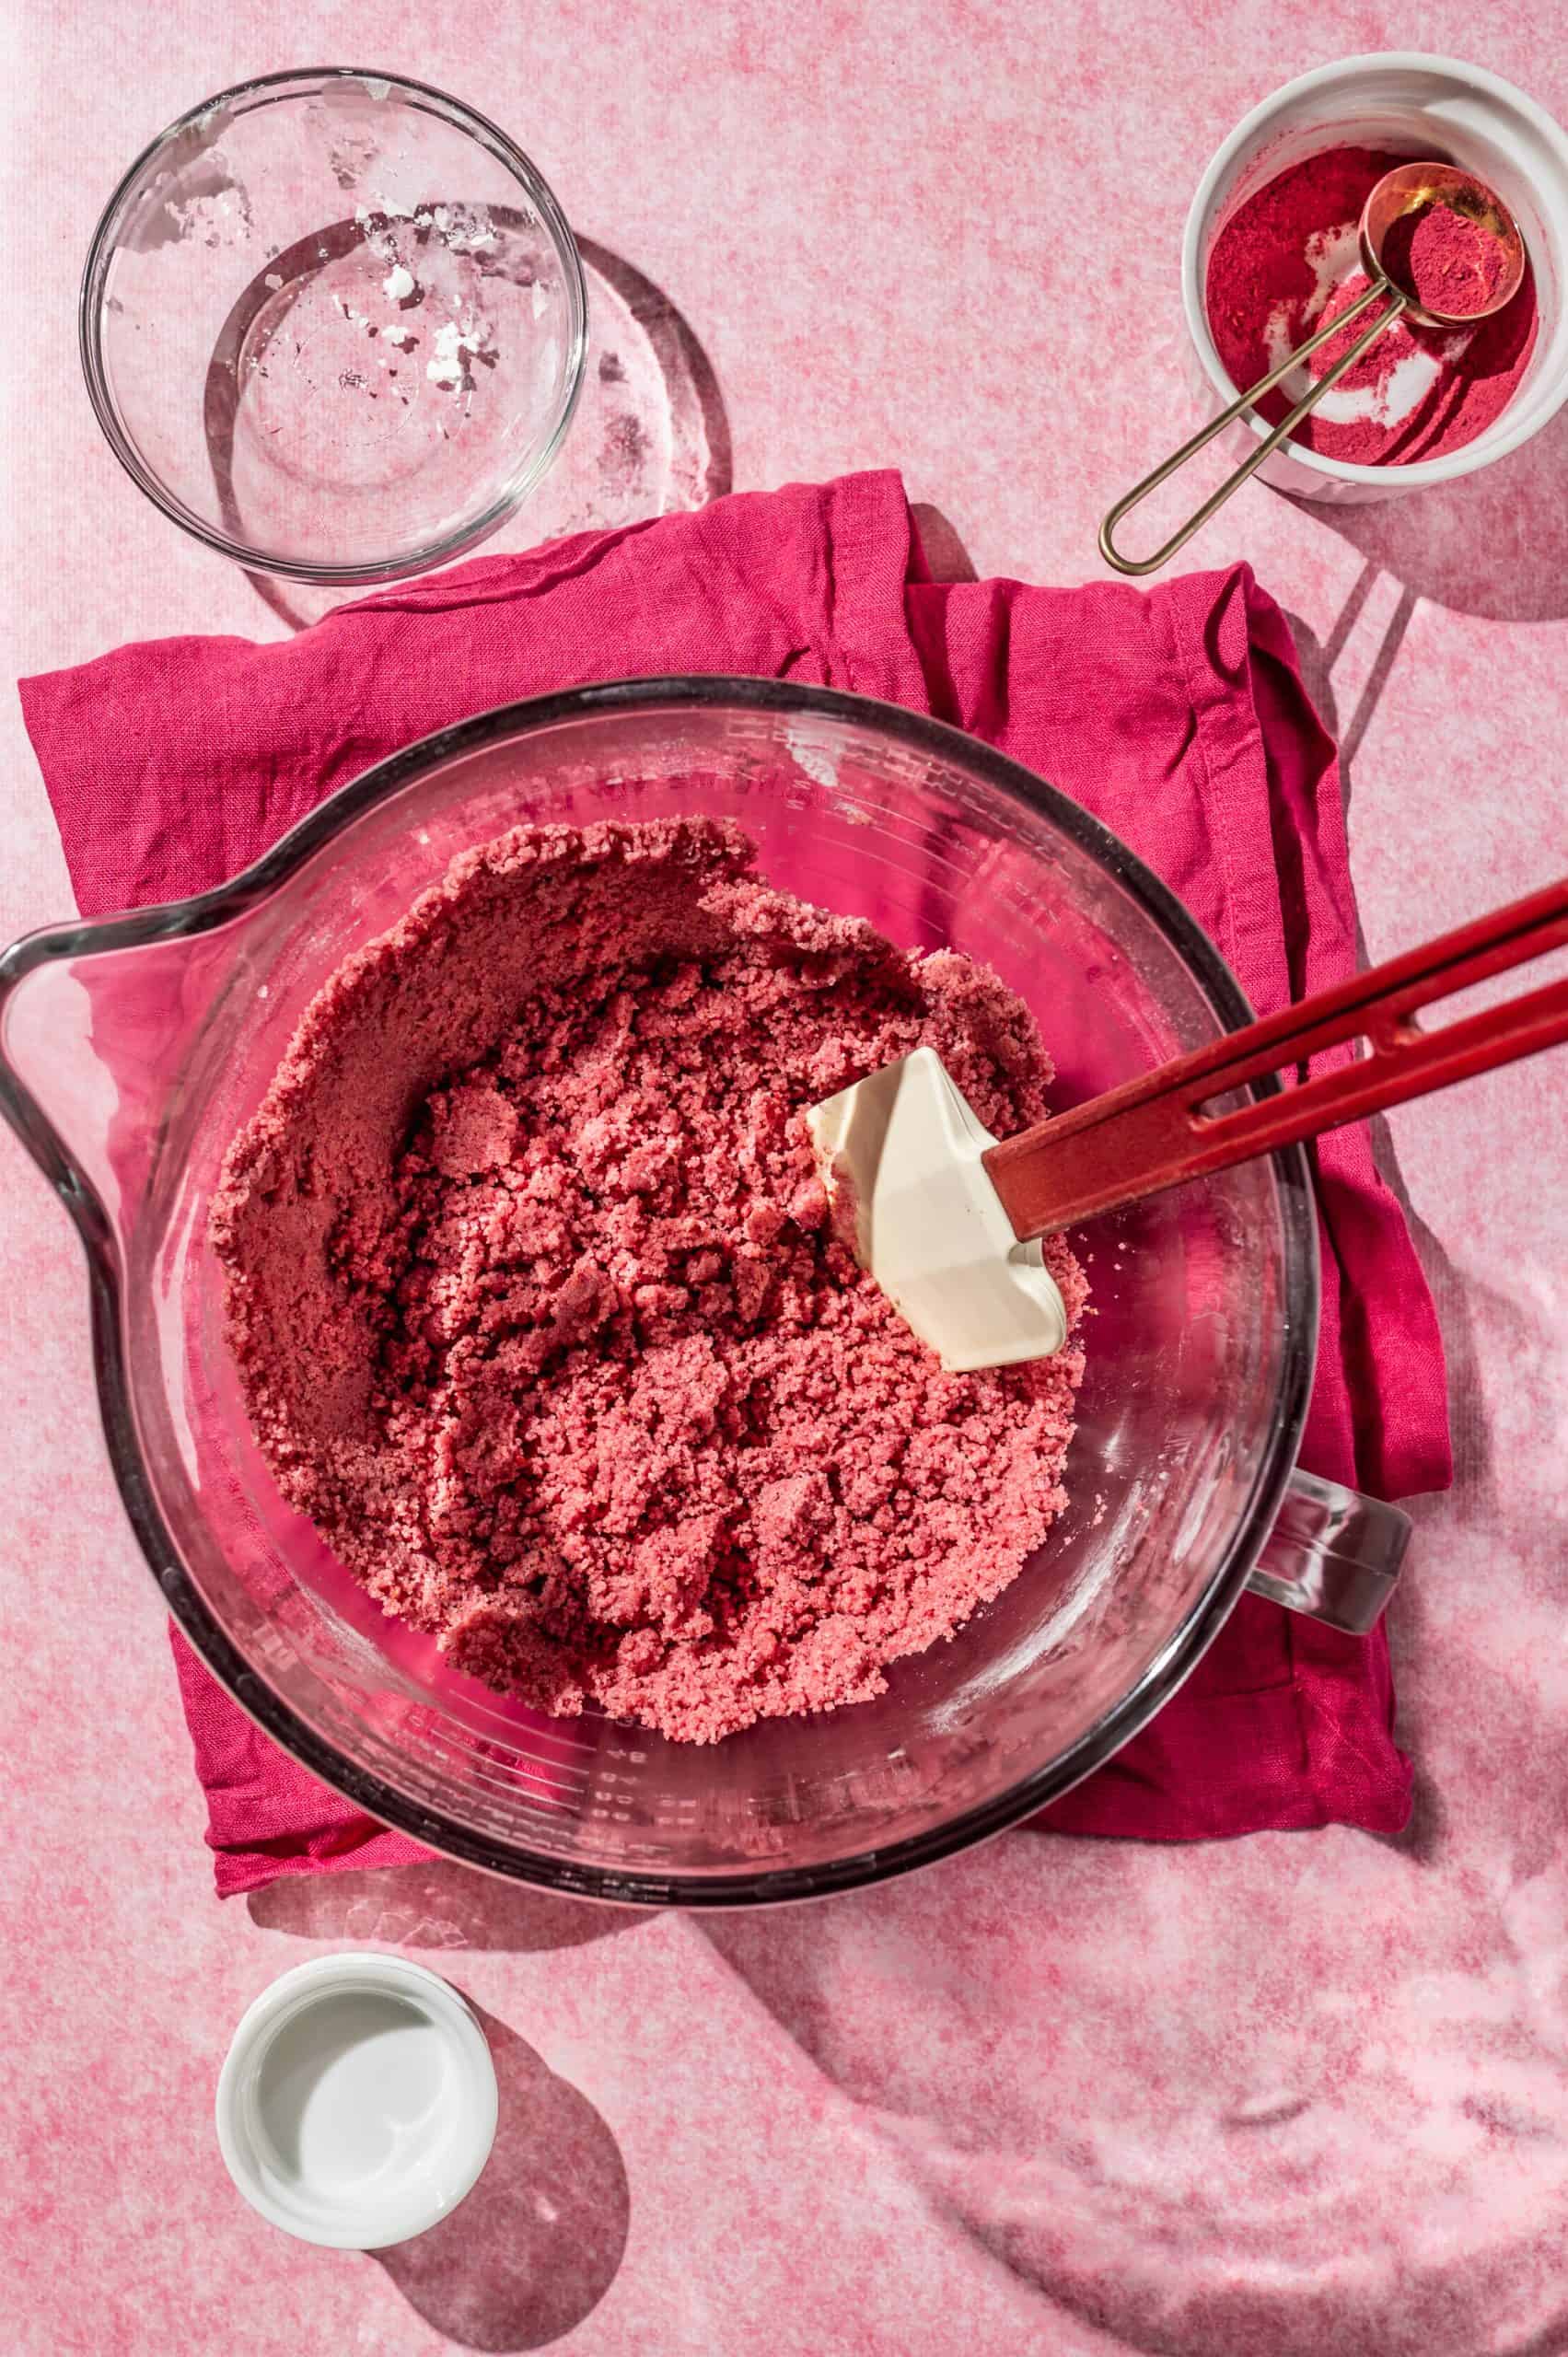
Finally, add the flour. The dough should look very crumbly but will hold together when pressed.
If the dough is too crumbly to work with, you can add up to 1 tablespoon of water. Now, form the dough into a ball, flatten slightly into a disk shape, and wrap it tightly in plastic wrap. Refrigerate the raspberry cookie dough for at least 1 hour.
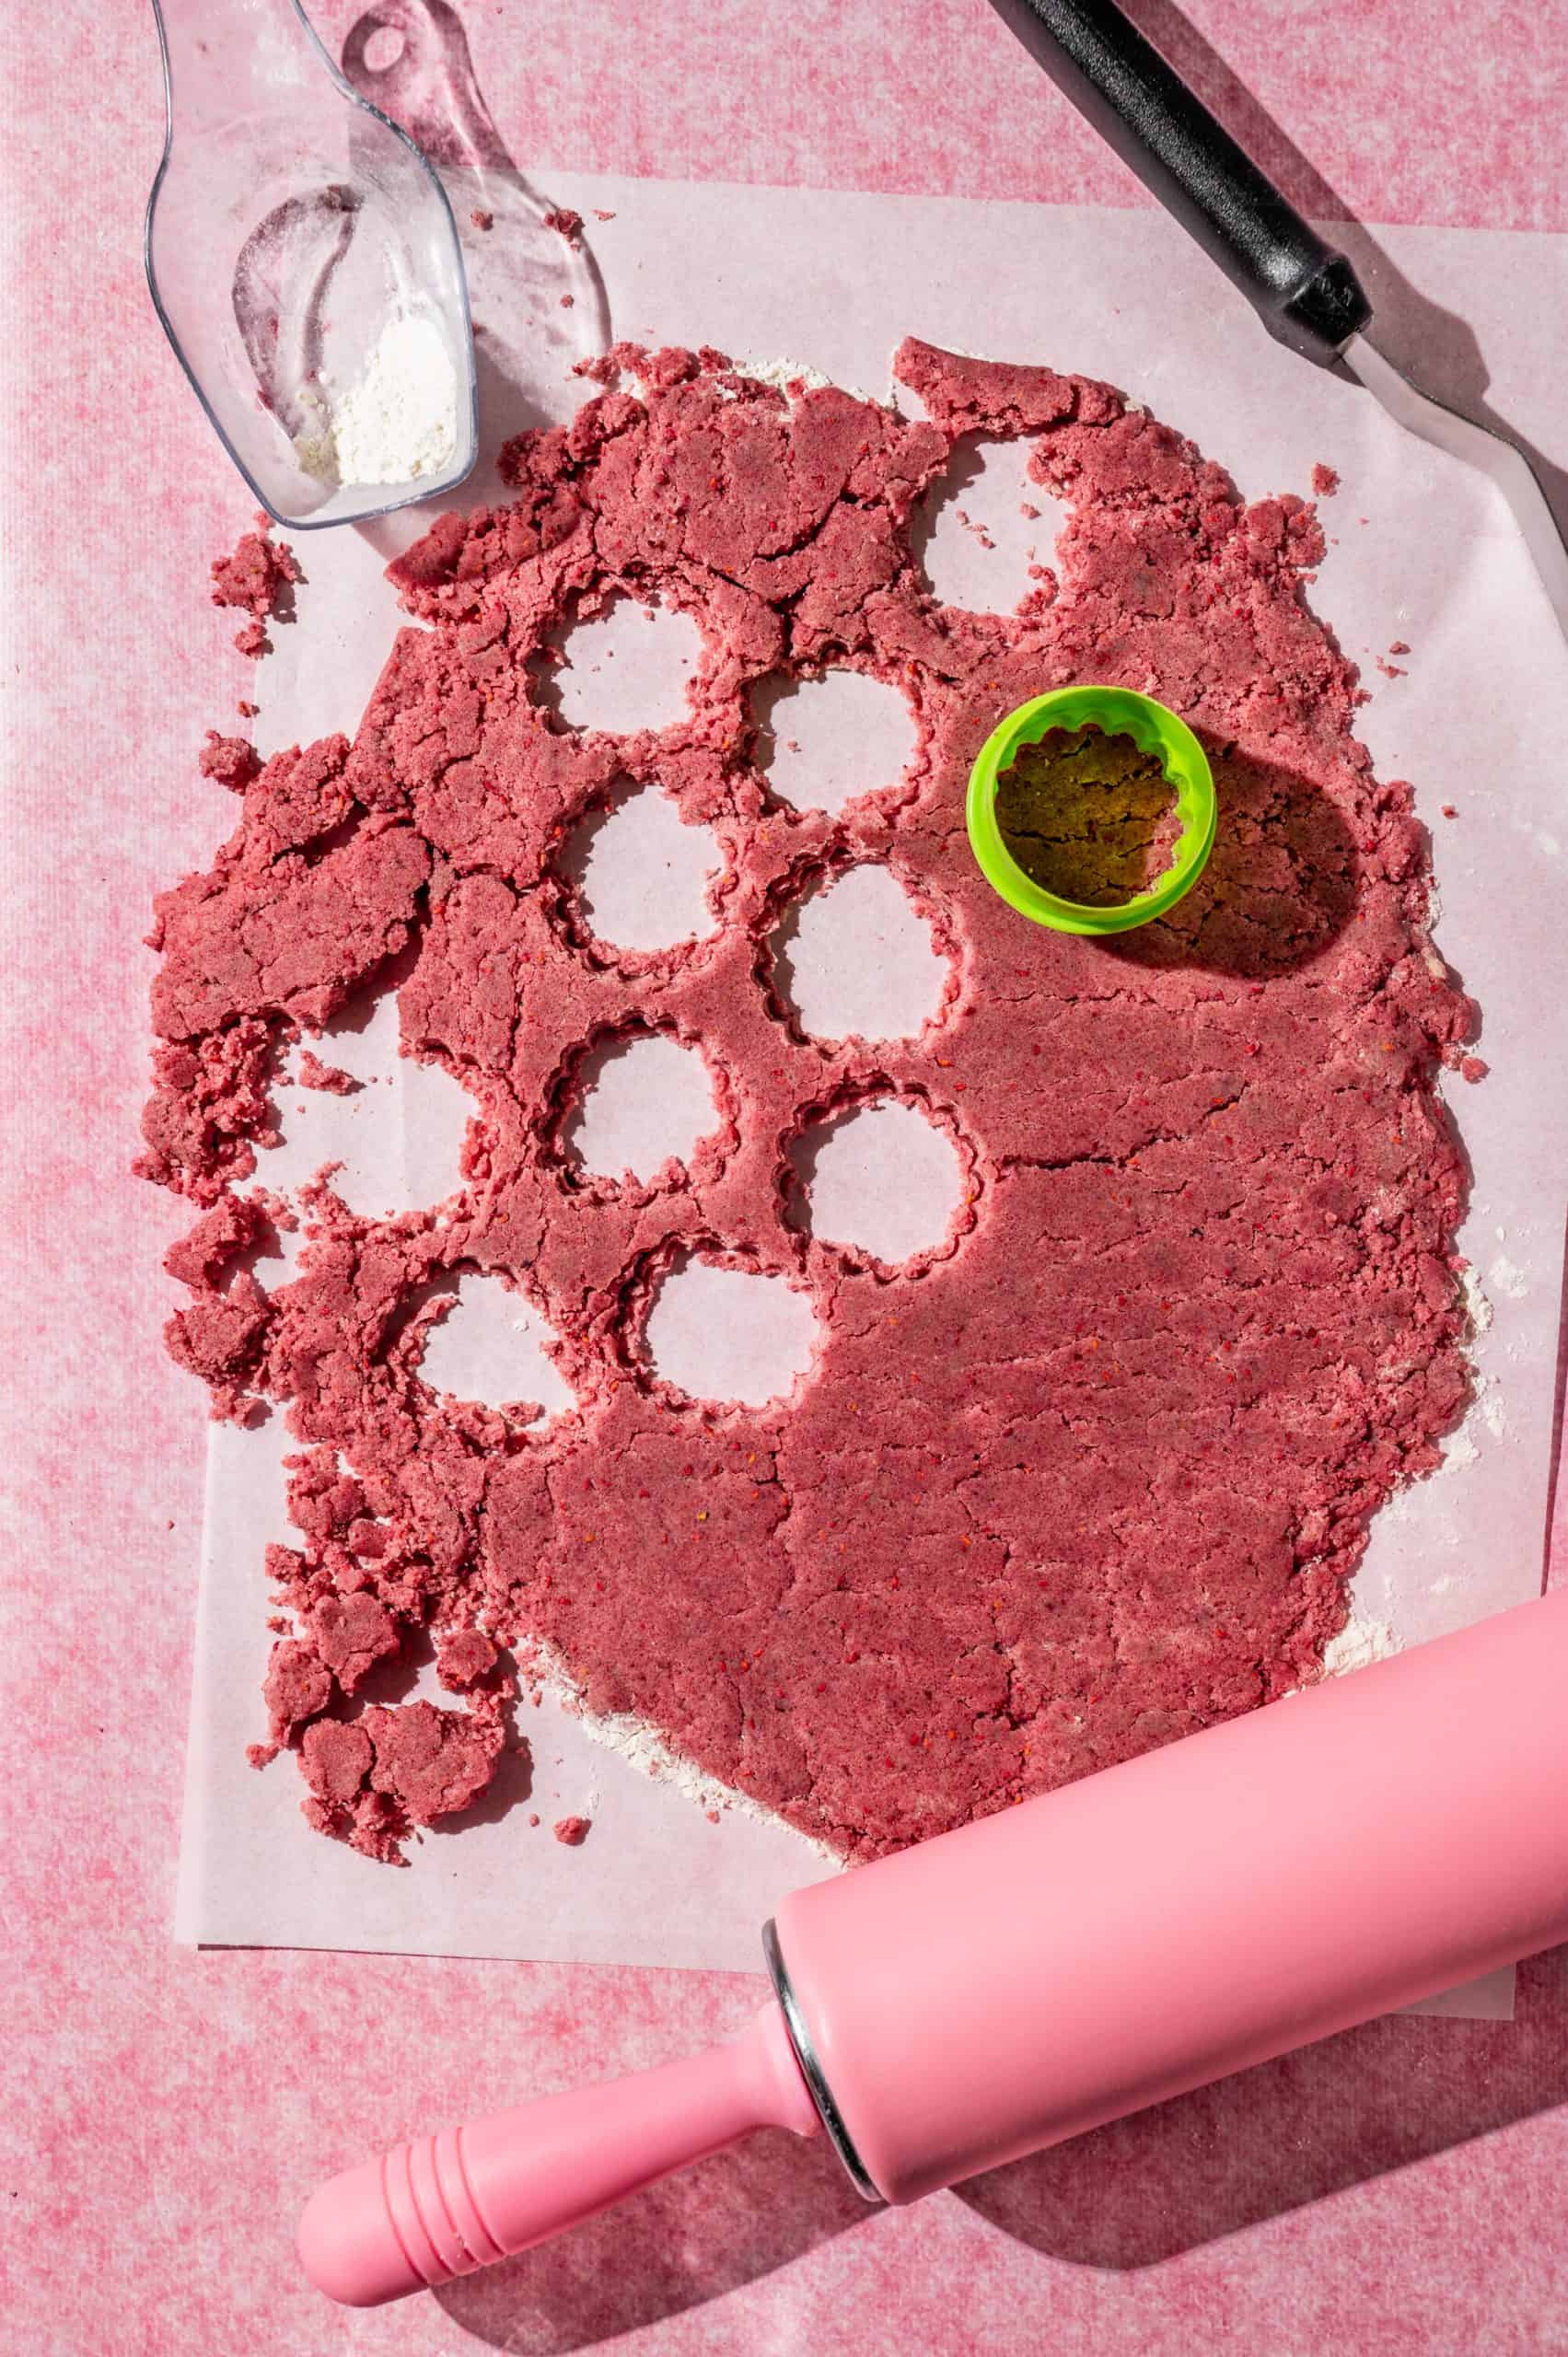
After chilling the dough, roll it out on a sheet of parchment paper to approximately ¼ inch thickness. Then use a small scalloped cutter to stamp the cookies.
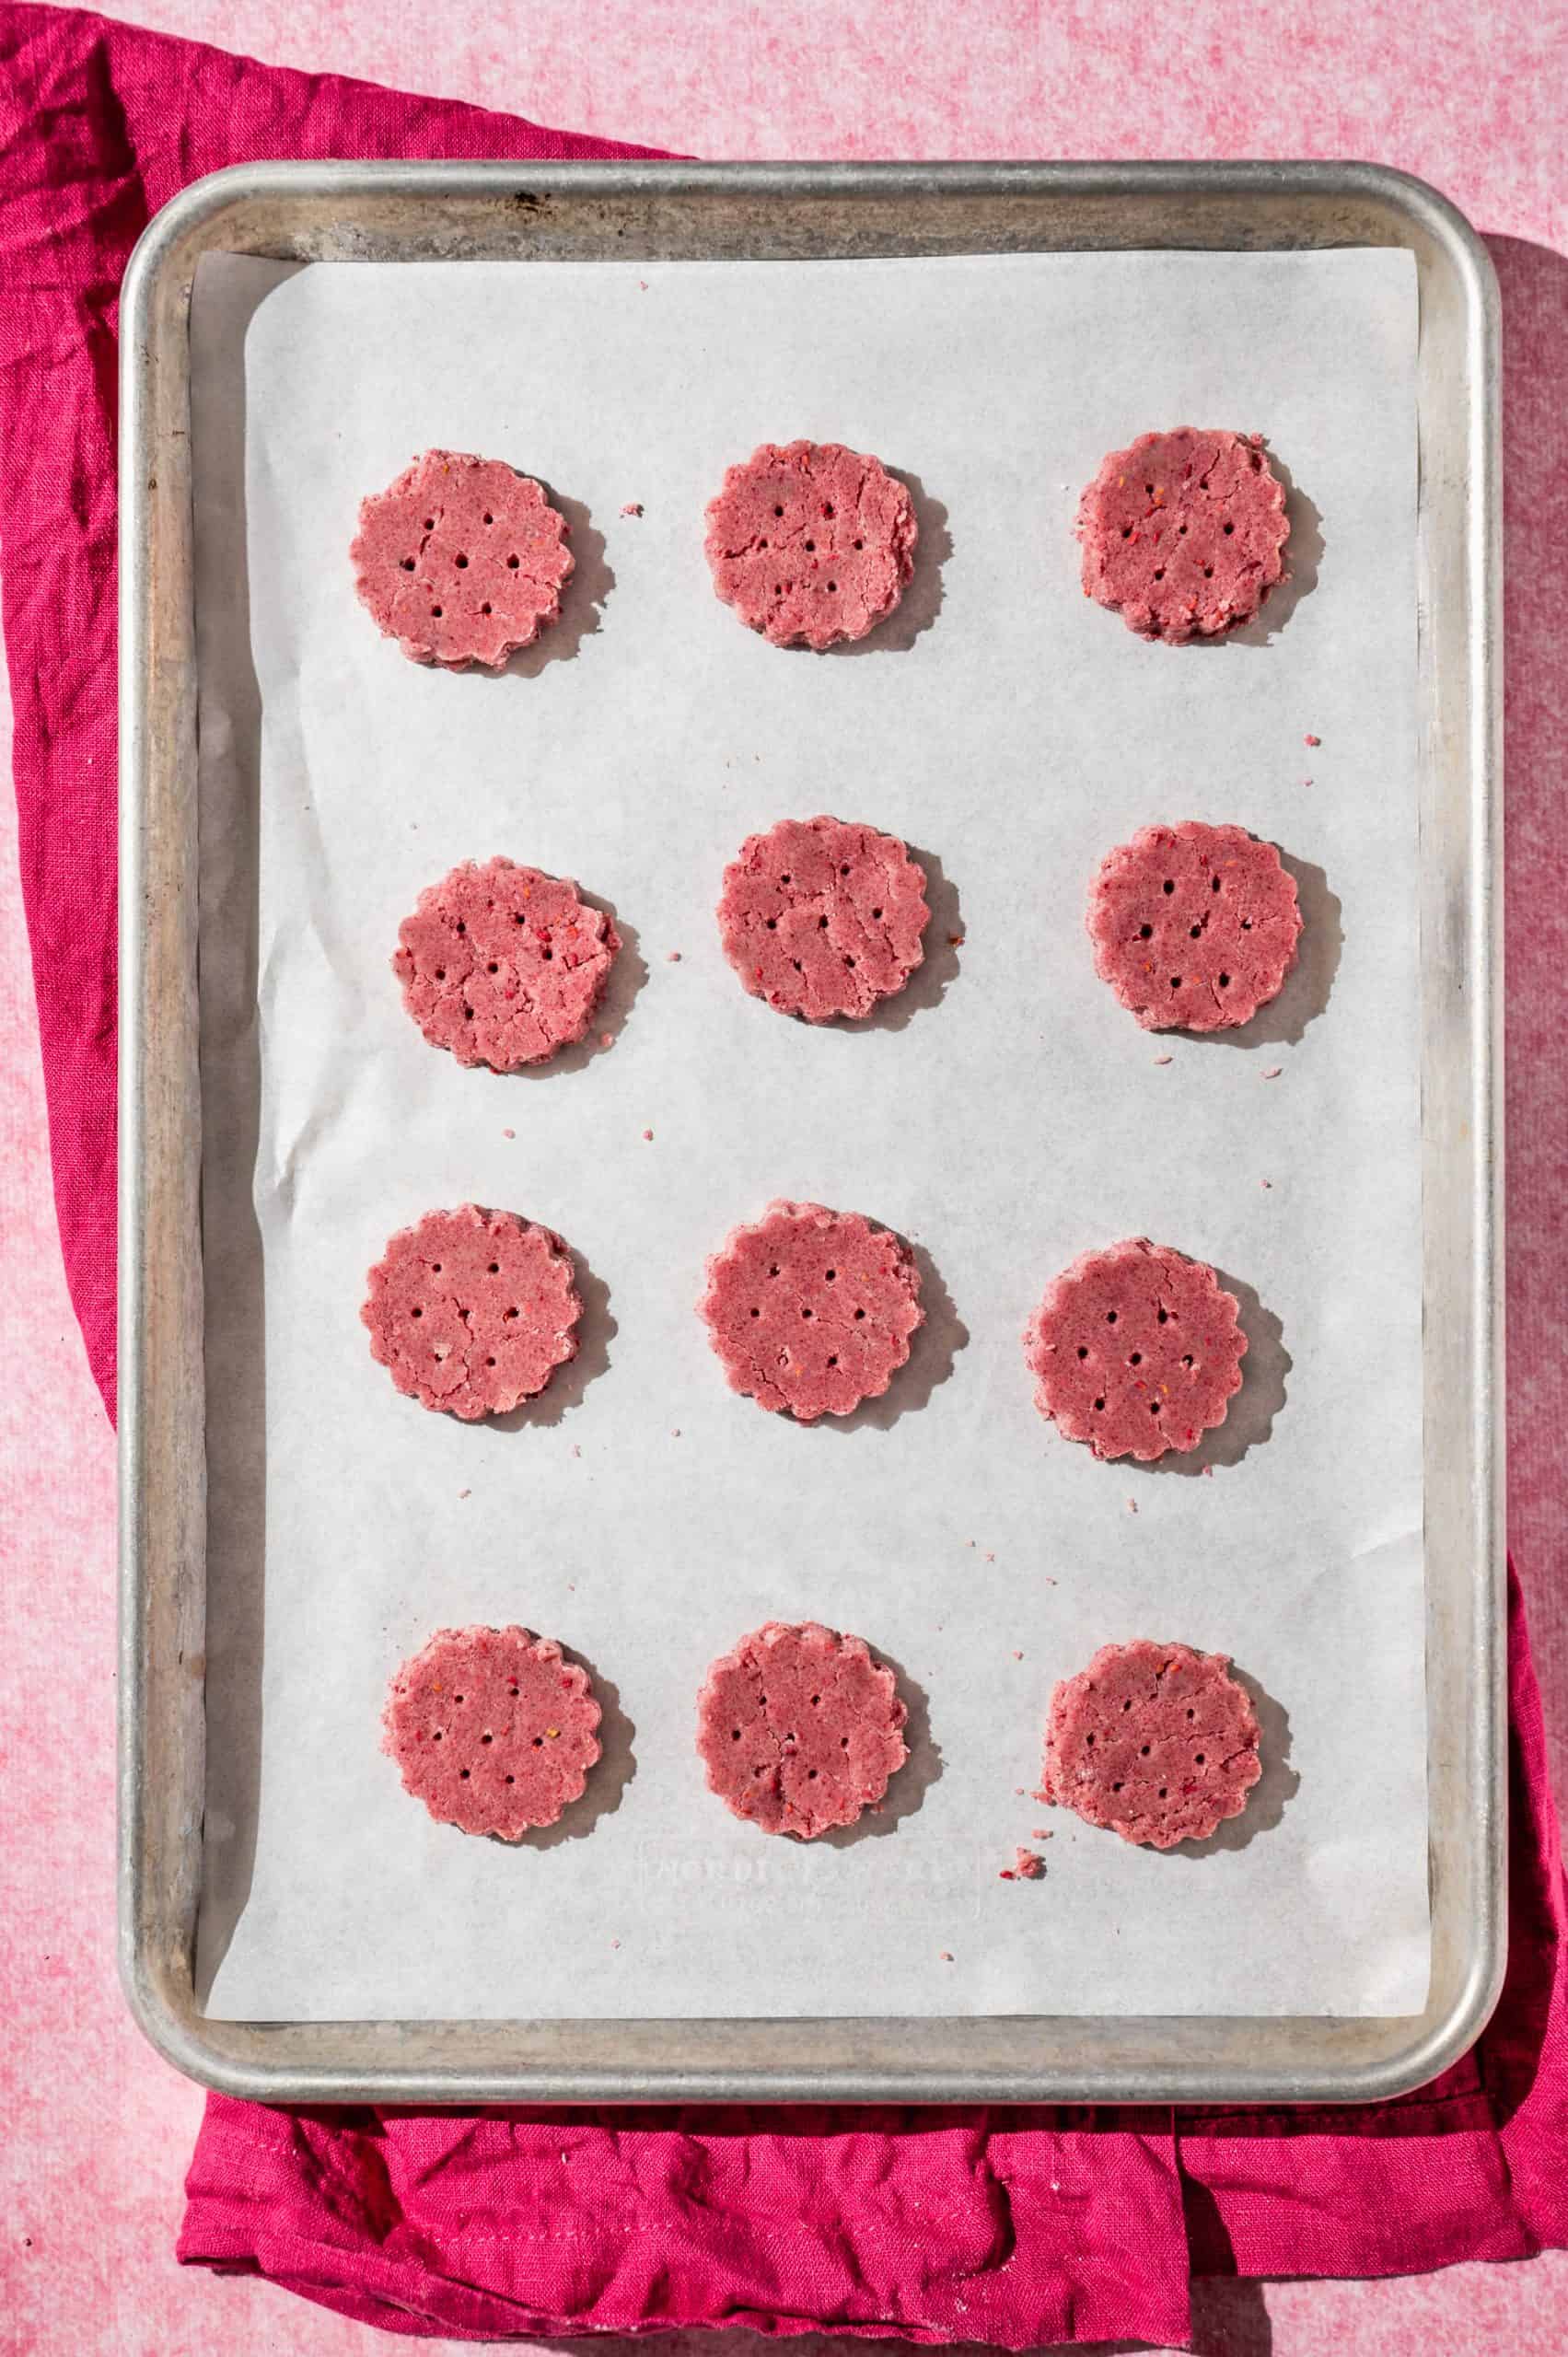
Using an offset spatula or something similar, carefully transfer the cookies to a baking sheet lined with parchment. Then bake the cookies for about 9-10 minutes!
As an option, you can create indents in the cookies using the back of a skewer to make them appear more like the Girl Scout cookies we're accustomed to. Do this after transferring the cookies to the tray, but before baking.
Let the cookies fully cool before dipping them in chocolate (they can cool right on the baking trays). These cookies are pretty fragile and crumbly, so they'll hold together better once cooled.
Pro tip
Place the tray of unbaked cookies in the freezer or refrigerator for 30 minutes before baking. Chilling stamped cookies helps them to hold their shape in the oven and prevents them from spreading too much!
How to Make Chocolate Coating for Cookies
Now that we have our raspberry wafer cookies, it's time to dip them in the chocolate coating! The chocolate glaze coating is similar to my chocolate-glazed donut recipe, but with a higher ratio of sugar and water which allows the glaze to harden once dried.
To make the chocolate coating, simply combine all ingredients in a bowl and whisk until smooth. This method is so much easier than tempering chocolate!
To coat the raspberry cookies in chocolate, place the cookies in the bowl of chocolate glaze one at a time. Use a spoon or spatula to completely cover the cookie with chocolate and wipe off the excess back into the bowl (since you only want a very thin layer of chocolate). Then use a fork to carefully transfer the chocolate-coated Raspberry Rallies onto a wire rack to dry.
After setting the chocolate-covered cookies on the rack, I recommend moving them slightly with a fork when partially set, after about 10-20 minutes. This is to prevent them from sticking to the wire rack once they're fully hardened. Because they’re such delicate cookies they might break when you try to move them if you skip this step.
Be careful to touch the partially set cookies only from the bottom with a fork. Since the chocolate is still somewhat soft, it will still leave imprints at this point. I also recommend using a fork from the bottom to transfer the cookies when they're done for the same reason.
Pro tip
If the chocolate coating begins to harden in the bowl while you’re working with it, pop it in the microwave for 10-20 seconds and whisk until smooth. The glaze will be thinner the warmer it is, allowing you to create a thin coating on the cookies easily.
Substitutions & Variations
This recipe is a variation of my Thin Mints recipe. The cocoa powder and mint extract in the Thin Mint cookies are replaced with raspberry powder and raspberry extract.
You can replace the raspberry powder with any type of dehydrated fruit powder! If you have trouble finding raspberry powder, try cranberry or strawberry powder instead. Either of these options will give you a brighter red color and a similar tart taste.
Also, I think these cookies are delicious without the chocolate coating! The crisp raspberry cookies are like the perfect tea cookies. The texture and taste are sort of reminiscent of my white chocolate cranberry shortbread cookies.
Equipment
Here's a list of everything you might need to make these homemade Raspberry Rally cookies:
- Stand mixer (optional) - I love using my stand mixer for any cookie dough that calls for creaming butter or shortening because it's easier and I'm lazy! If you don't have a stand mixer, you can use a handheld electric mixer or mix by hand in a large mixing bowl.
- Plastic wrap - to wrap the dough before chilling.
- Rolling pin - if you don't have one, you should be able to press the dough with your hands. Or you can use a wine bottle or any cylindrical object to roll the dough into an even layer.
- Cookie cutter - I used a small round cookie cutter with scalloped edges, about 1.5 to 2 inches in diameter. You could also use a plain round cookie cutter or an upside-down shot glass.
- Parchment paper - essential for making perfect cookies! I love buying precut parchment sheets that lay flat for convenience.
- Spatulas - a rubber spatula is great for folding in flour to the cookie dough. An offset spatula (also called an icing spatula) is best for transferring stamped cookies because of its thin, flexible edge.
- Skewer (optional) - if you want to create the signature dotted pattern on the surface of the cookies. You can use the back end of a utensil or a toothpick too, whatever works!
- Mixing bowl - to make the chocolate glaze.
- Fork - for dipping the raspberry cookies in chocolate. You can also use a fork to mix the chocolate glaze coating if you don't have a whisk.
- Wire rack - these checkered cooling racks are great for letting the cookies dry after dipping them in chocolate. They dry and harden faster since the air hits them on all sides, including the bottom. And it allows excess chocolate to drip off.
Storage Tips
I recommend storing these in the refrigerator in an airtight container. Use parchment or wax paper in between layers when stacking to keep them from sticking together. They will stay fresh for up to 1-2 weeks in the fridge.
You can also freeze them the same way! (Meaning, in an airtight container with wax paper between the layers). You can keep Raspberry Rally cookies in the freezer for about 3 months before they start to lose quality.
FAQ
Yes! According to the Girl Scouts of Wisconsin website, the Raspberry Rally WILL be back next year. However, they don't know yet if it will continue to be an online exclusive.
Yes! The Girl Scout Cookies and this homemade version are both vegan. (As long as you don't substitute butter for vegetable shortening).

📖 Recipe
Raspberry Rally Cookies (Girl Scout Copycat Recipe)

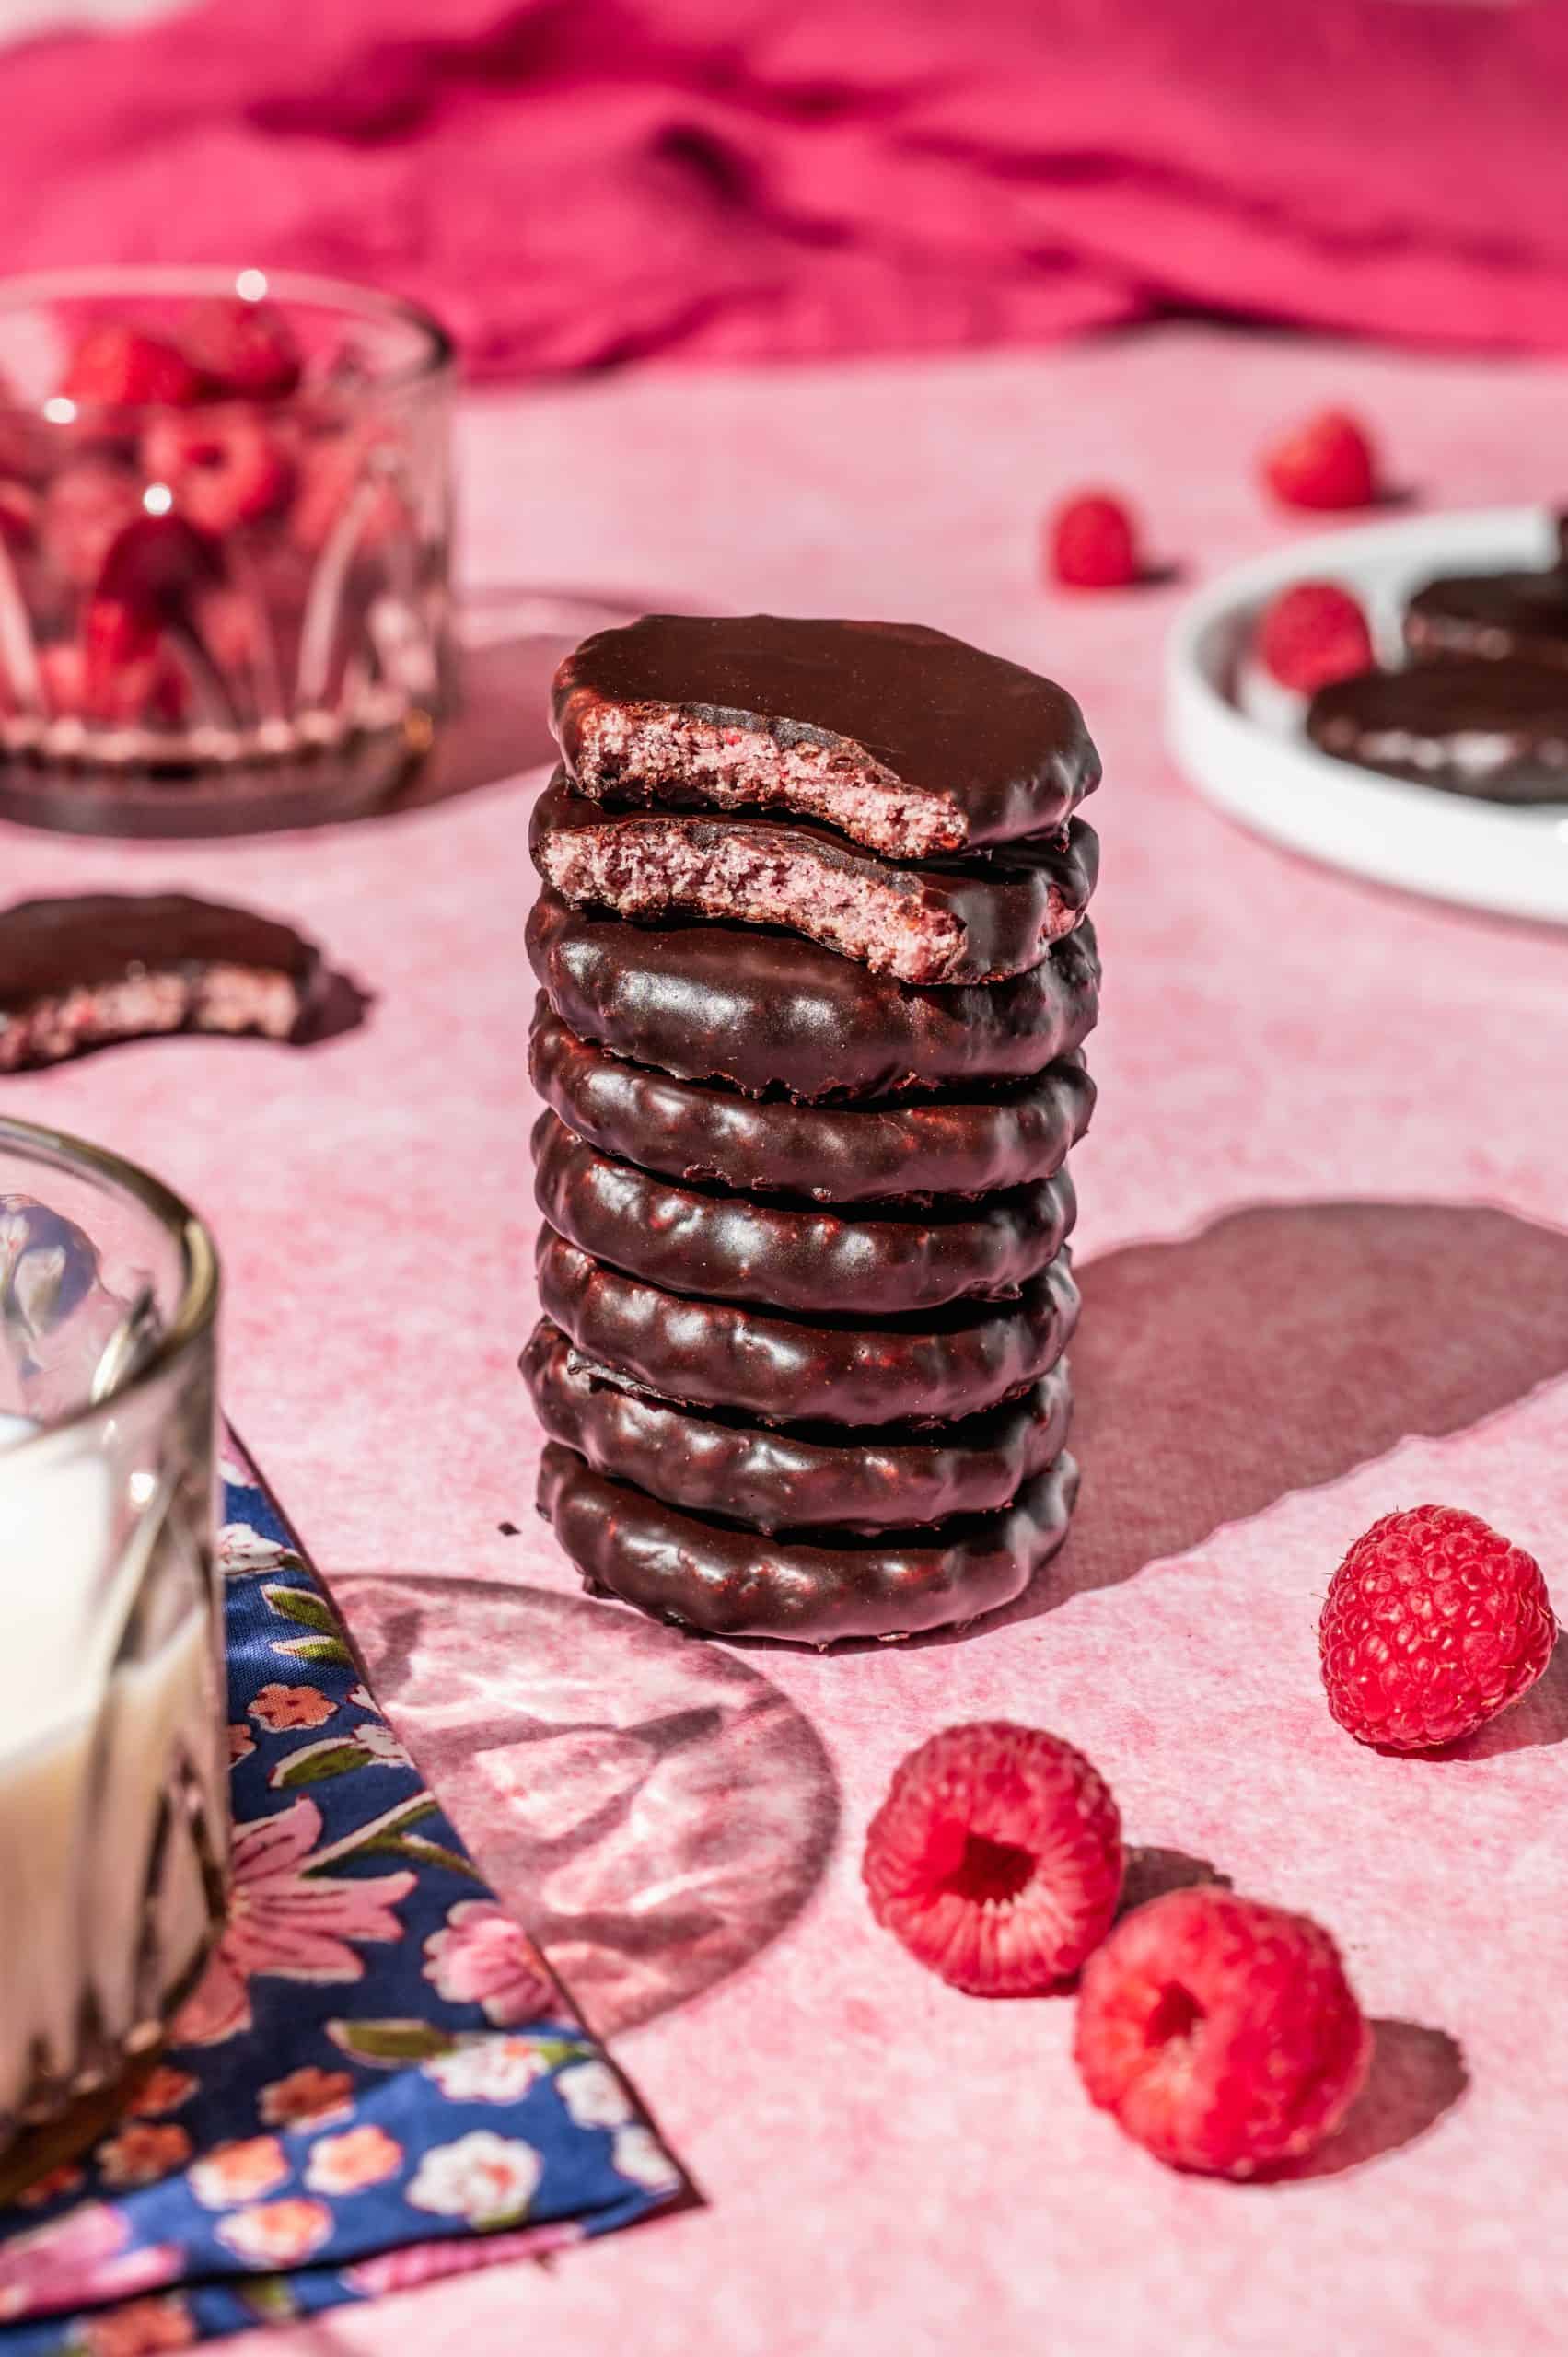
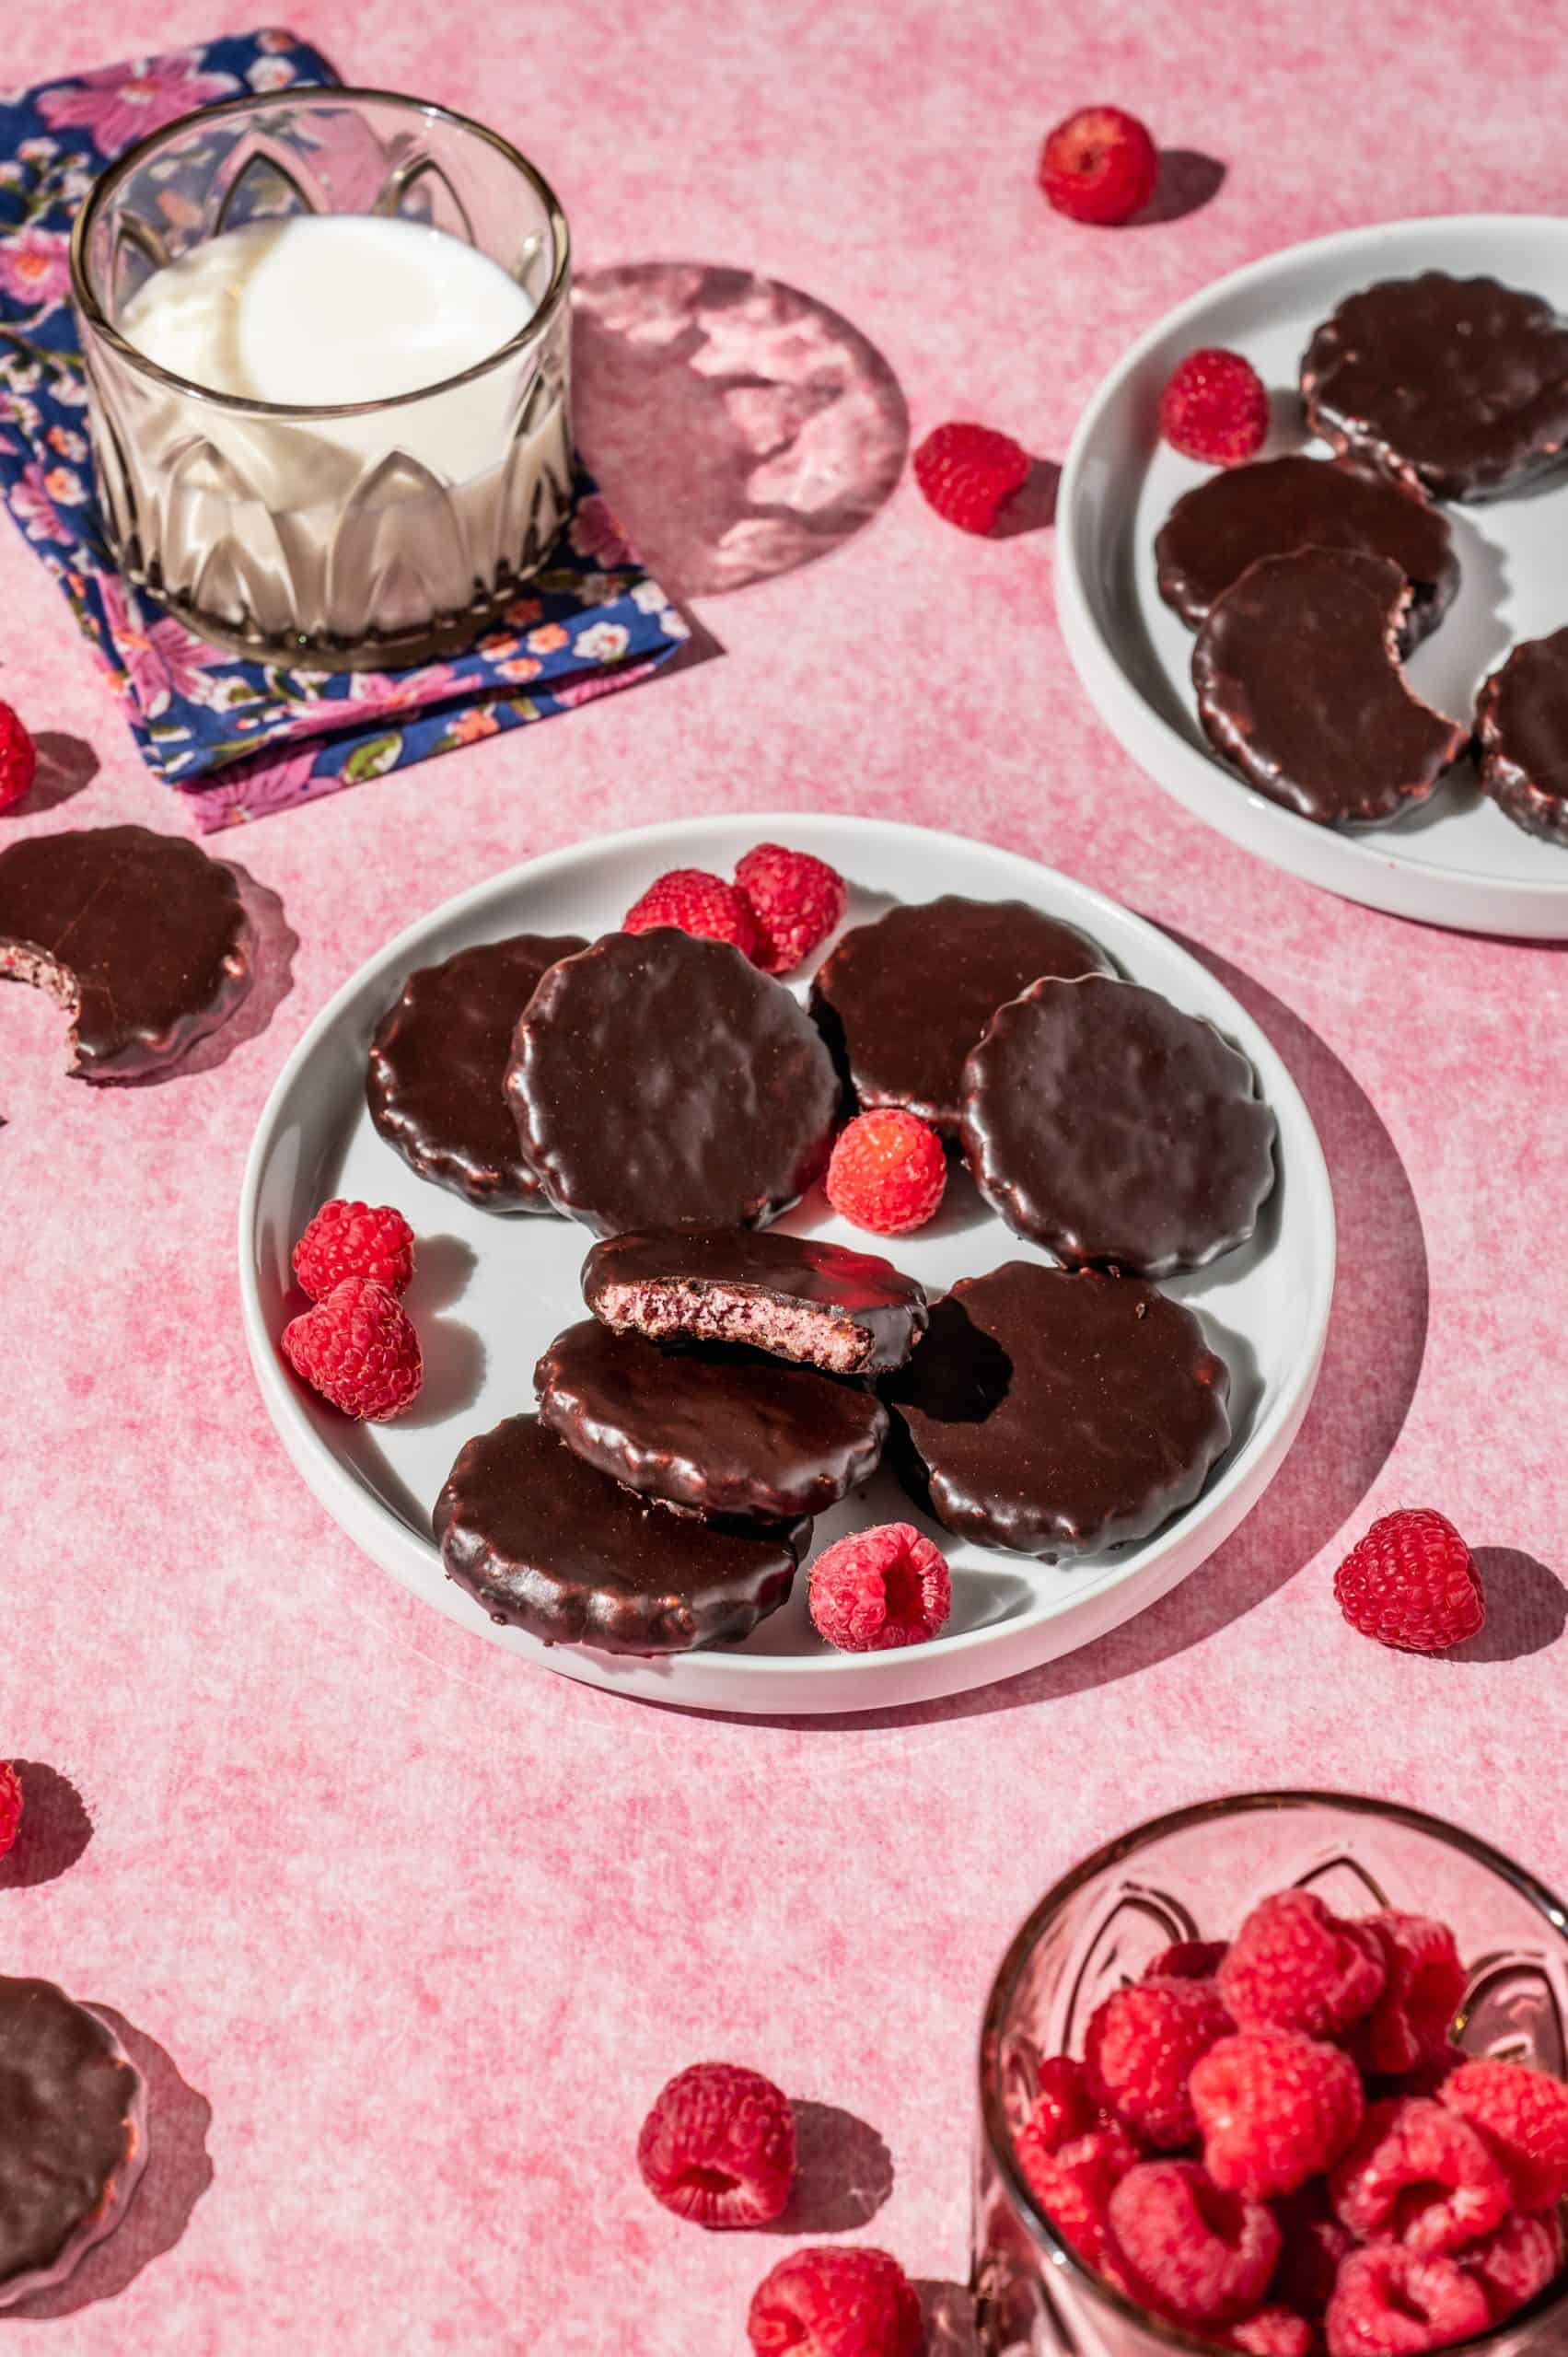
Thin, crisp raspberry wafer cookies dipped in chocolate, Raspberry Rally cookies are the "sister cookie" to beloved Girl Scout Thin Mints.
- Prep Time: 15 minutes
- Inactive Time: 2 hours
- Cook Time: 10 minutes
- Total Time: 2 hours 25 minutes
- Yield: 24 cookies 1x
- Category: Cookies
- Method: Baking
- Cuisine: American
- Diet: Vegan
Ingredients
For the Raspberry Wafer Cookies
- ½ cup vegetable shortening, i.e. Crisco
- ¾ cup sugar
- ¼ cup vegetable oil
- 3 tablespoons corn syrup
- 1 teaspoon raspberry extract (or substitute strawberry or lemon extract)
- ¼ cup dehydrated raspberry powder (or whole freeze-dried raspberries ground to a fine powder)
- ½ teaspoon baking soda
- 6 tablespoons cornstarch
- ¼ teaspoon salt
- 1 ¾ cups flour
- 2-3 teaspoons water
For the Chocolate Coating
- 4 tablespoons Dutch process cocoa
- 4 tablespoons melted refined coconut oil
- 1 ½ cups powdered sugar
- Pinch of salt
- 5 tablespoons hot water
Instructions
- Make the raspberry cookie dough: in the bowl of a stand mixer (or in a large mixing bowl) cream together the shortening and sugar. Add oil, corn syrup, and raspberry extract, and mix until combined. Then add the raspberry powder, baking soda, cornstarch, and salt. Add the flour and mix on low speed until just combined. Then, add the water 1 teaspoon at a time until the dough holds together when pressed. Form the dough into a ball, flatten it slightly into a disk shape, and wrap it in plastic wrap. Refrigerate for at least 1 hour or overnight.
- Stamp and bake cookies: preheat the oven to 325 °F. Roll out the dough on a sheet of parchment paper to ¼ inch even thickness.* Using a small scalloped cookie cutter, stamp circles out of the dough. Use an icing spatula (or similar) to carefully transfer the cookies to a sheet tray lined with parchment paper, spaced evenly apart with about 2 inches in between.* Bake for 9-10 minutes and let cookies cool on the tray before dipping.
- Make the chocolate coating: combine cocoa, coconut oil, powdered sugar, and salt in a medium mixing bowl. Then add the hot water and whisk until totally smooth. Adjust the consistency with extra water if needed (it should be pretty thin).
- Dip the cookies into the chocolate coating one at a time. Use a spoon or spatula to completely cover the cookie and wipe off excess chocolate. Then use a fork to carefully transfer the cookies to a wire rack to dry and allow the coating to harden for at least 1 hour.*
Notes
- The dough is very crumbly, like wet sand, but holds together when pressed.
- If the dough is sticking, coat the parchment, rolling pin, and cookie cutter with a little bit of flour. (The dough is pretty oily though so it shouldn’t stick, even without flour.)
- Optional tips: Poke dots in the cookies with a toothpick or skewer for lookalike! And place the tray of unbaked cookies in the freezer or refrigerator for 30 minutes before baking to help hold their shape.
- About 20 minutes after coating the cookies in chocolate (when they are partially set) use a fork to gently shift the cookies on the wire rack. This will prevent them from sticking to the rack and breaking once the chocolate is fully hardened.
Cecilia says
OH YES! I've been wanting to try these, I love chocolate raspberry. Thank you!!